How To Build
What You Will Need:
- Drill
- T-25 Torx
- 5/32 Drill Bit
- Tape Measure
- Pencil
- Carpenter Square
- Wood Bundle
- Screw Bag
- Top
- Bottom
- Back
- Front
- Sides
- Fixed
- Hinged
Instructions
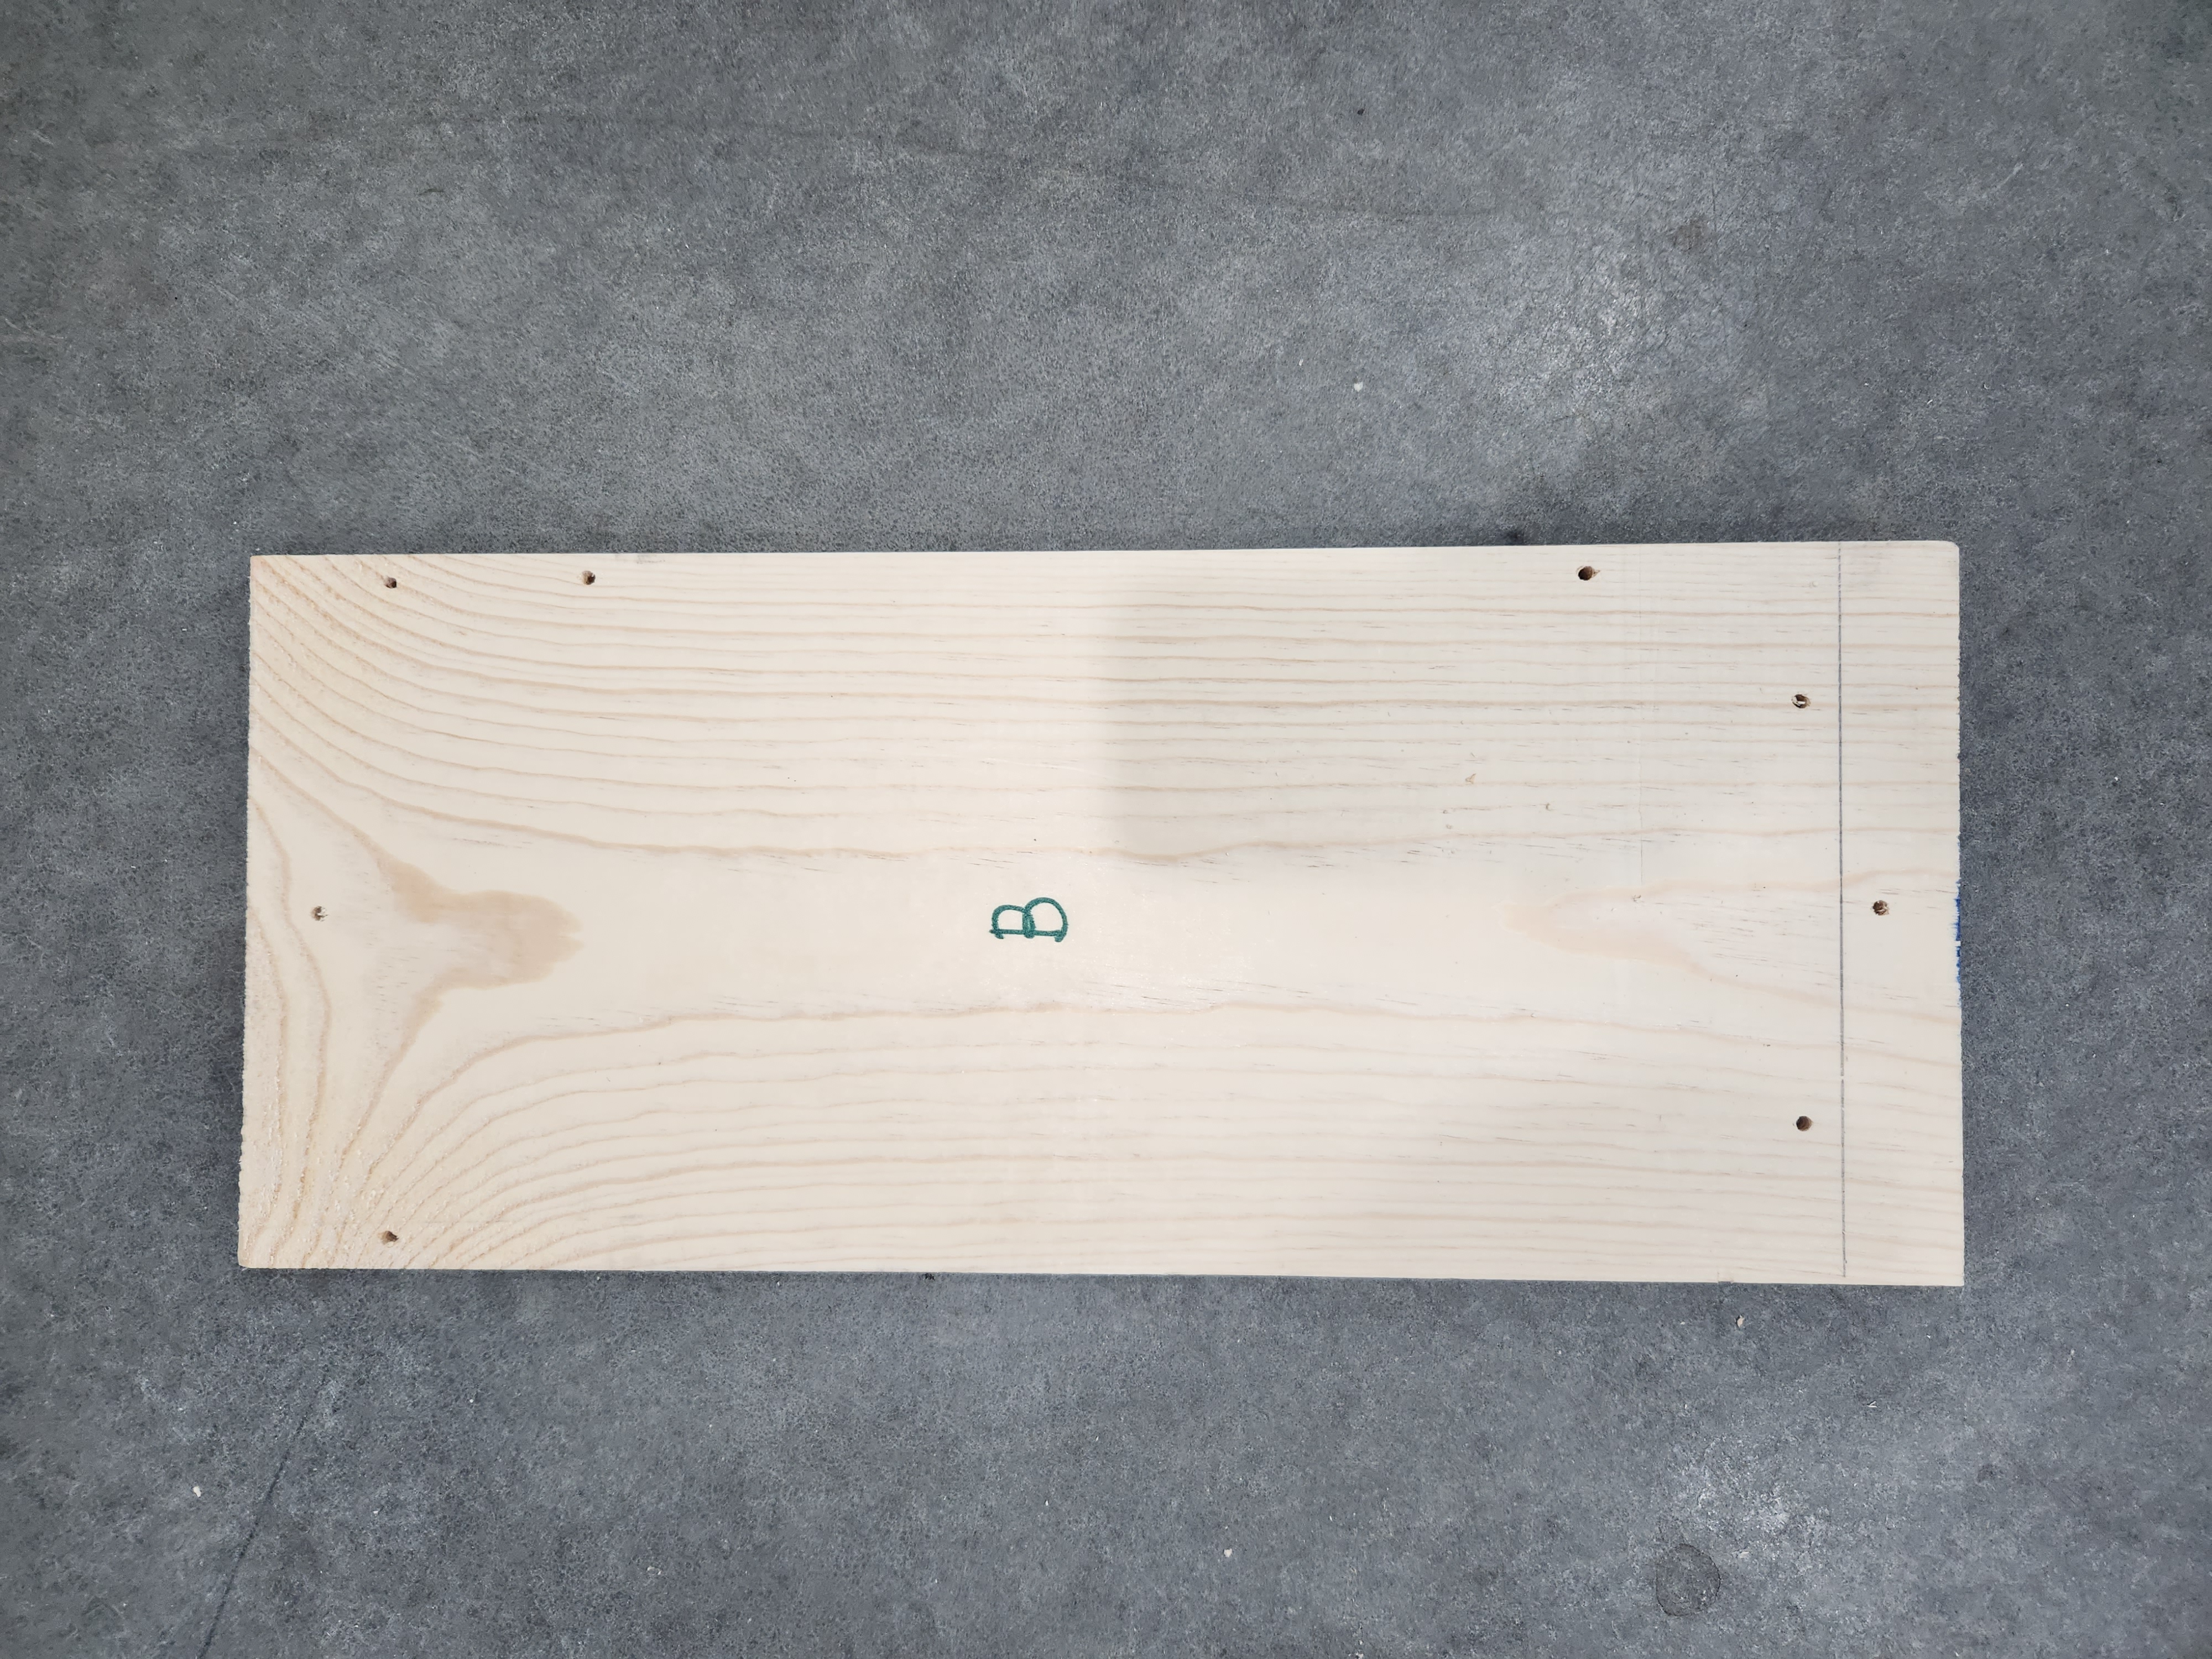
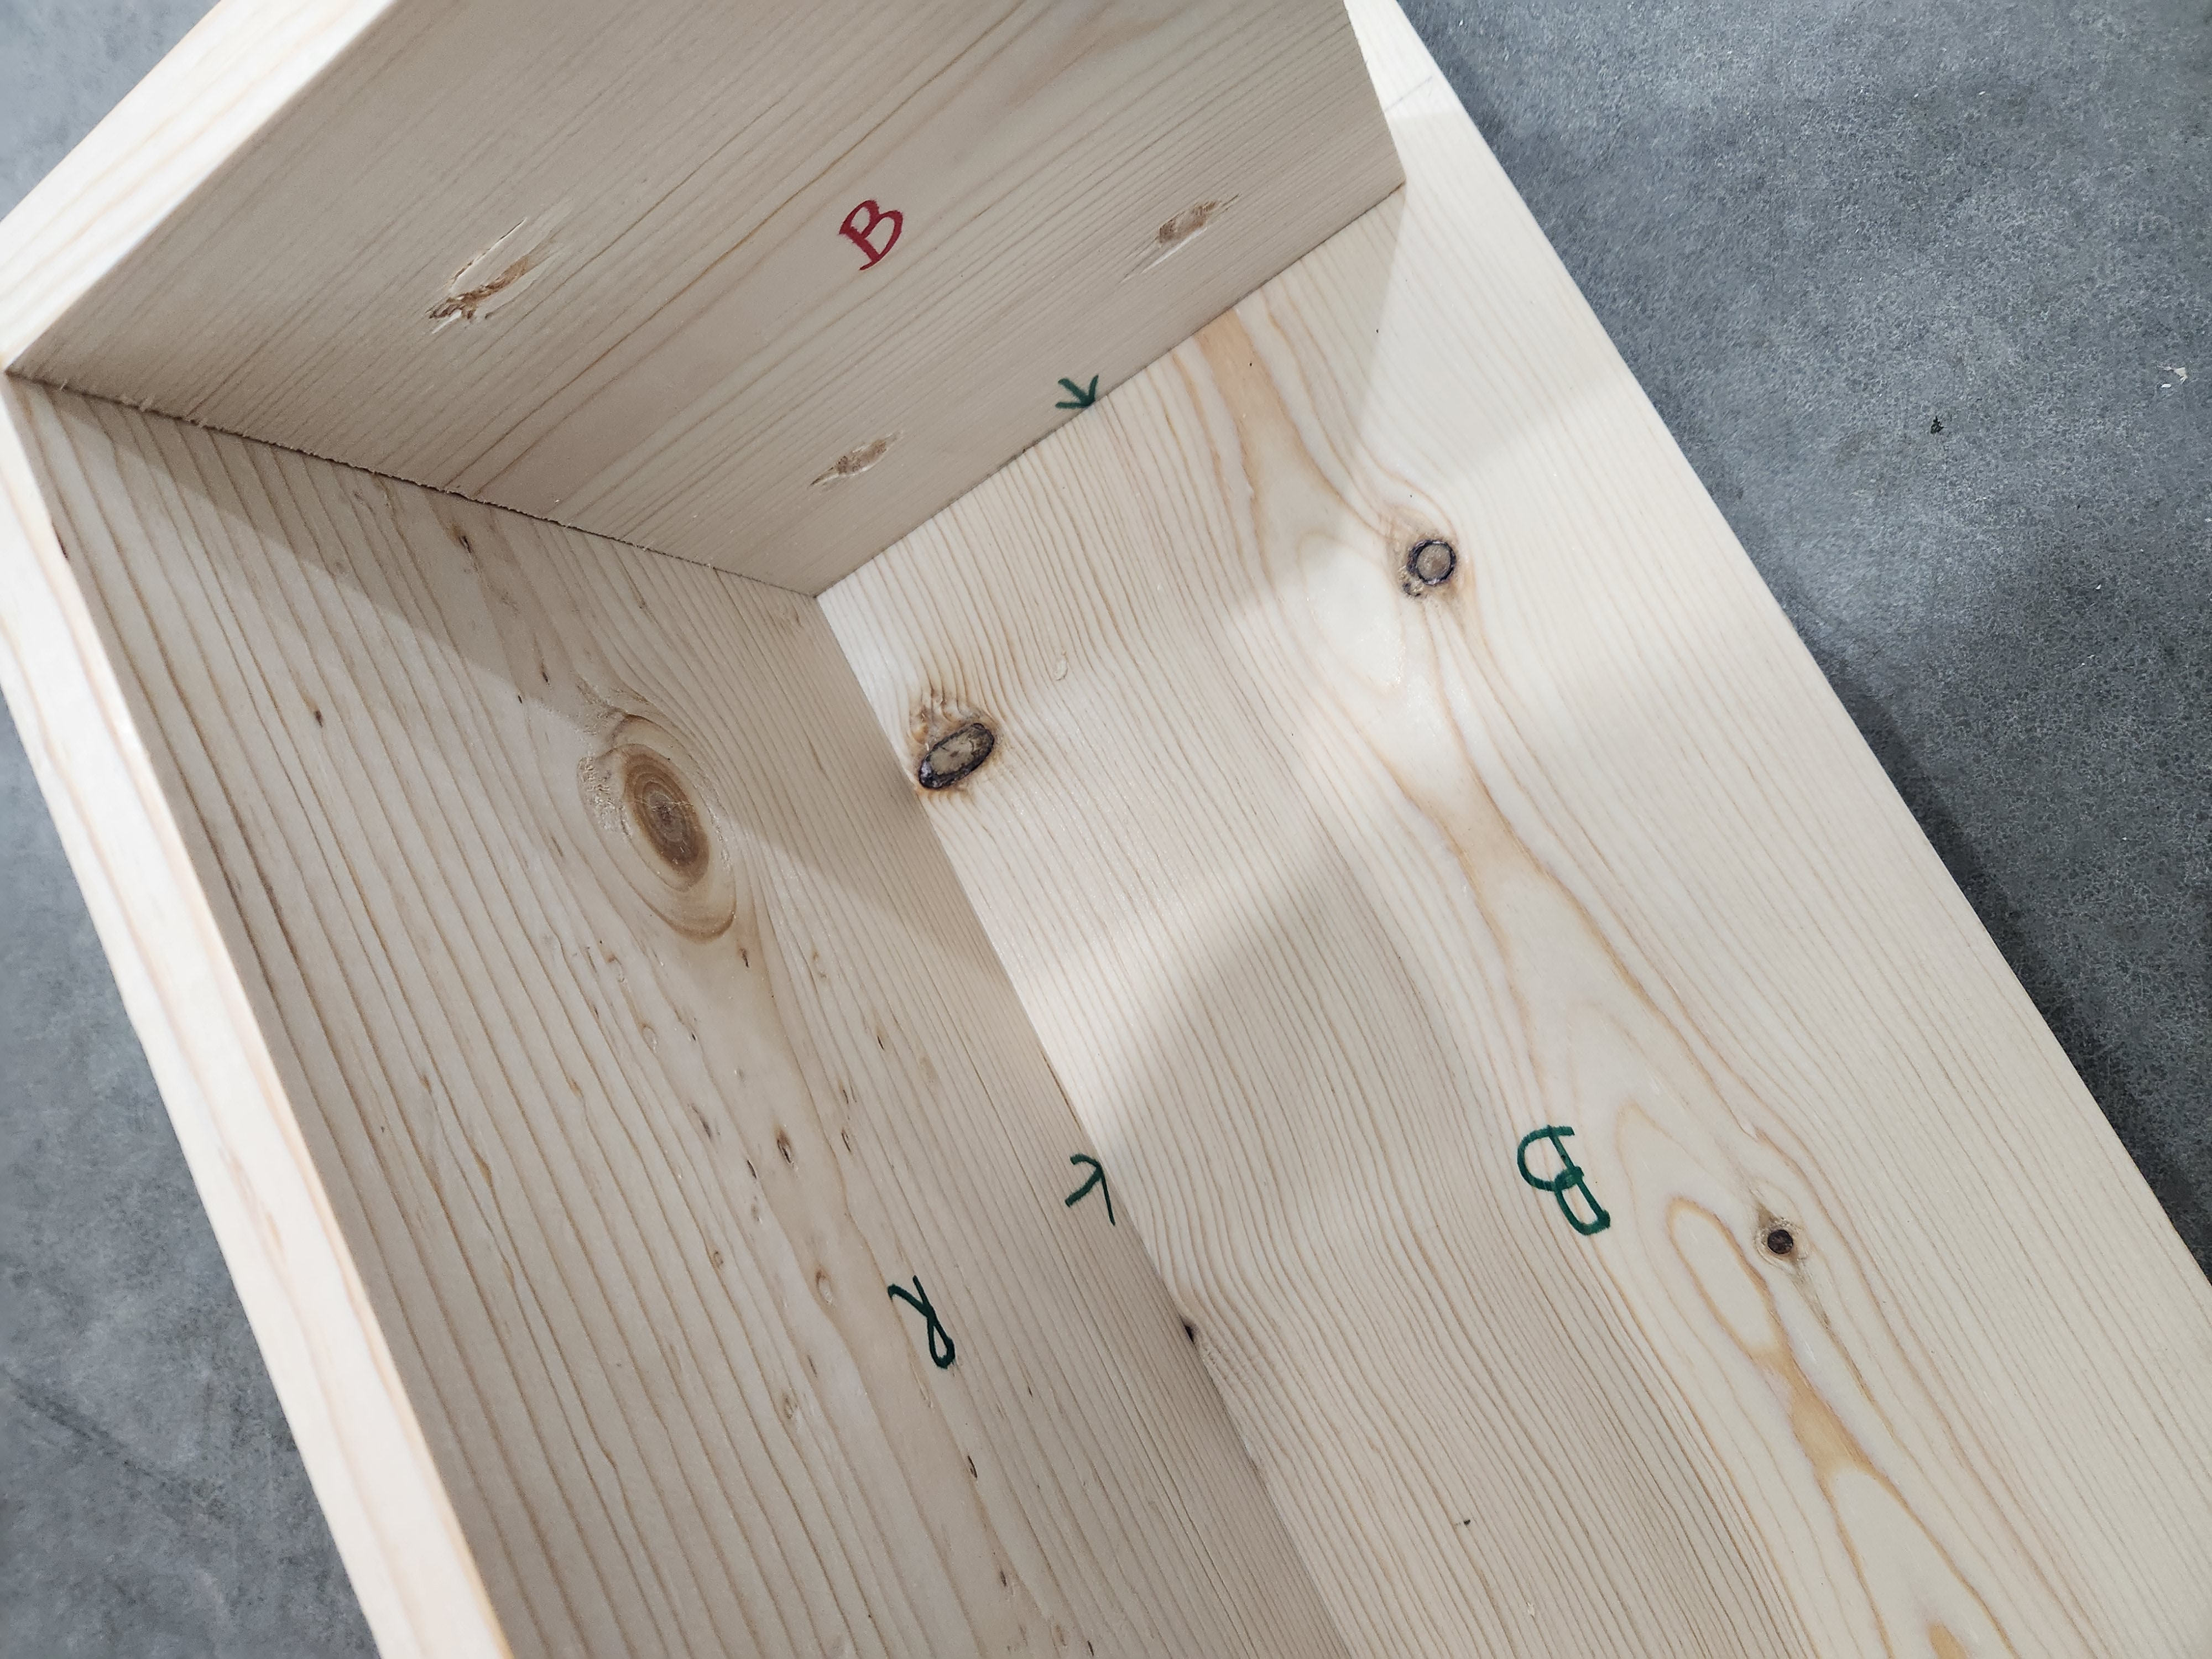
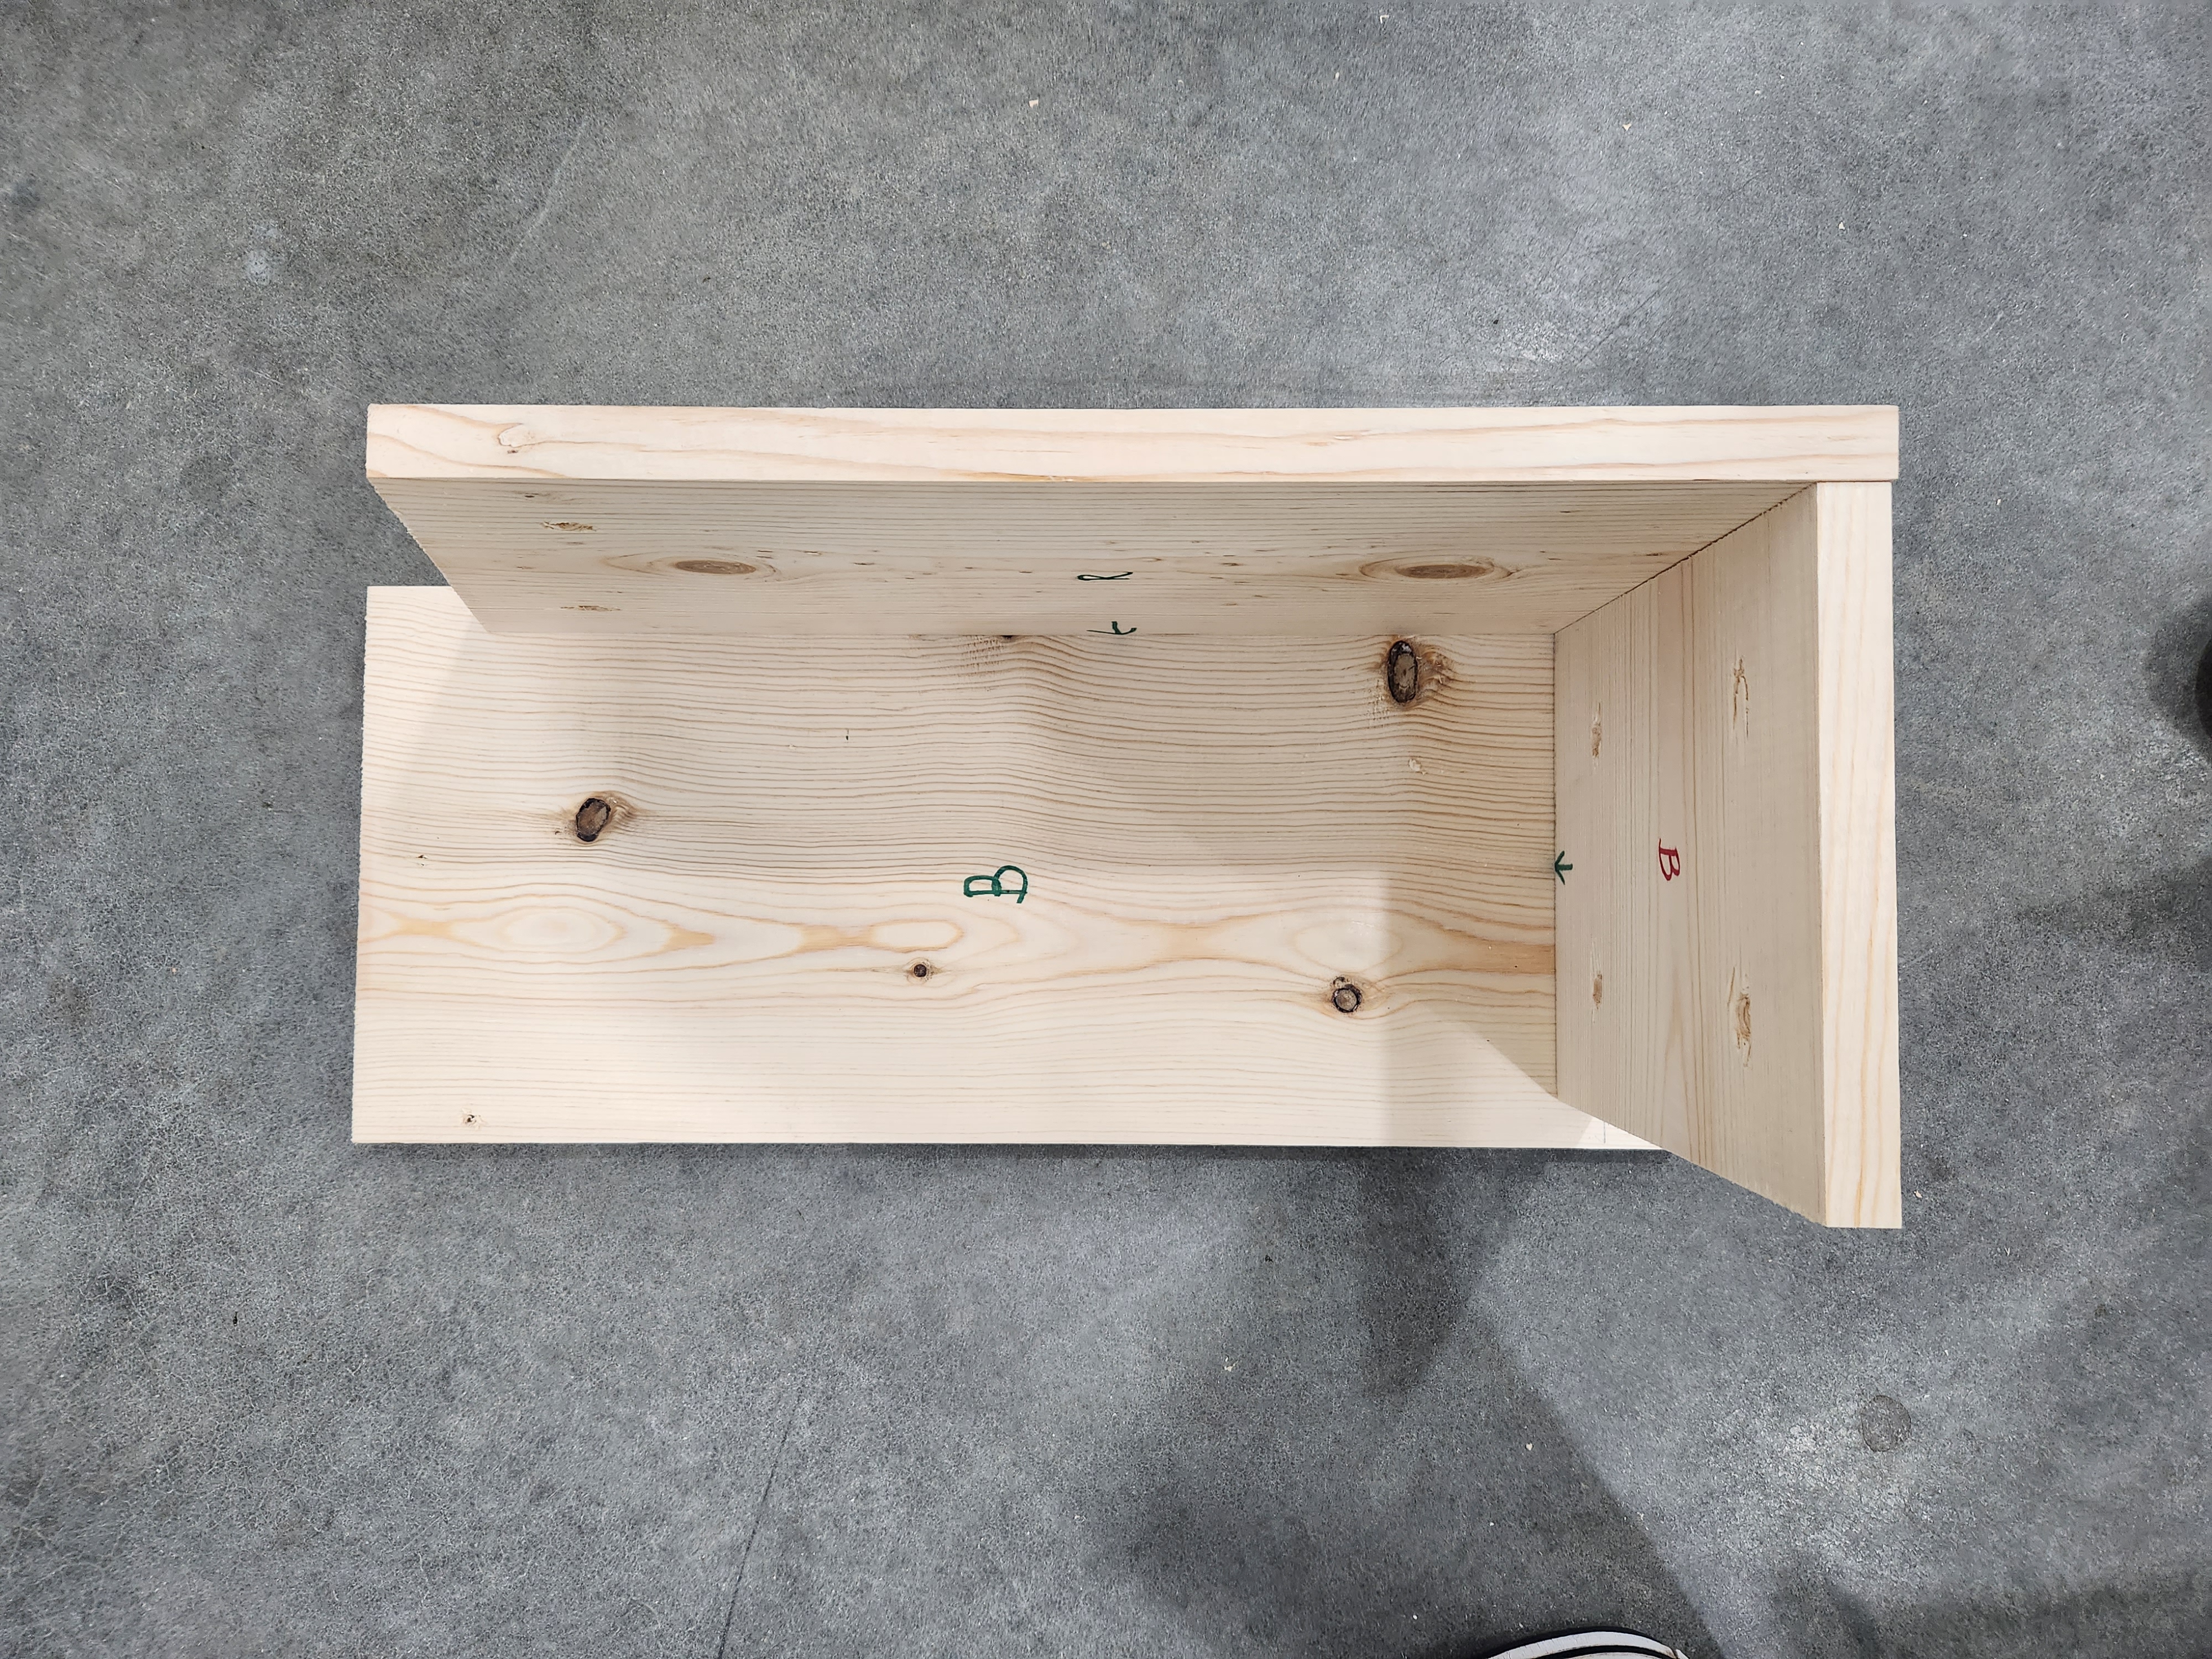
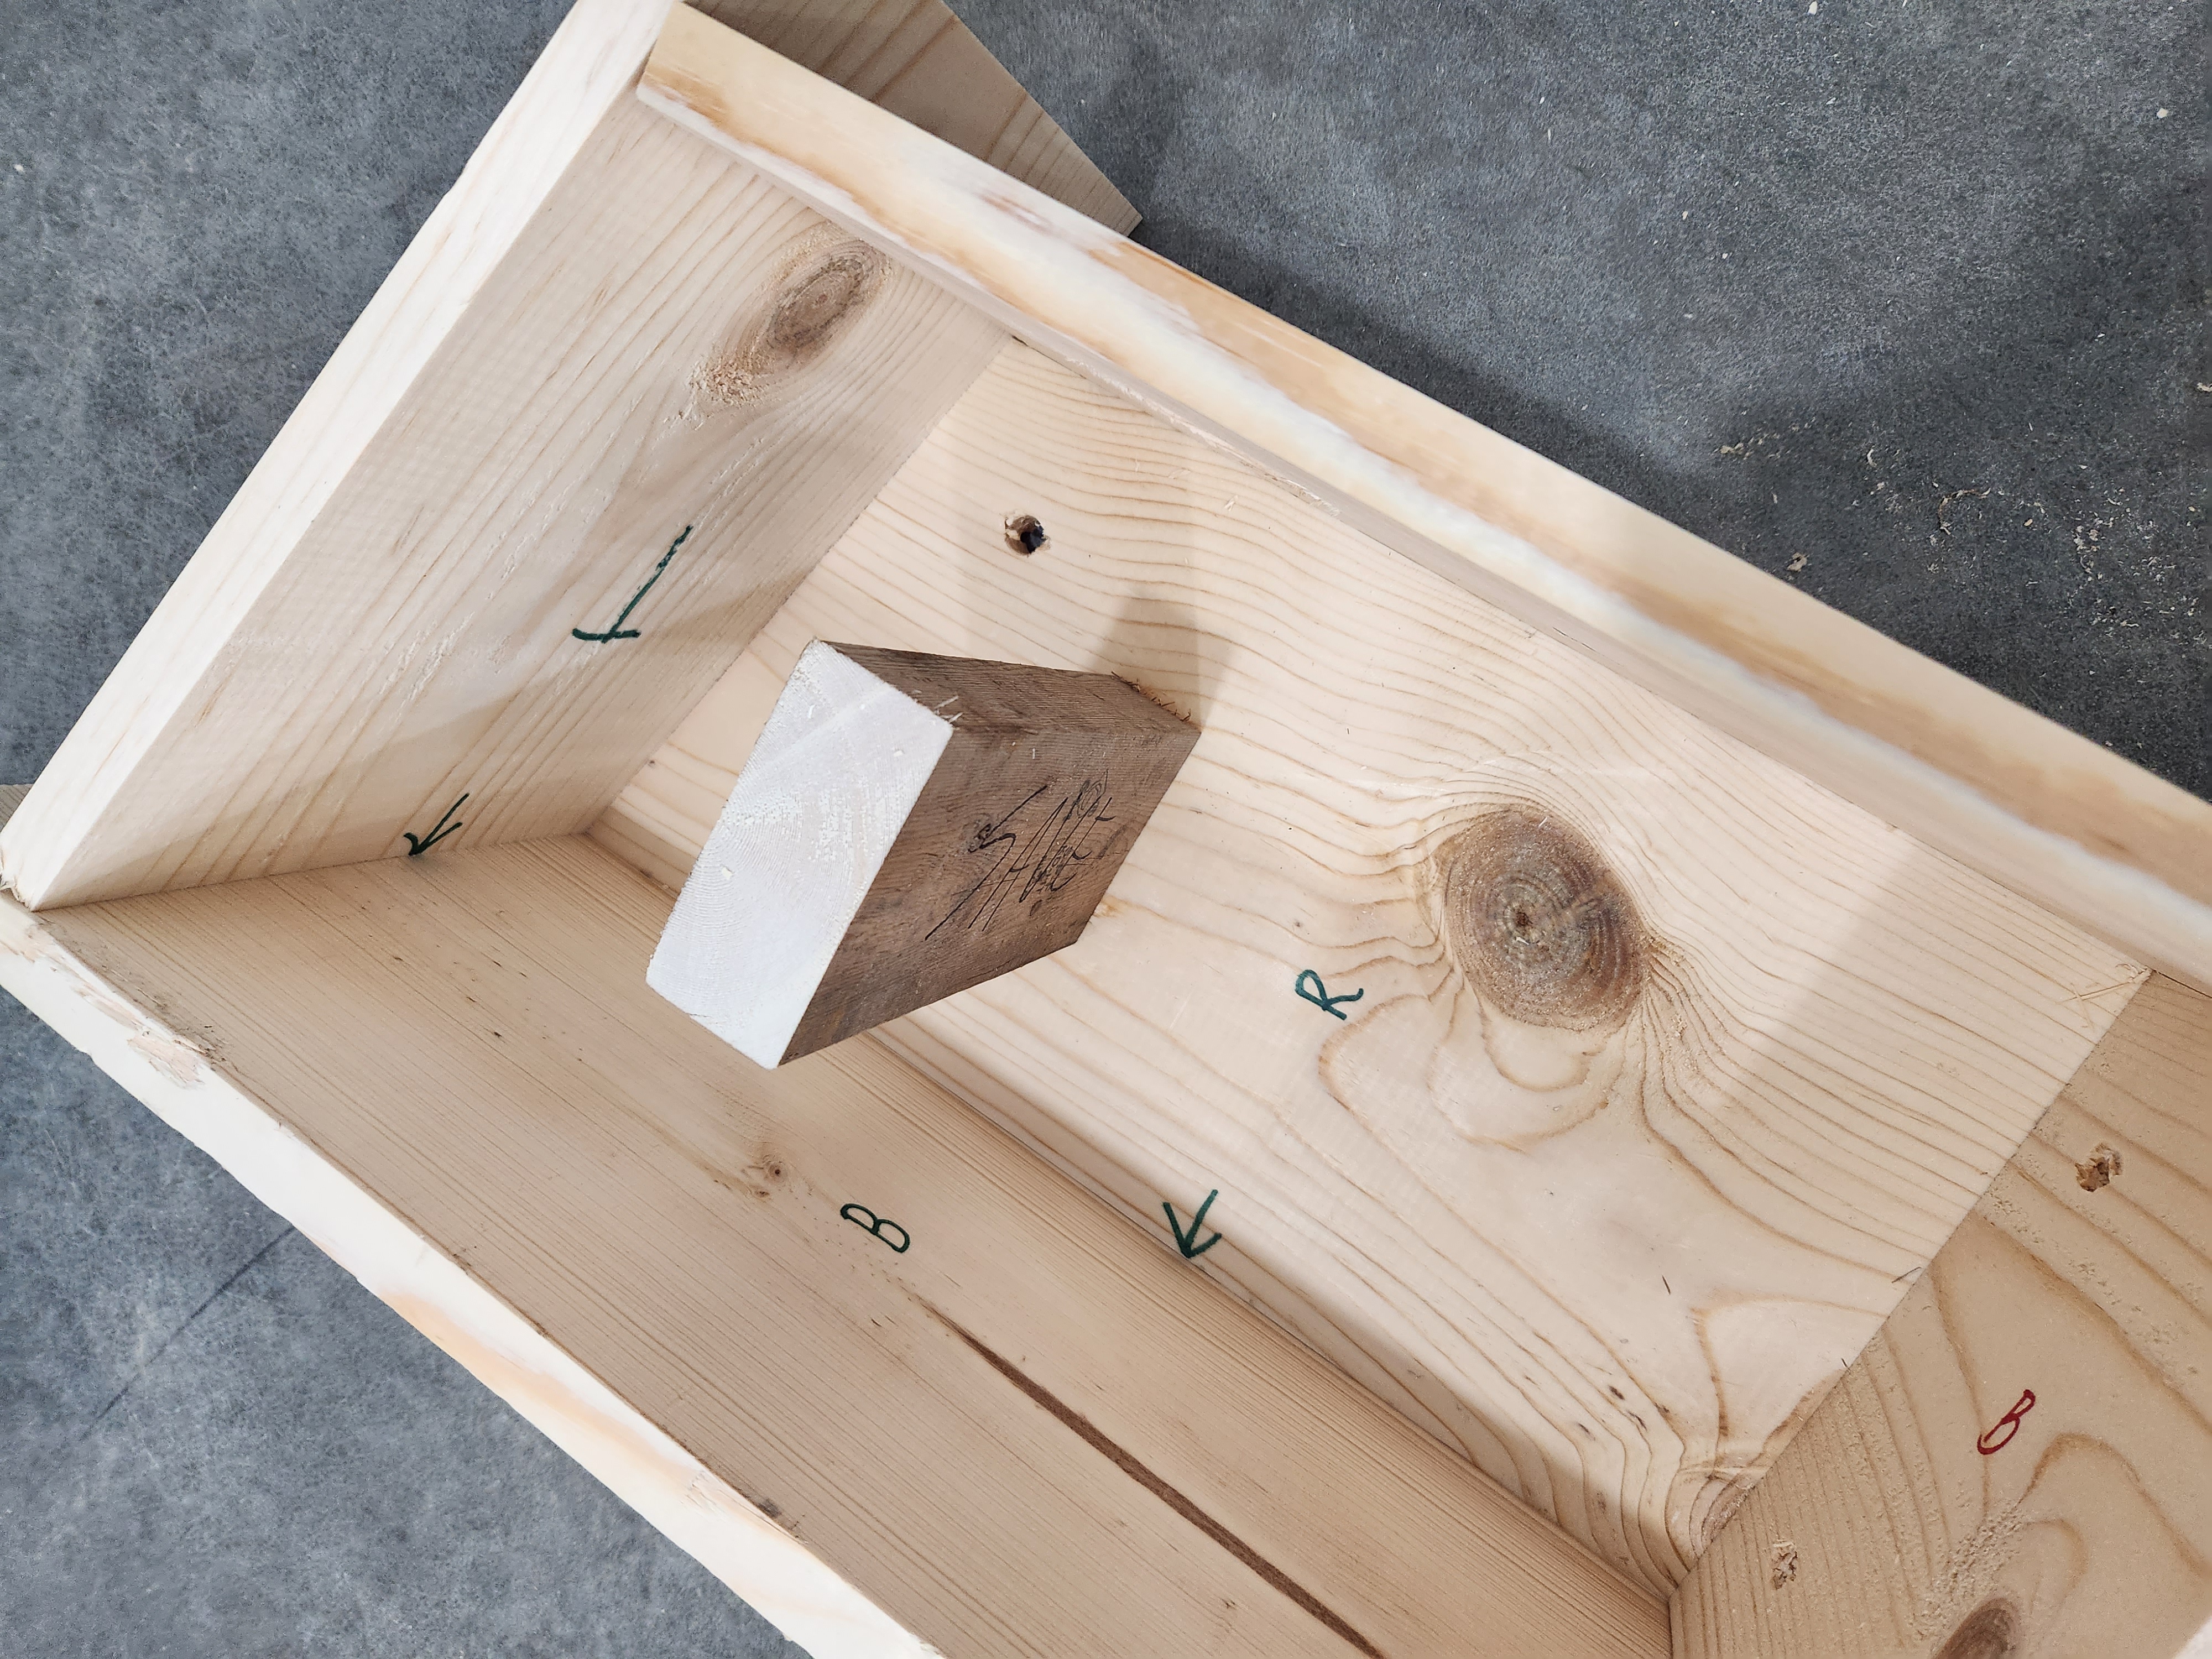
Back (Green B)
Orientate the Back (B) so the letter “B” is UP, and the pencil line is at the bottom of the board.
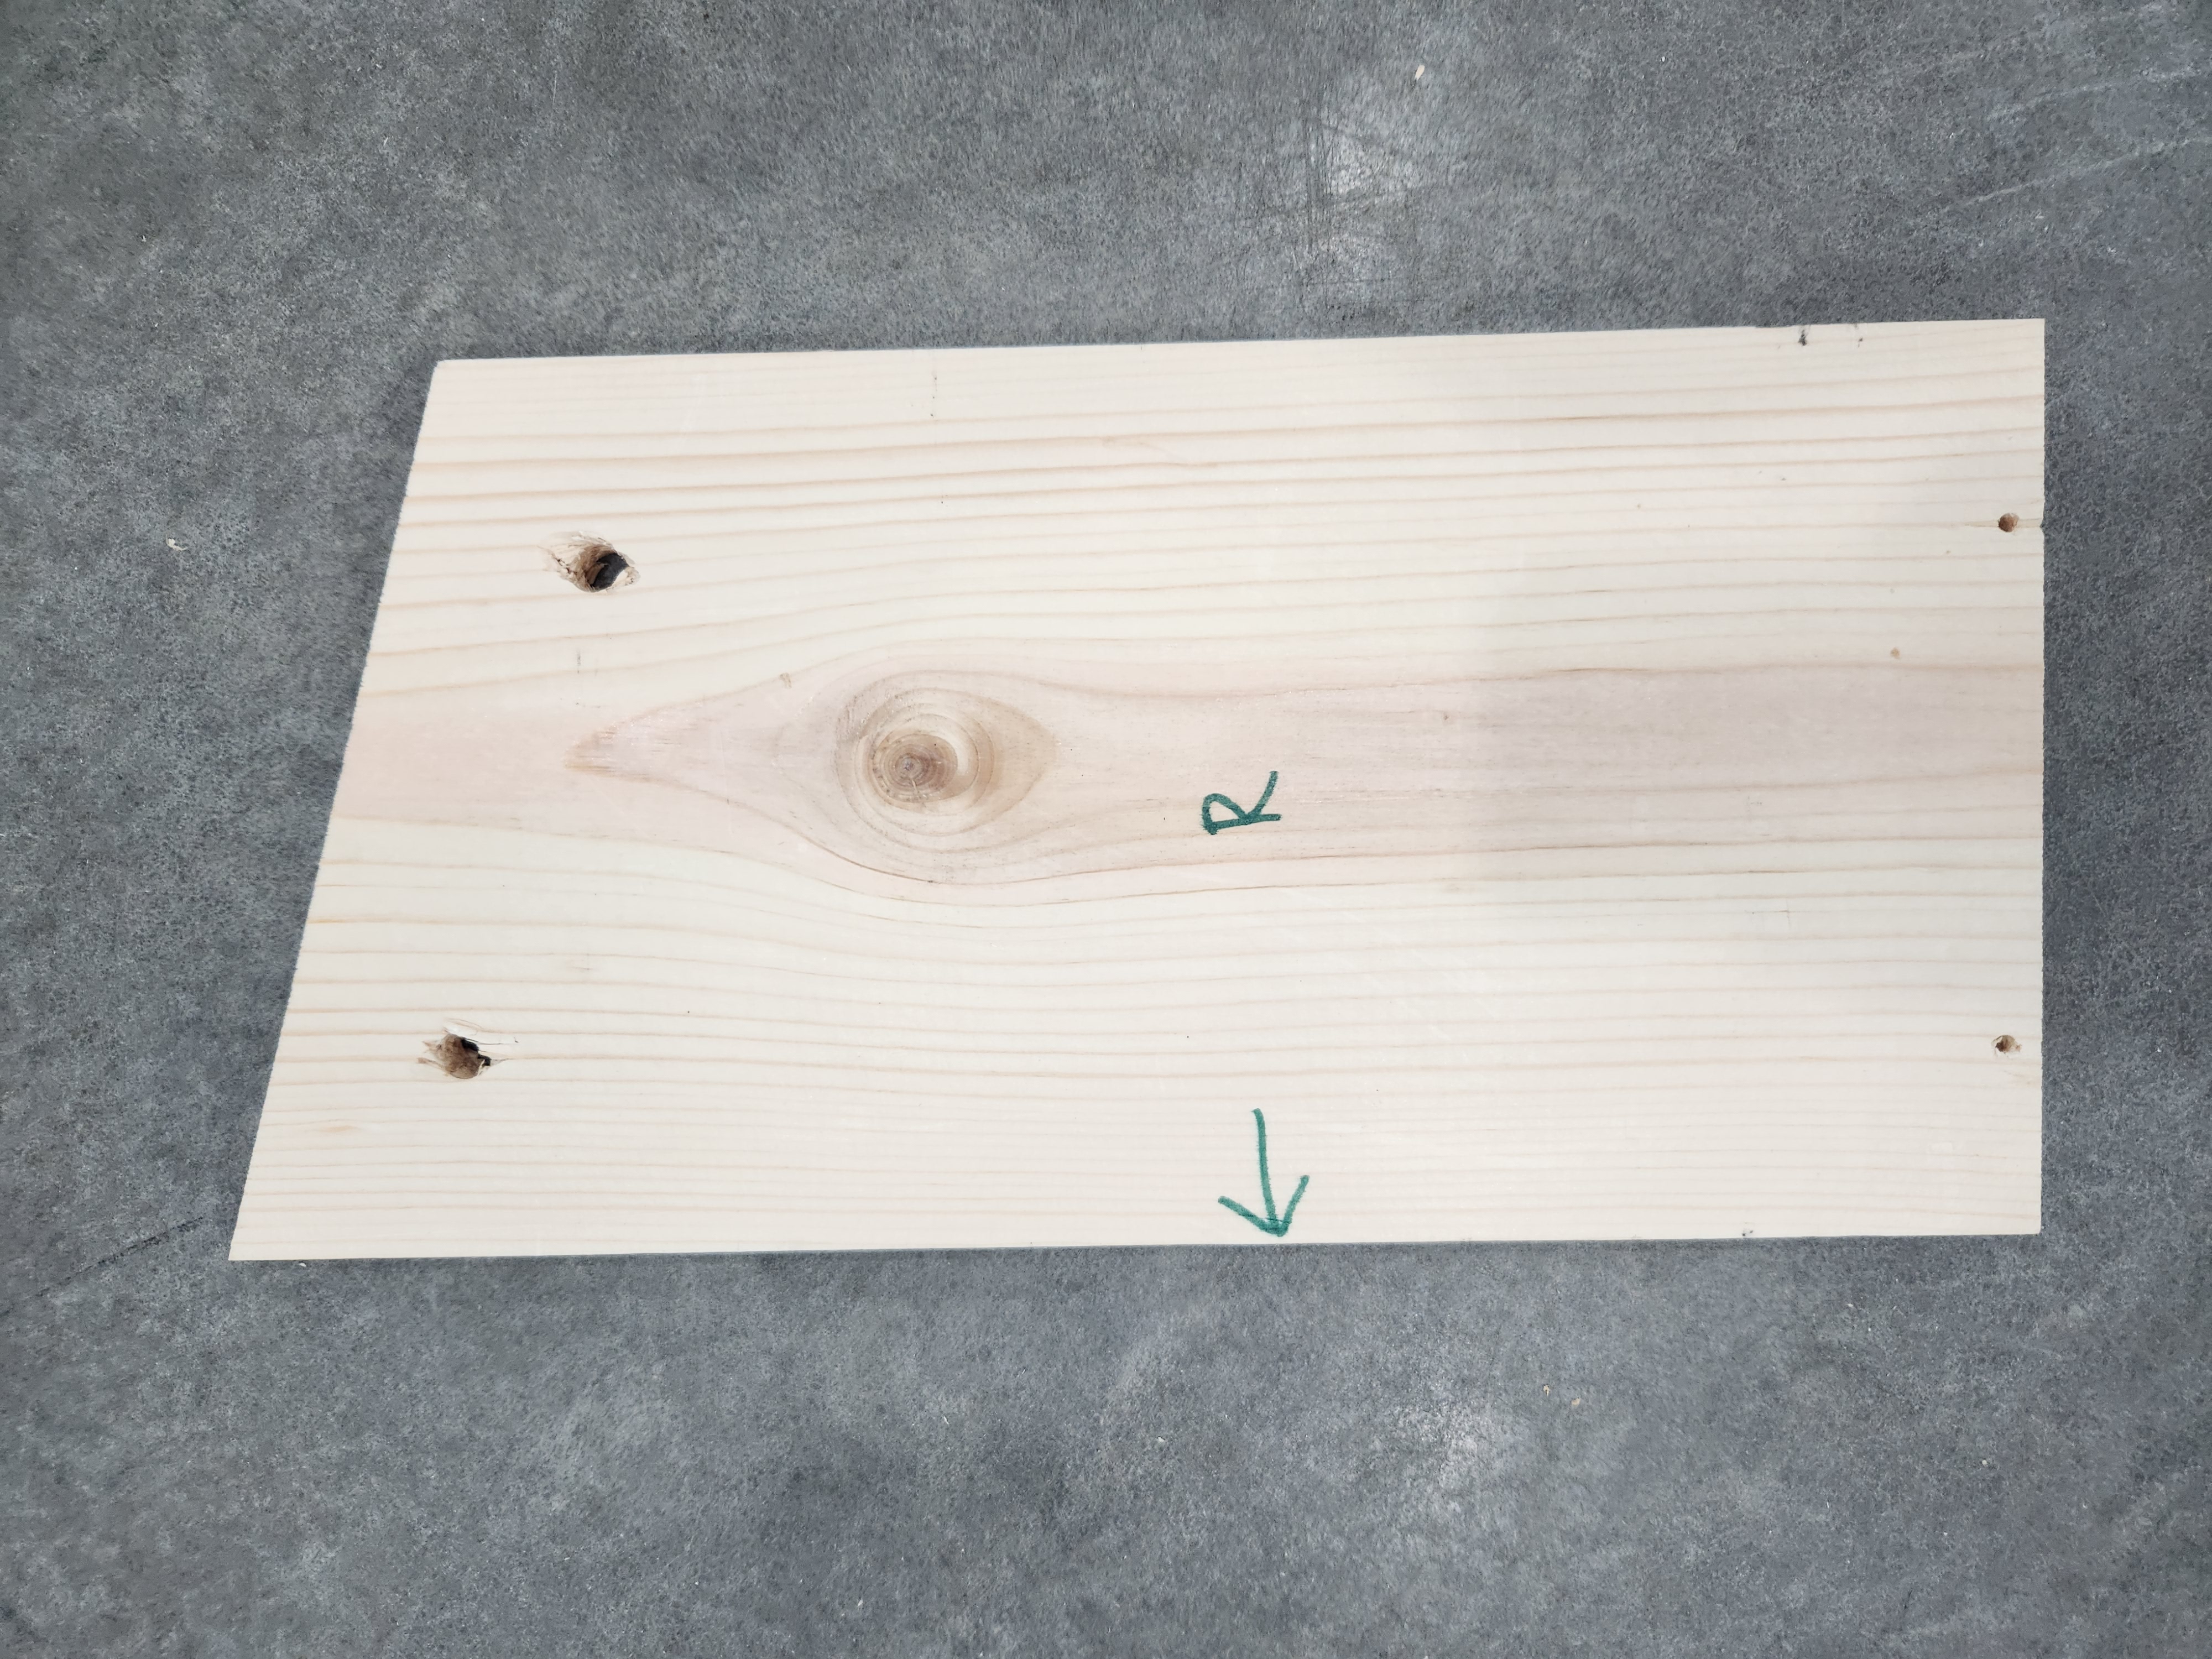
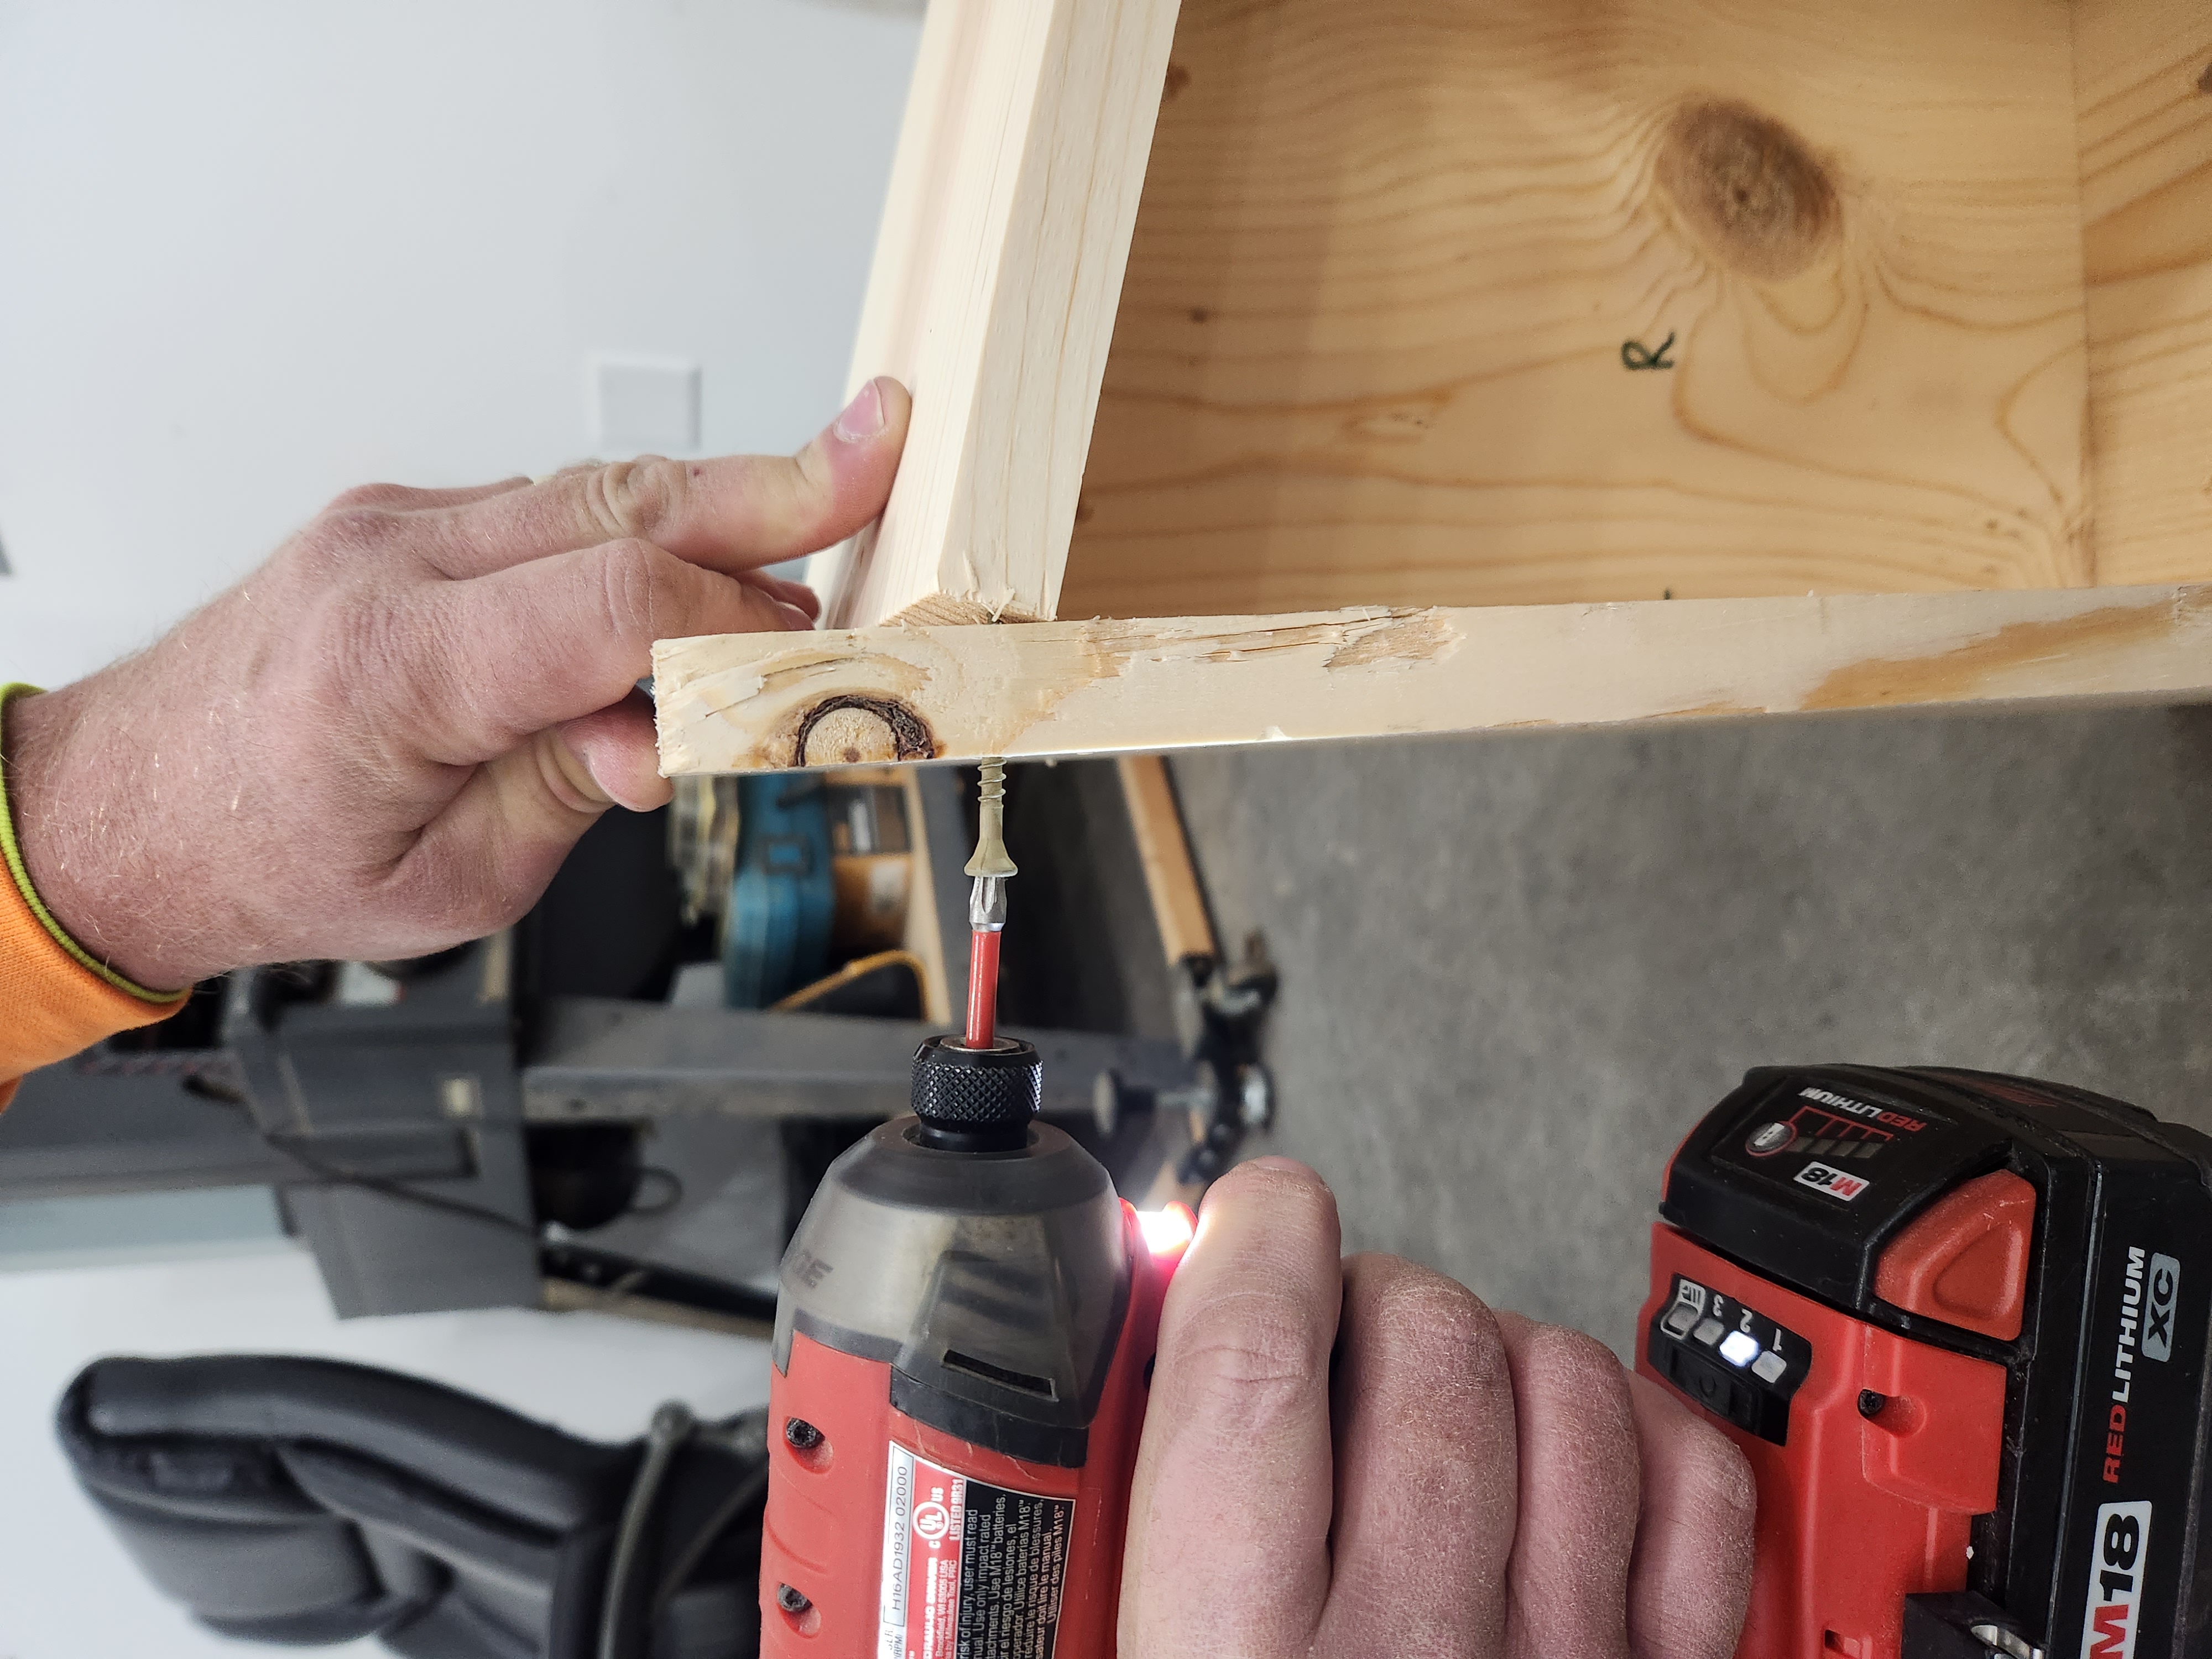
Fixed Side (R)
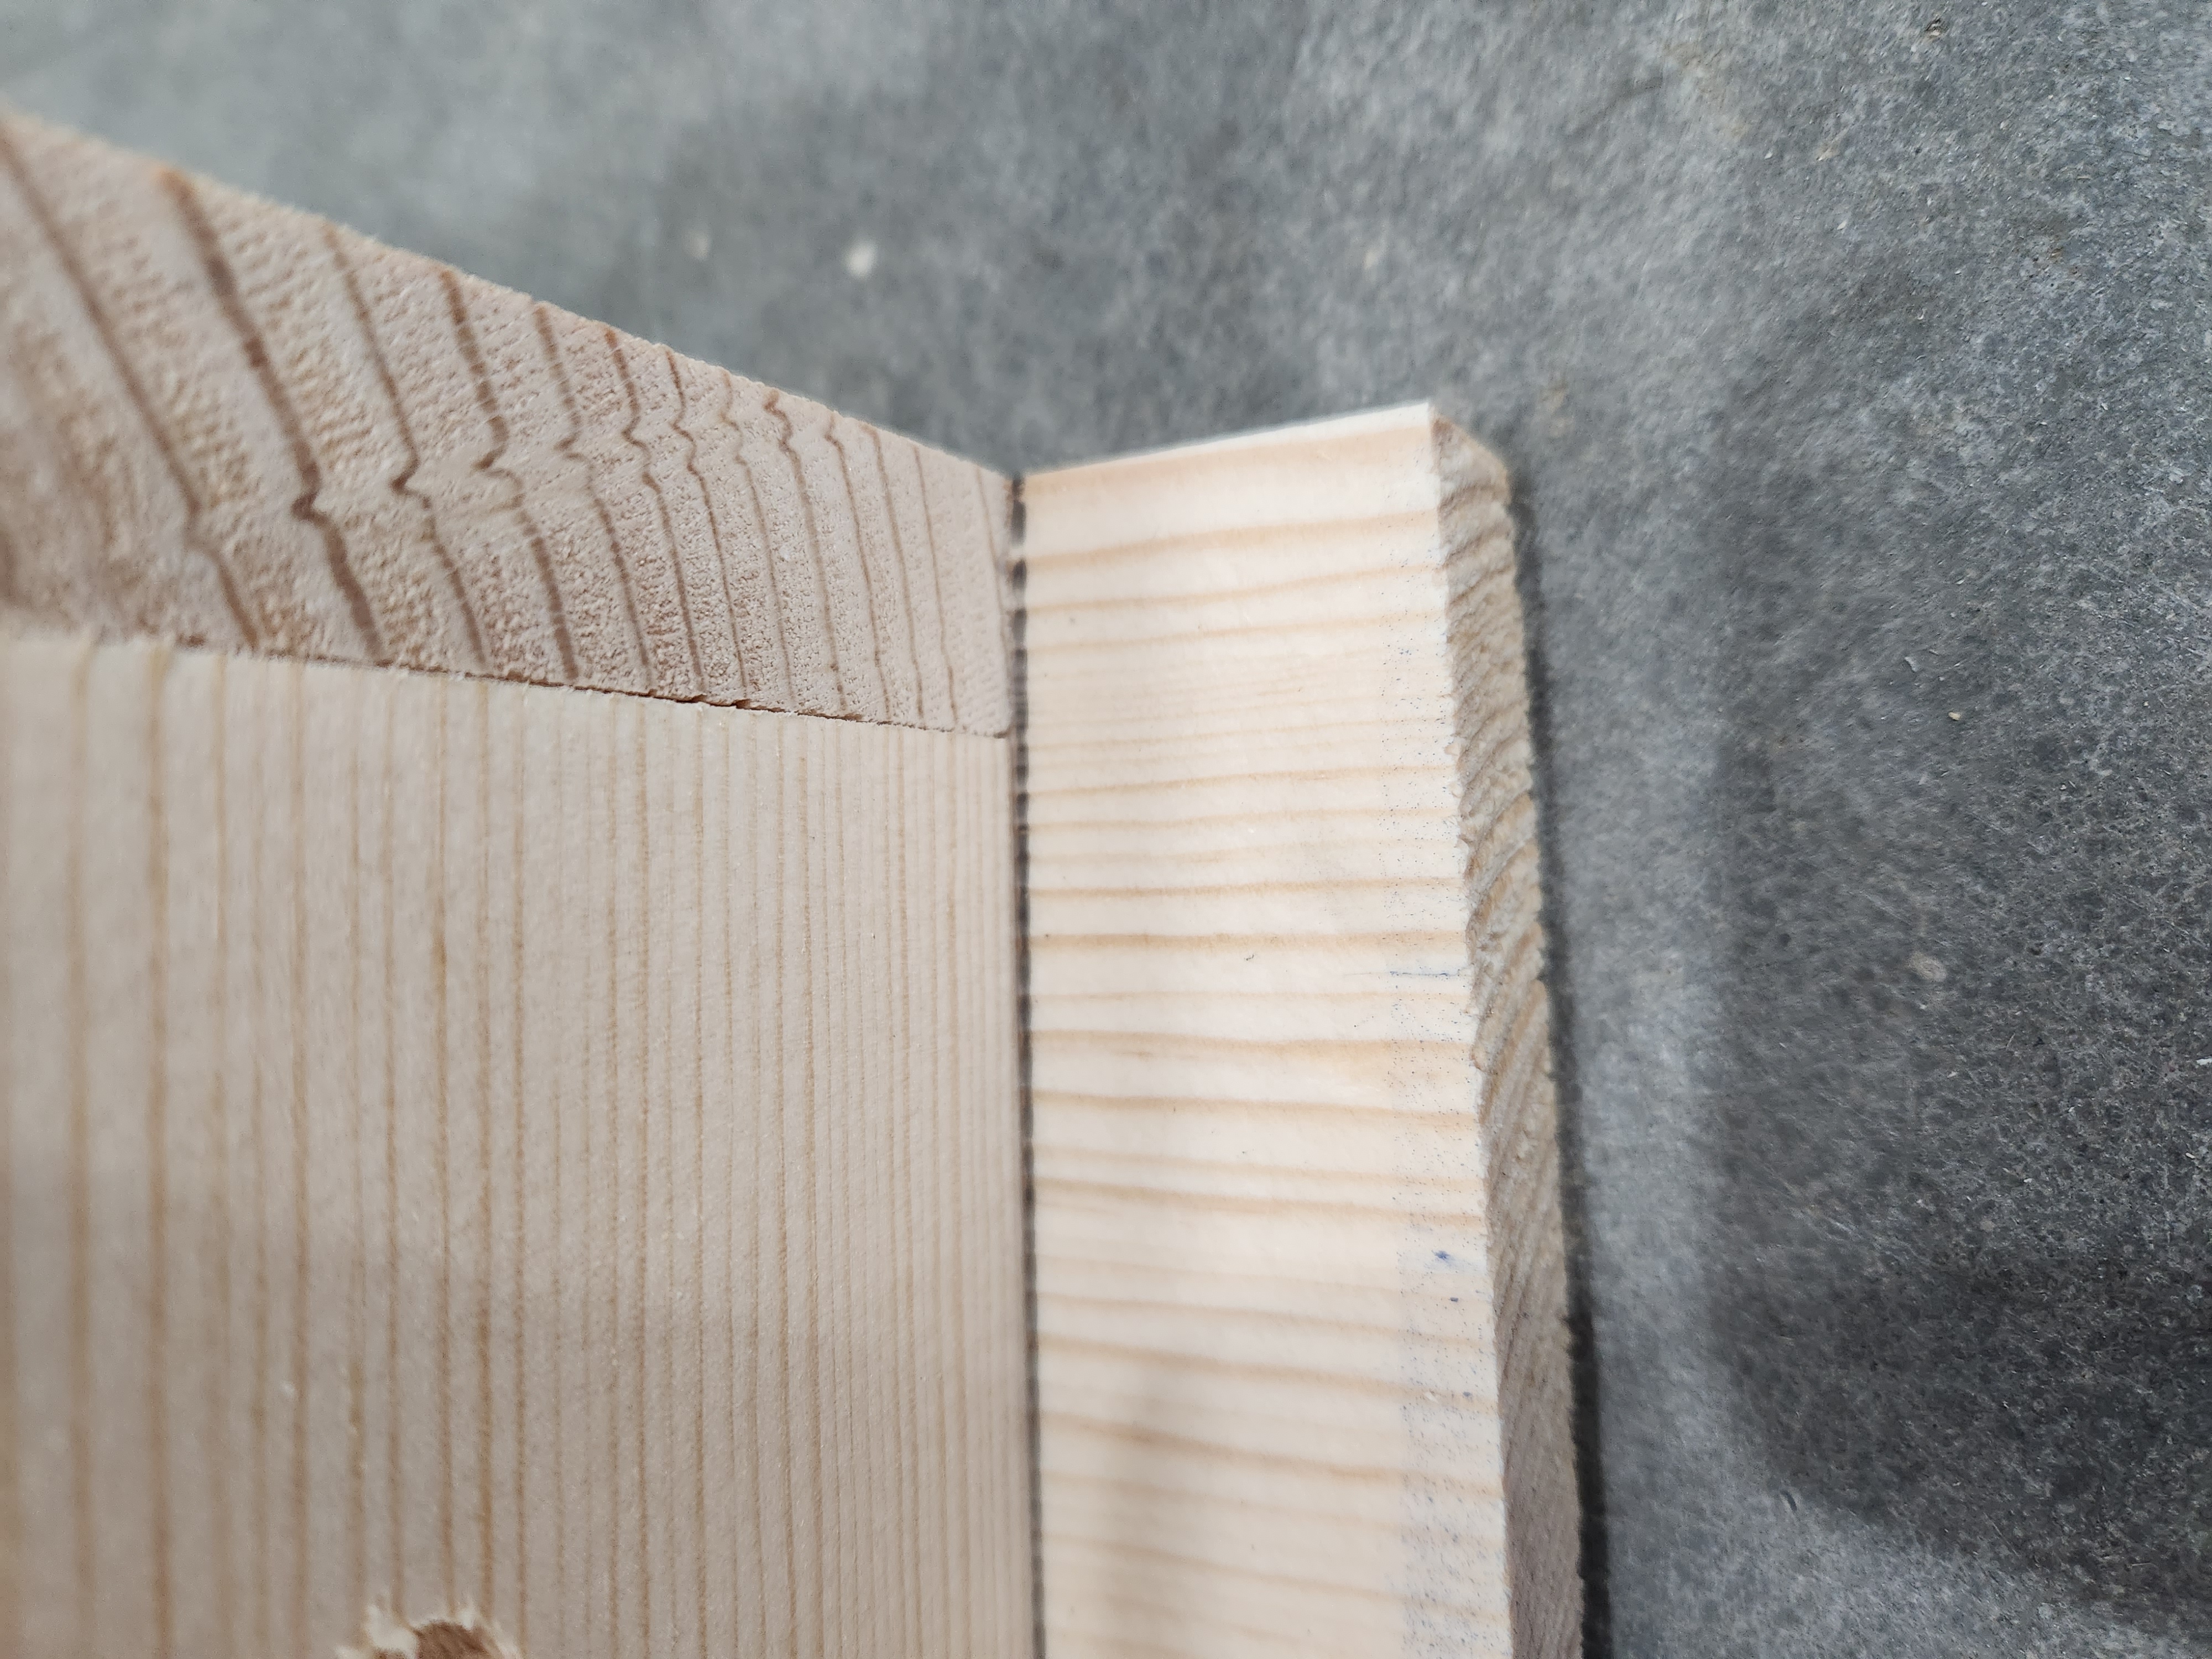
Find the Fixed side (R). With the letter on the inside of the box, and the green arrow pointing at Back side (B), align the bottom corner of the Fixed side to the pencil mark on the back. Attach using 2 screws.


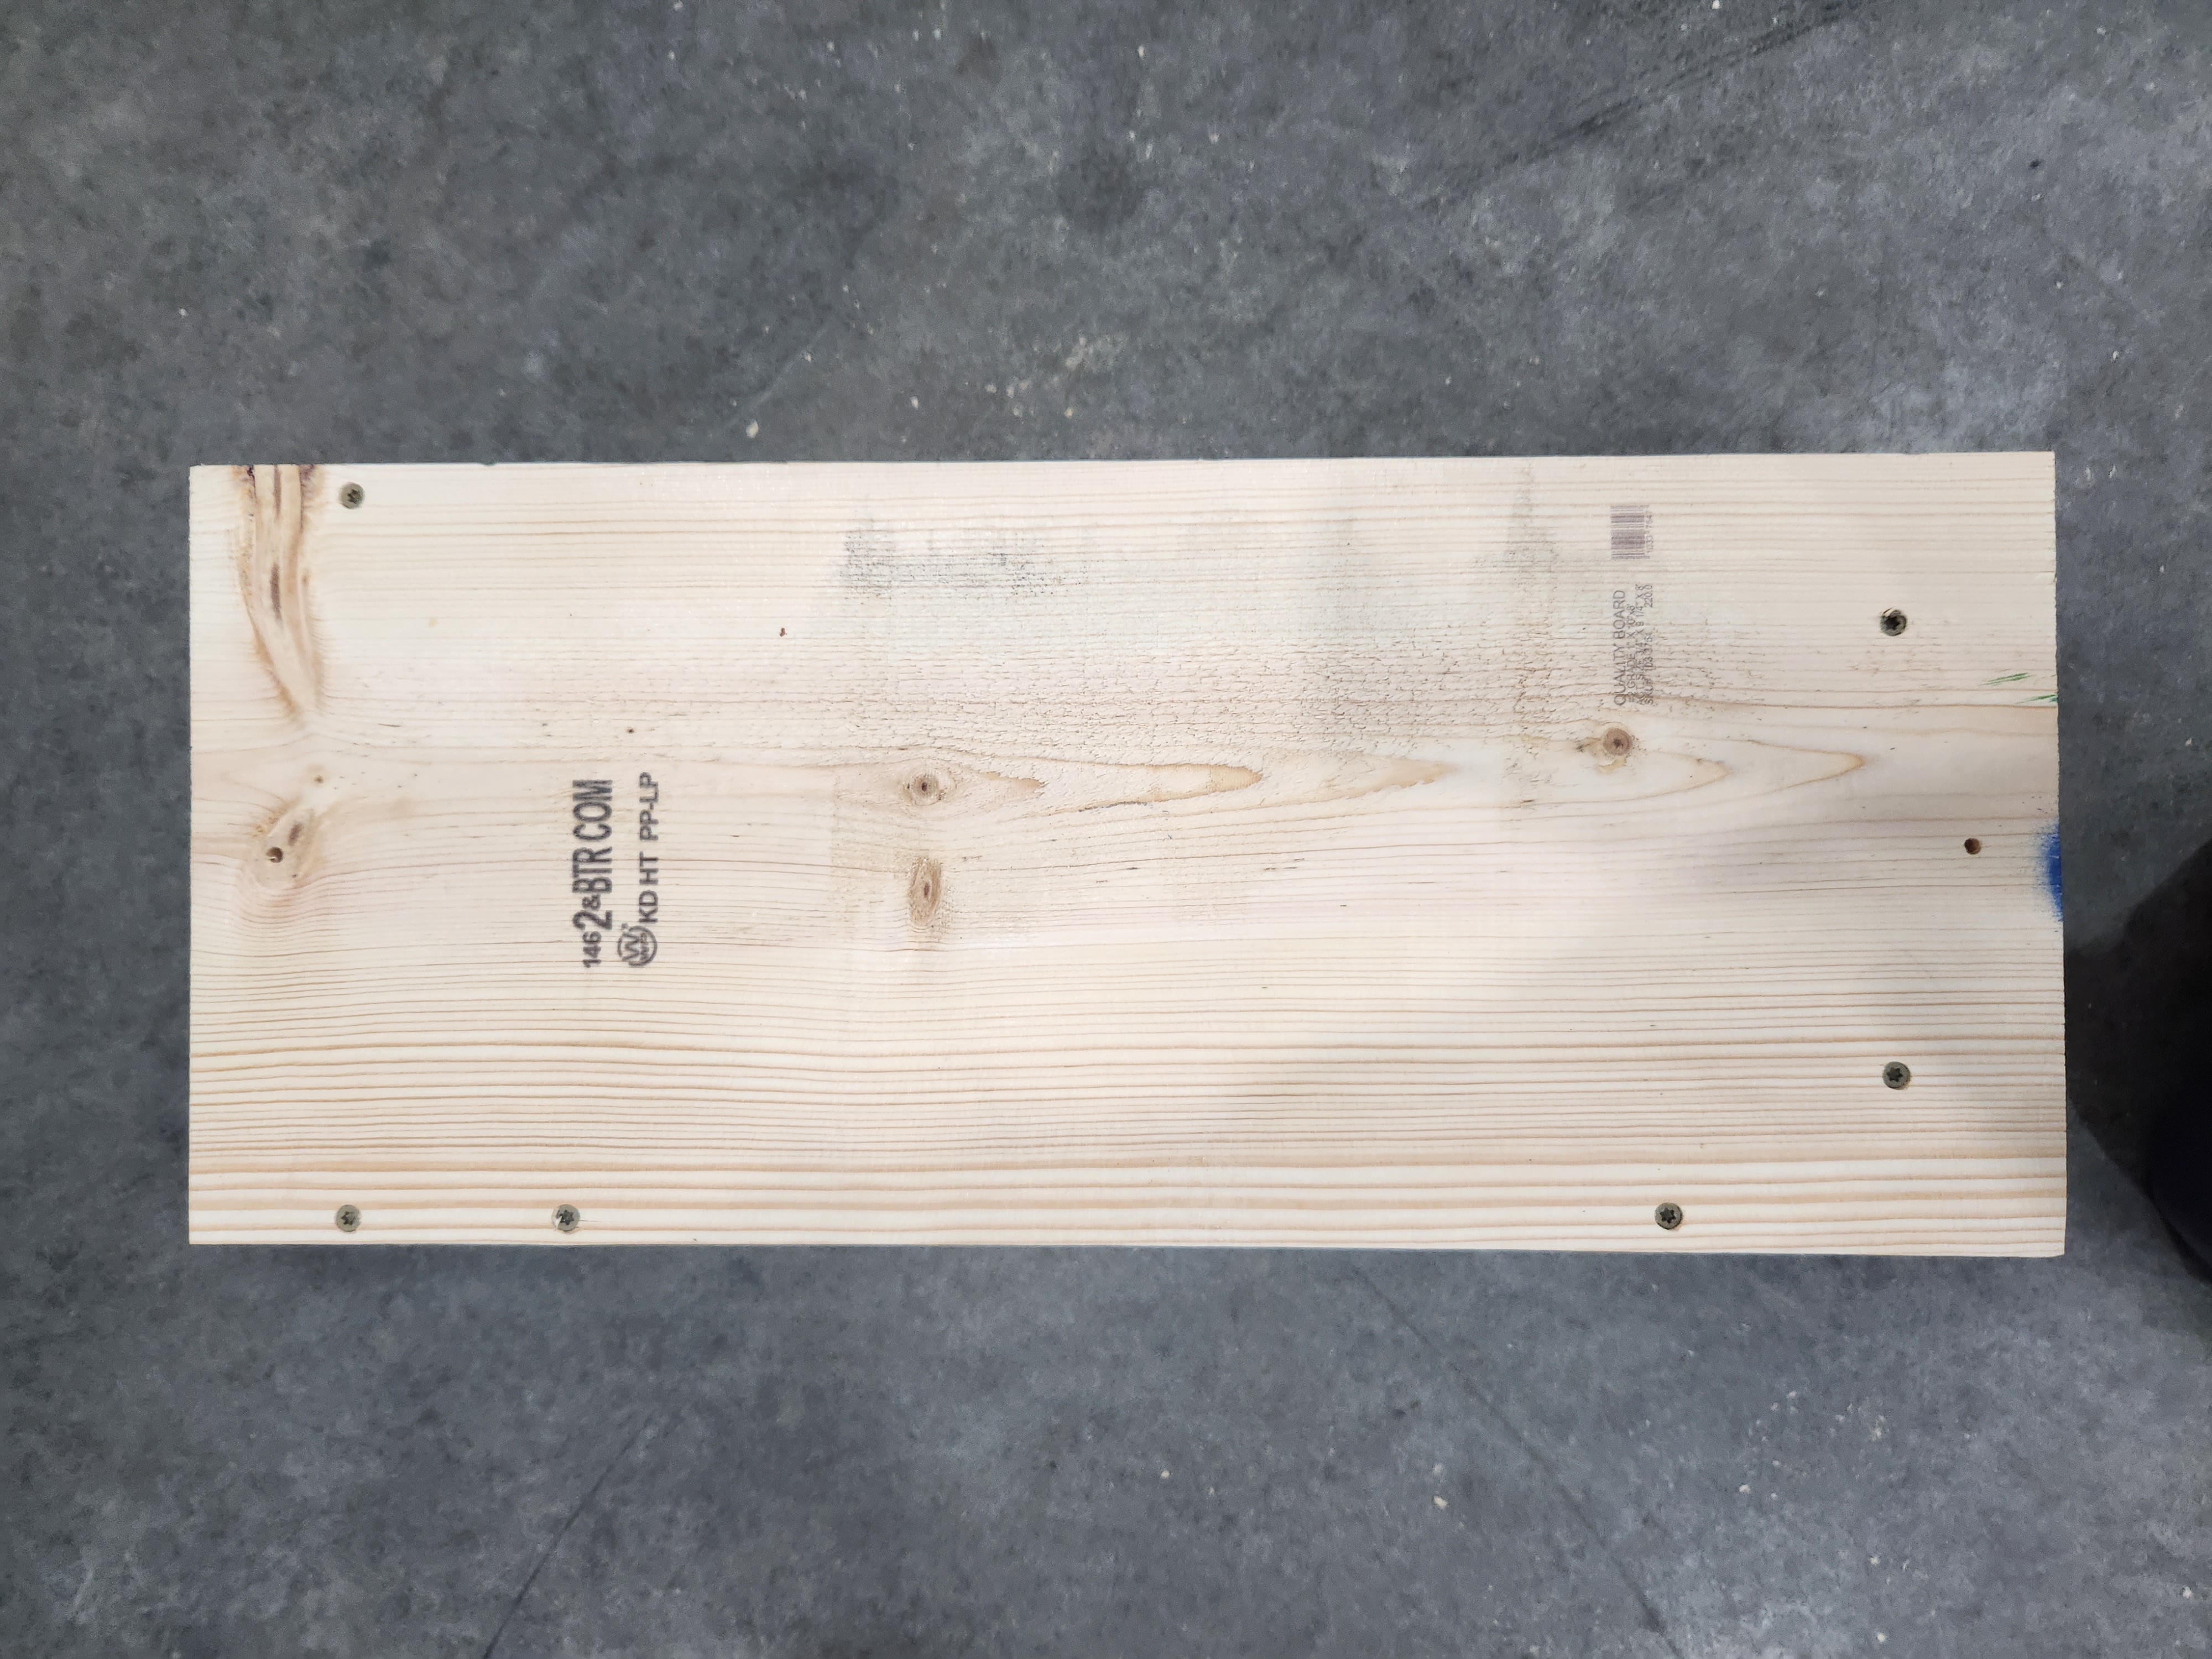
Bottom (Red B)
Find the Bottom (Red B). With the letter on the inside of the box, and the green arrow pointing at the Back side (Green B). The Bottom (Green B) should align with the Fixed side (R) and the pencil mark. Attach with 4 screws.
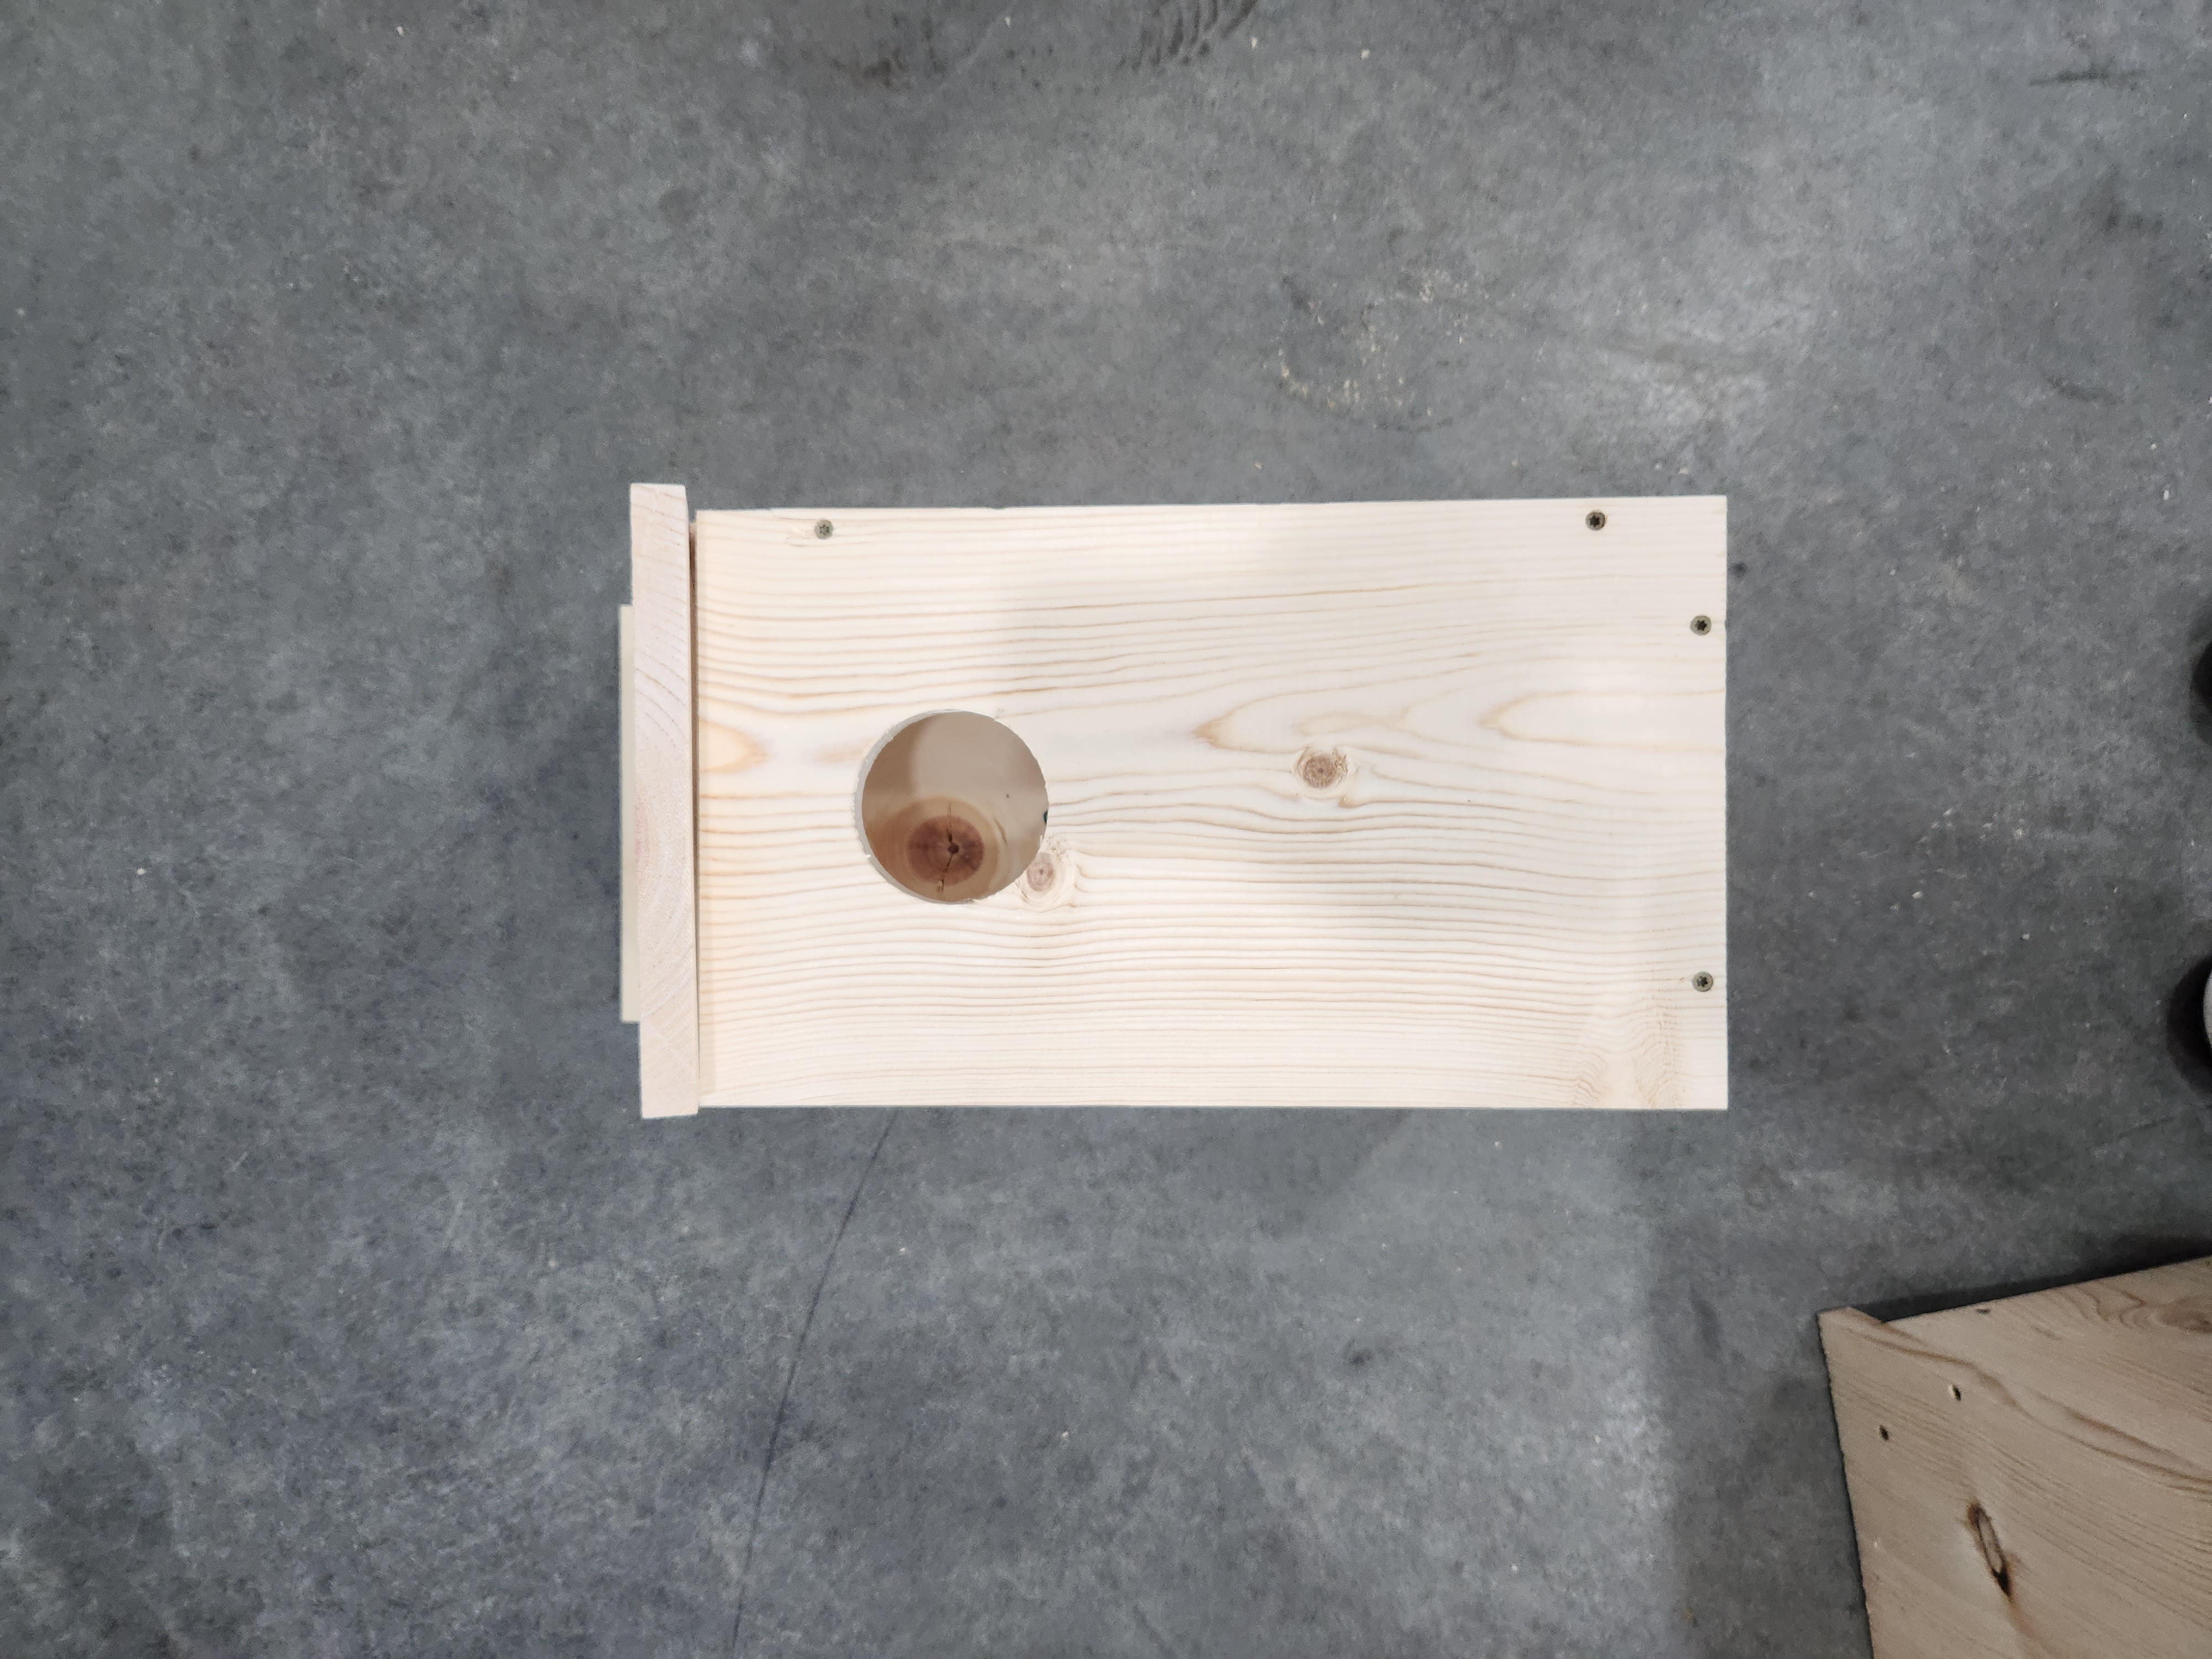
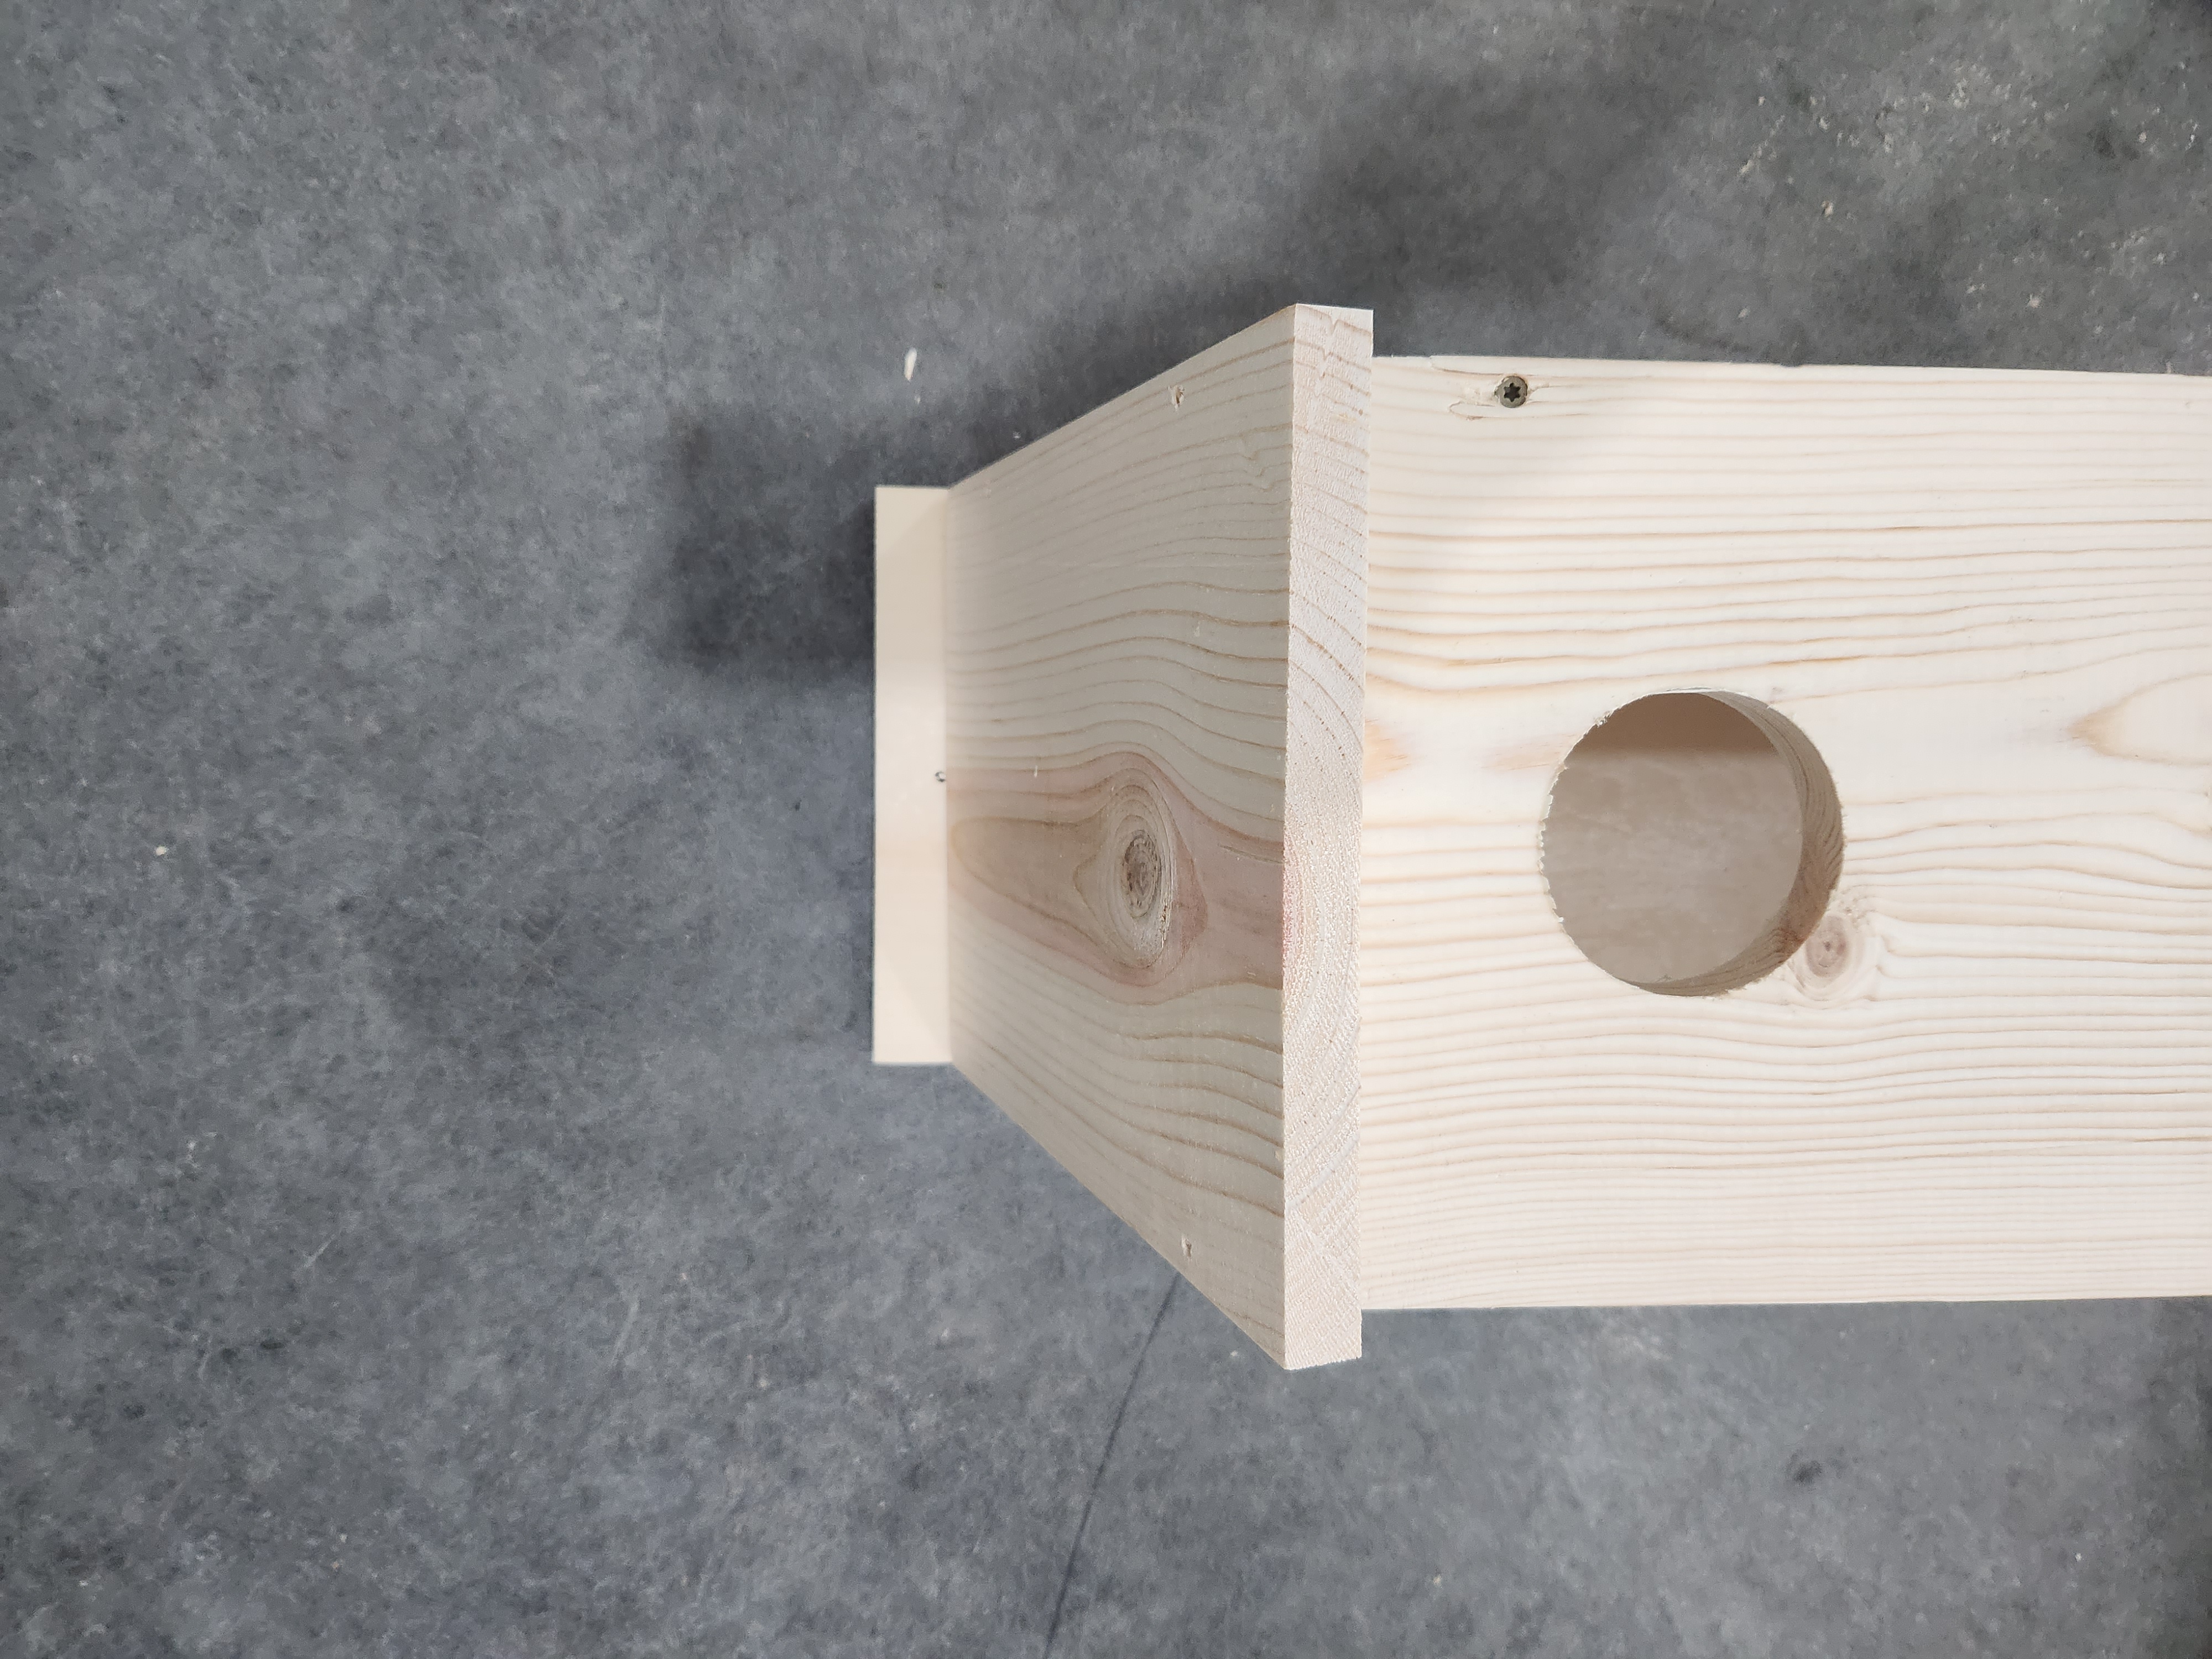
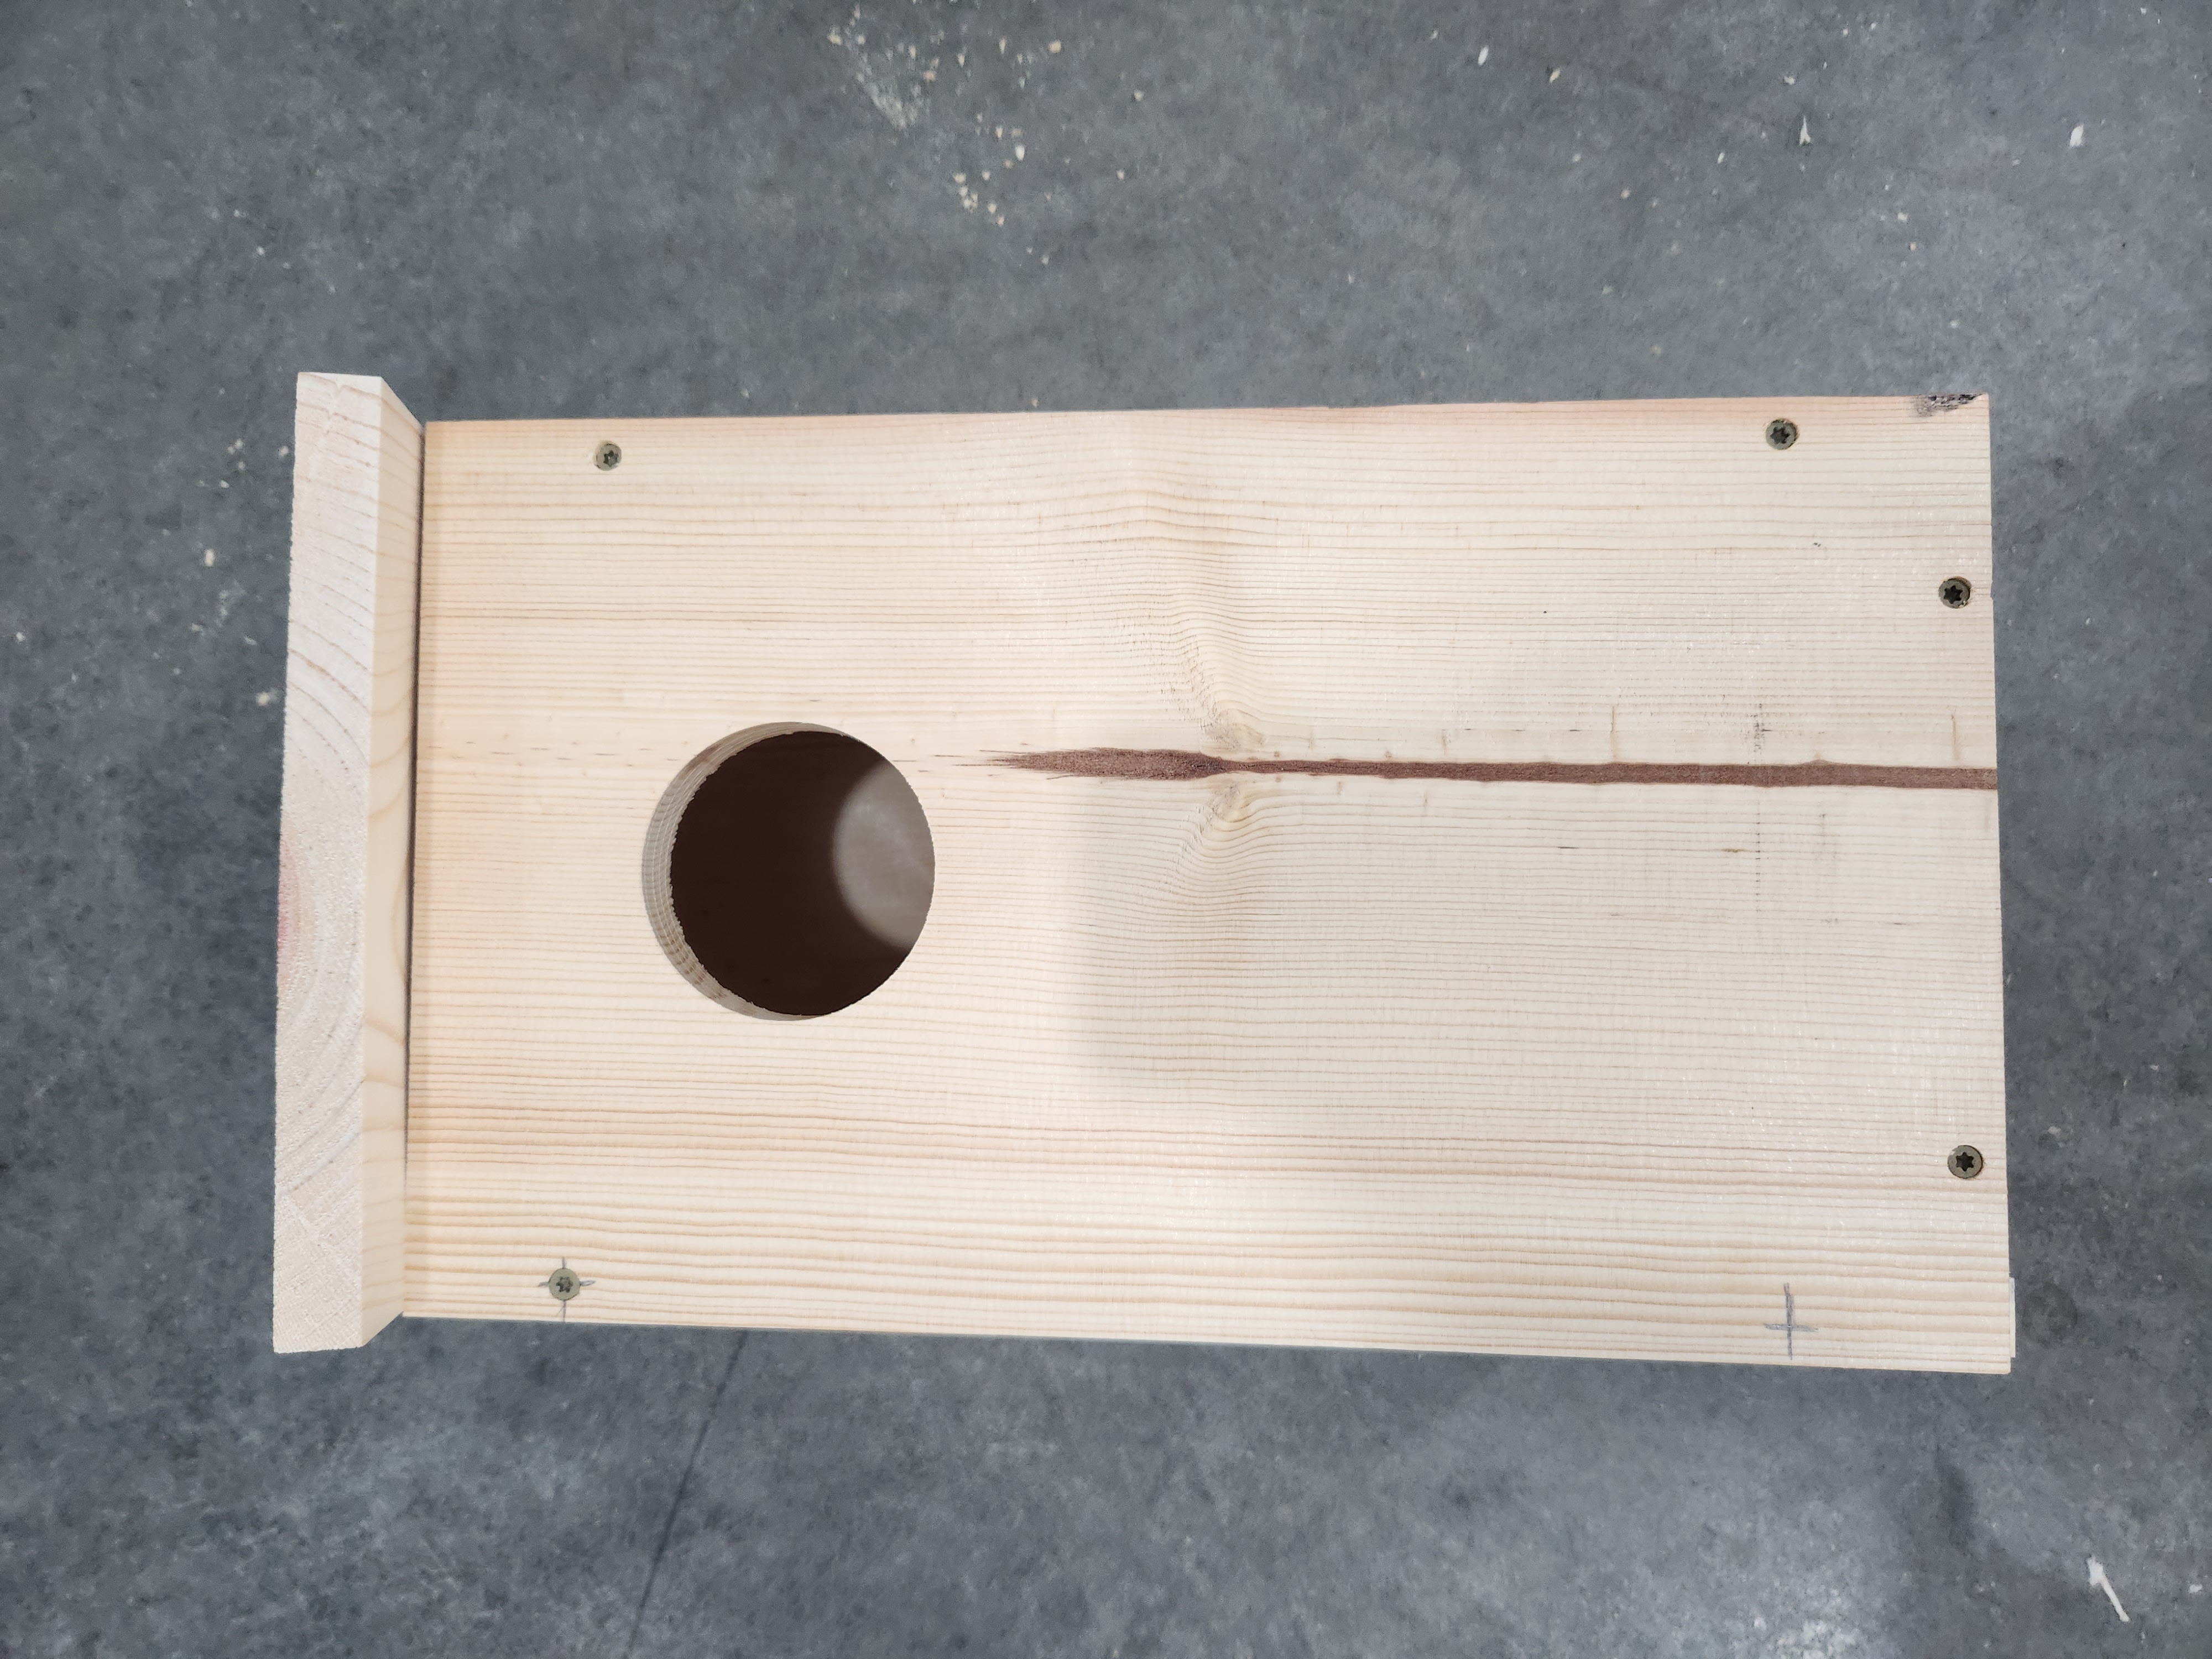
Front (F)
Find the Front (F). With the letter on the inside, and a large hole towards the top, the edges of the front should be flush with the Fixed side (R) and the Bottom (B). Attach with 4 screws.
Top (T)
Find the Top (T). With the letter on the inside of the box, and green arrow pointing at the Back (B), flush the Top (T) with the Fixed side (F) and tight to the Back (B).
Your first and second screw will screw into the Fixed side (R). Your next screw will go straight down into the Front (F). The last 2 screws will come from the Back (B) into the Top (T).


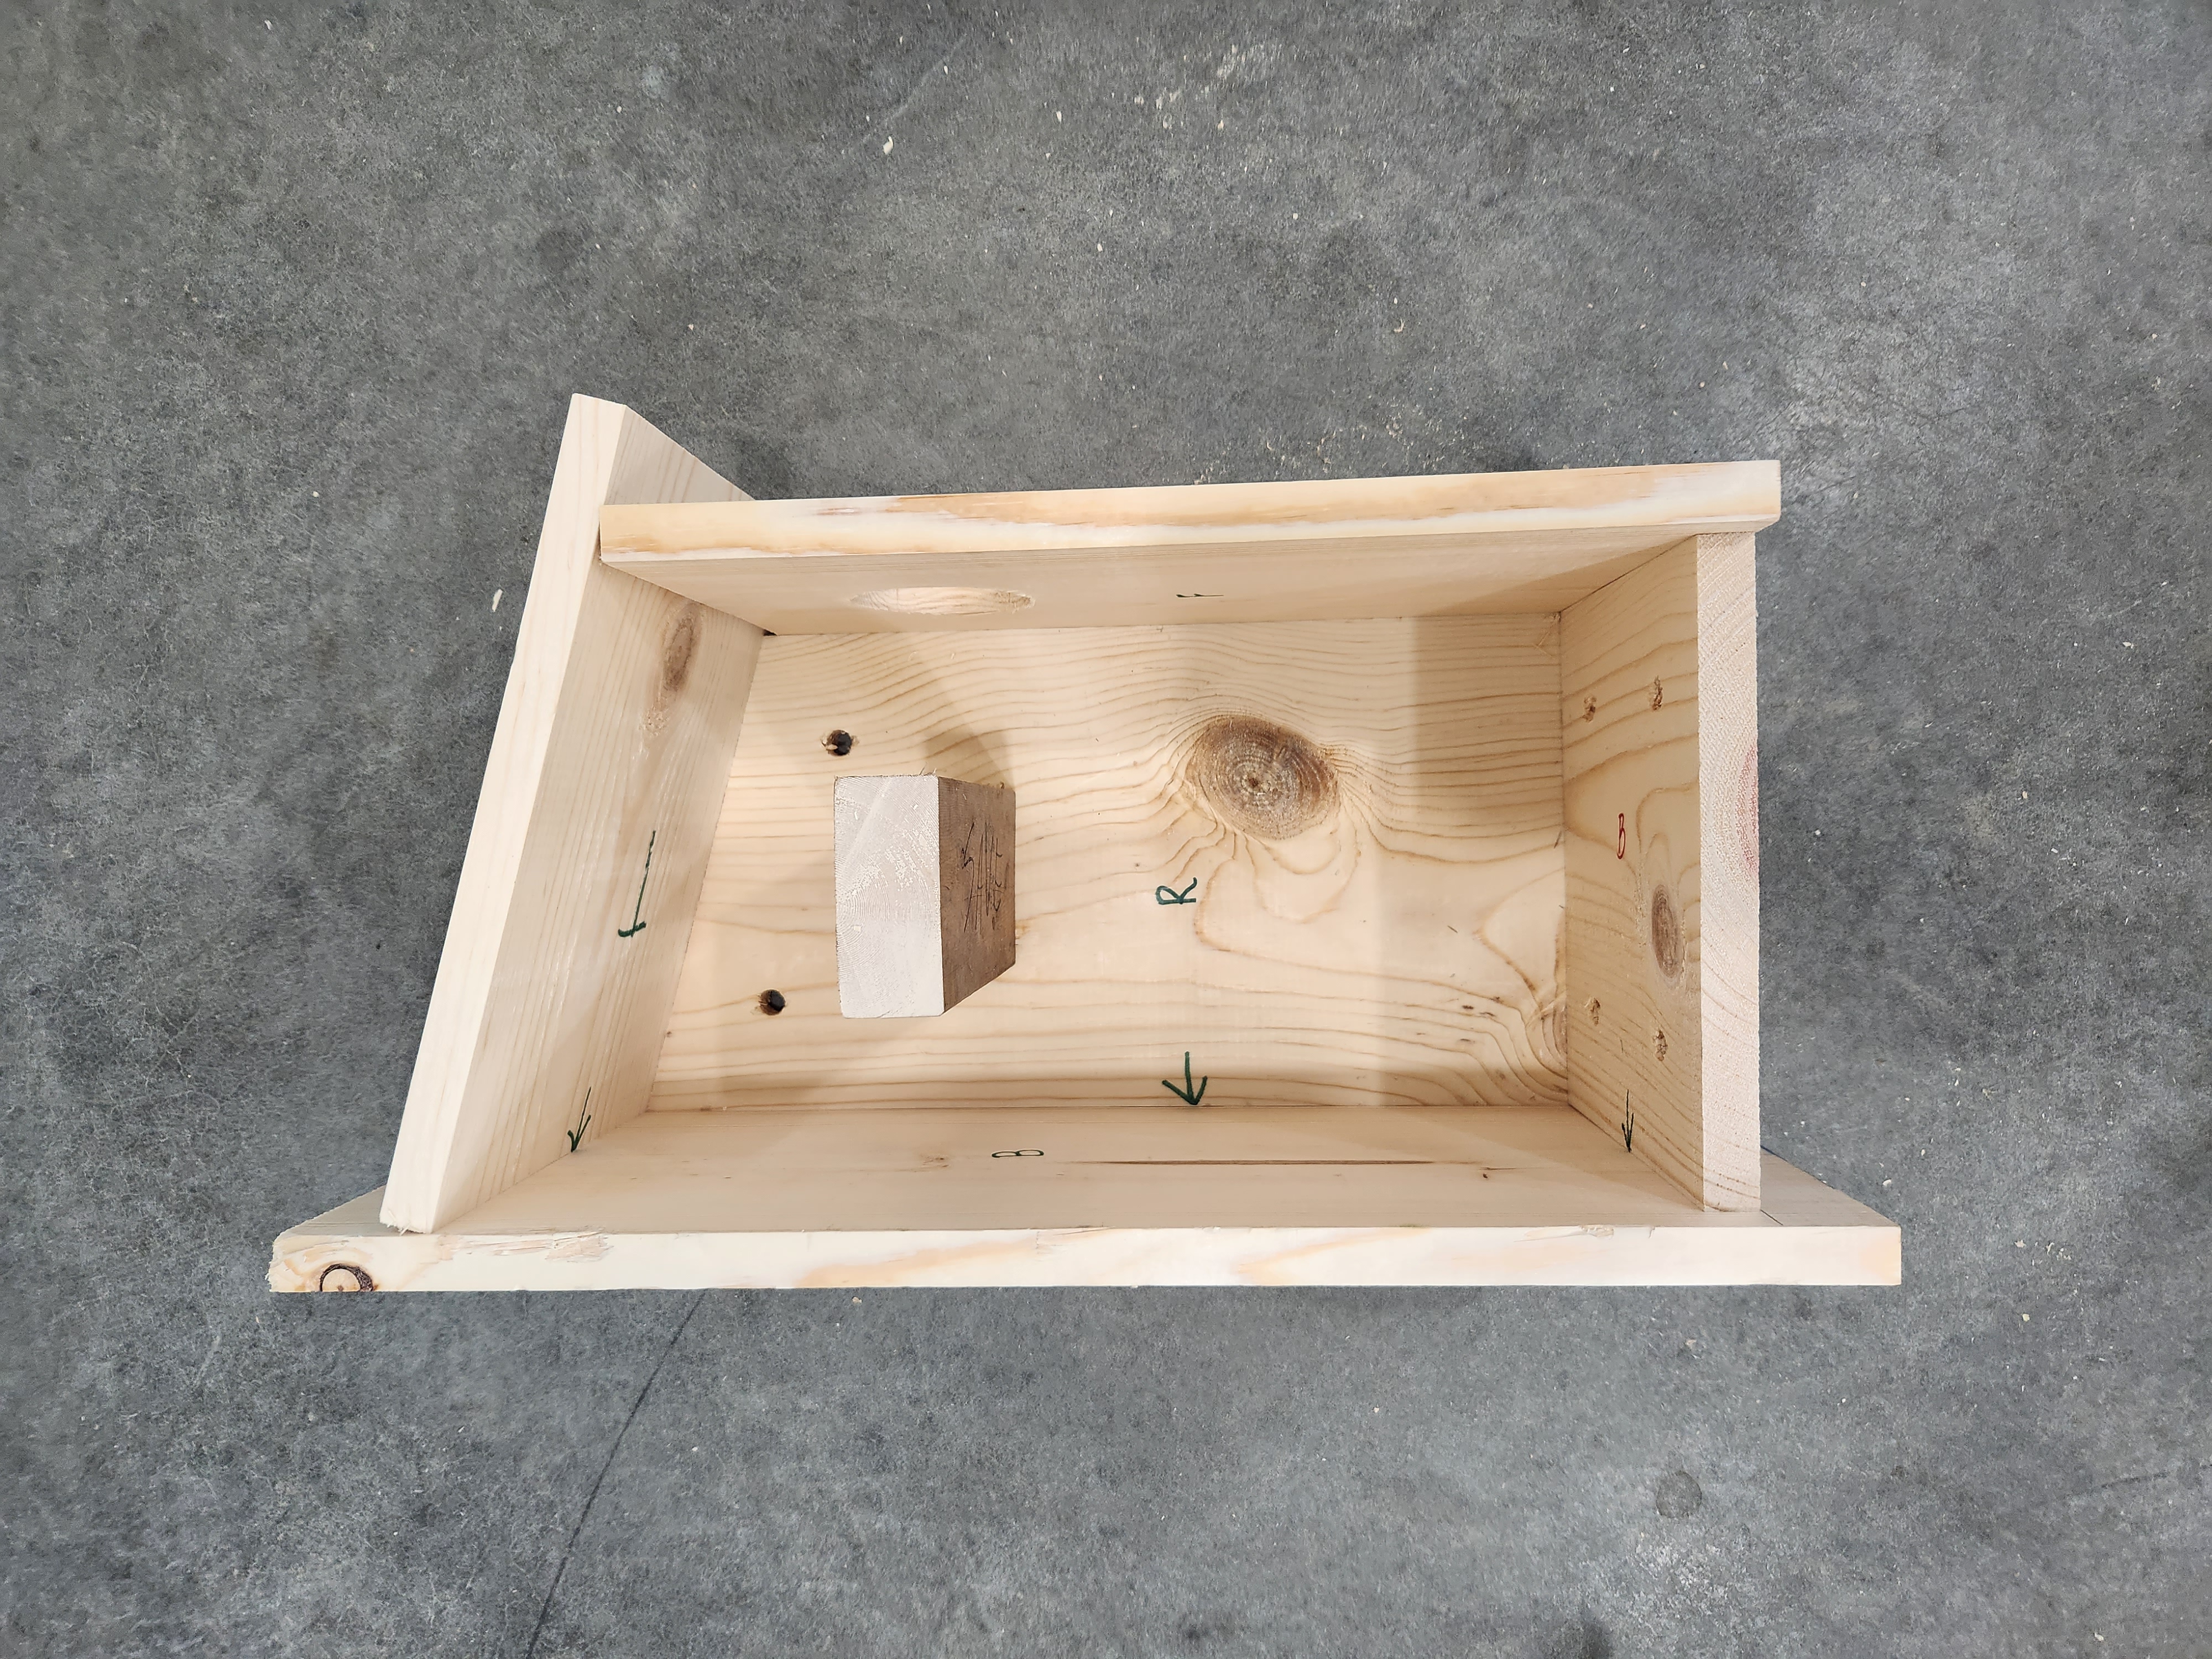
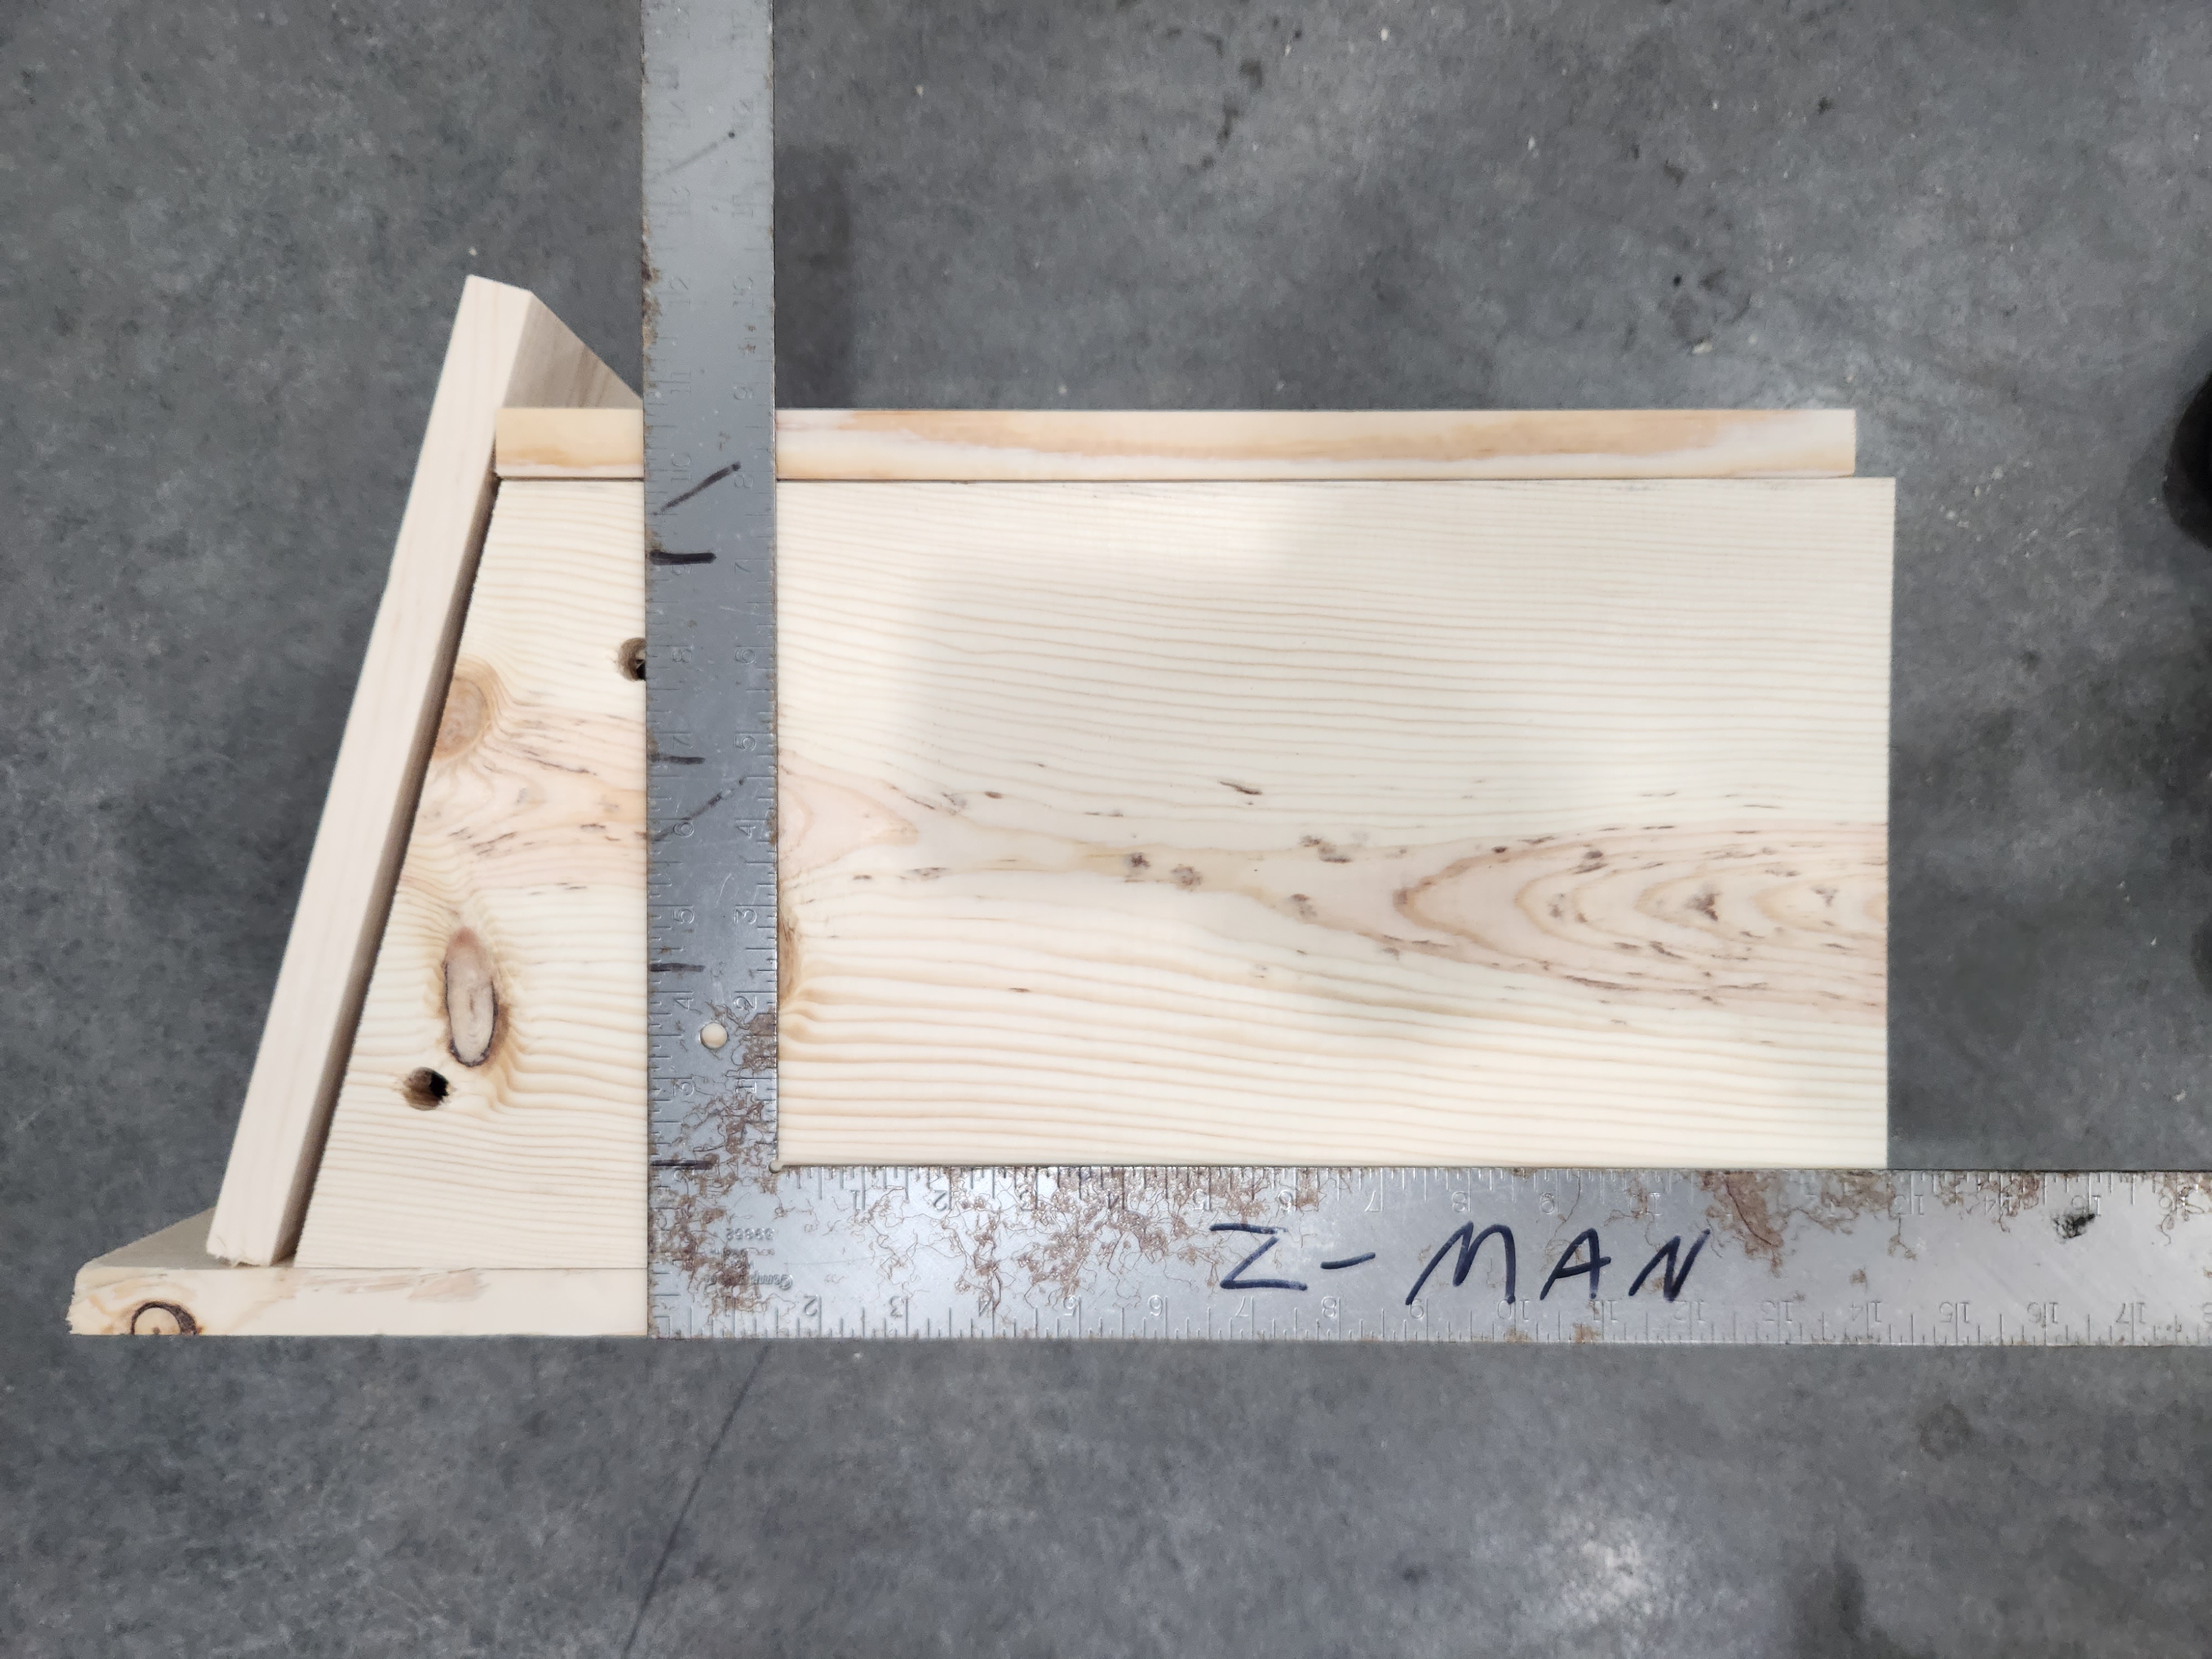
Hinged Side (L)
Find the Hinged side (L). With the letter on the inside of the box and green arrow pointing at the Back (B).
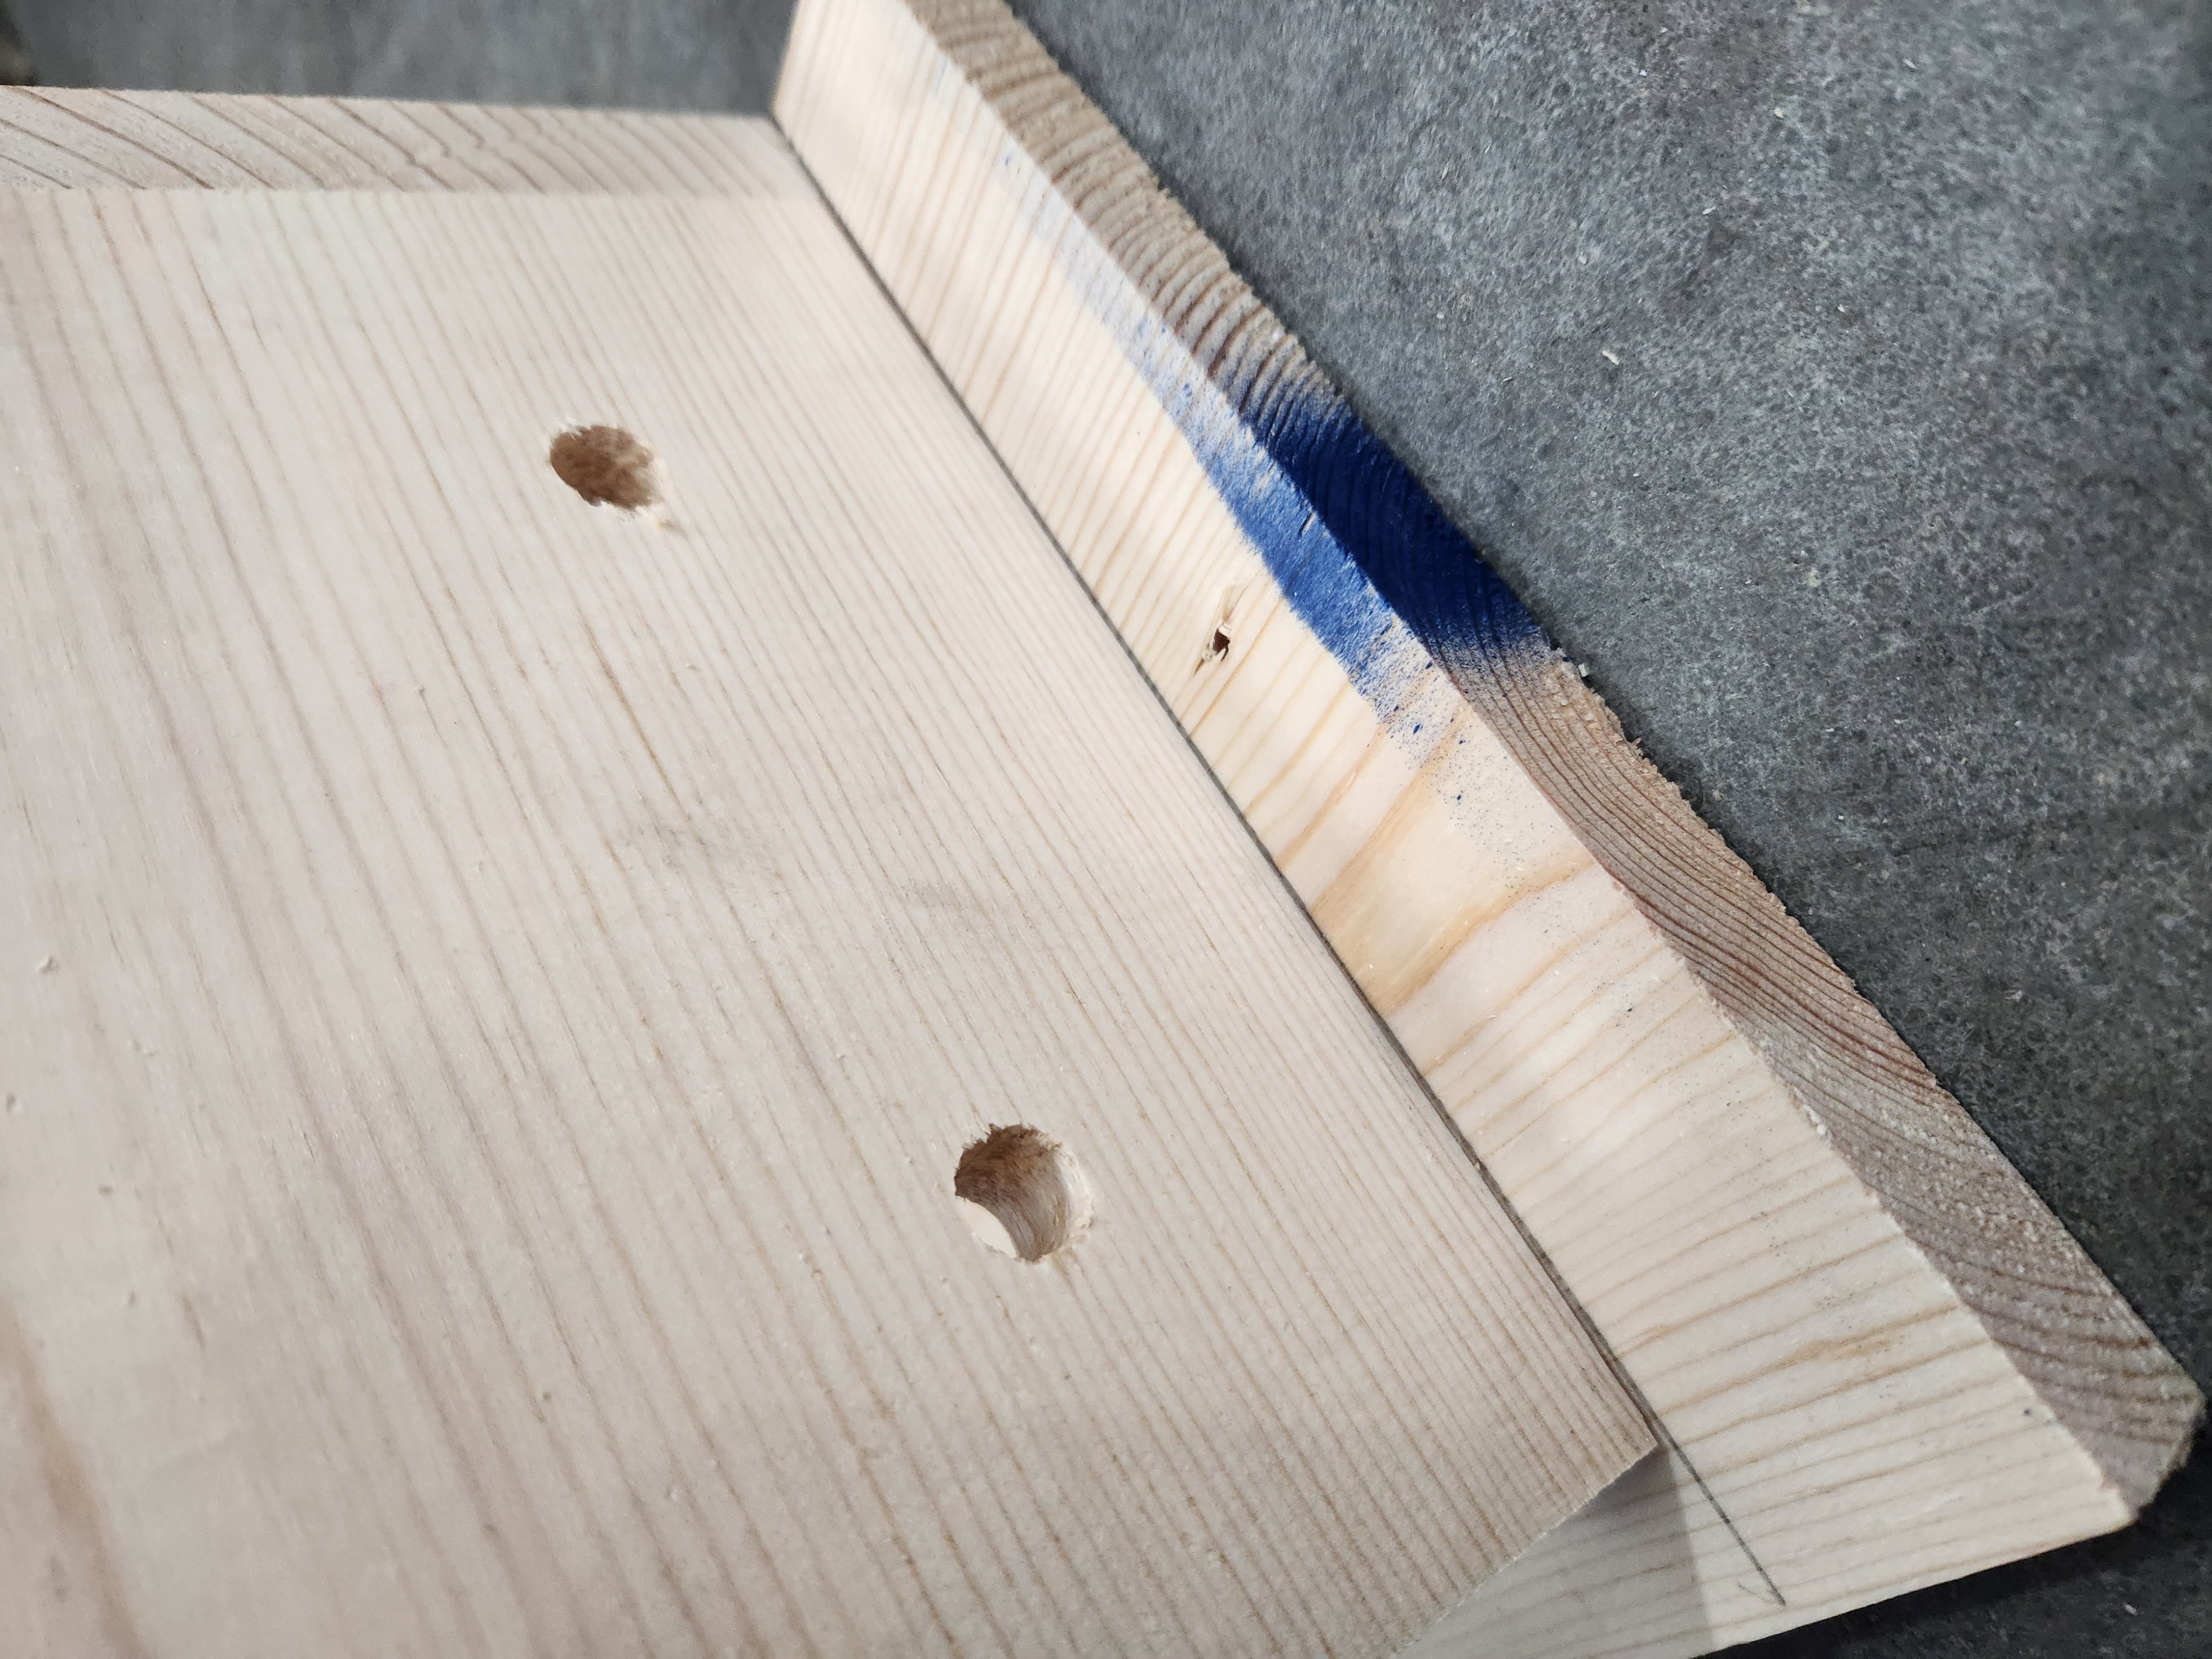
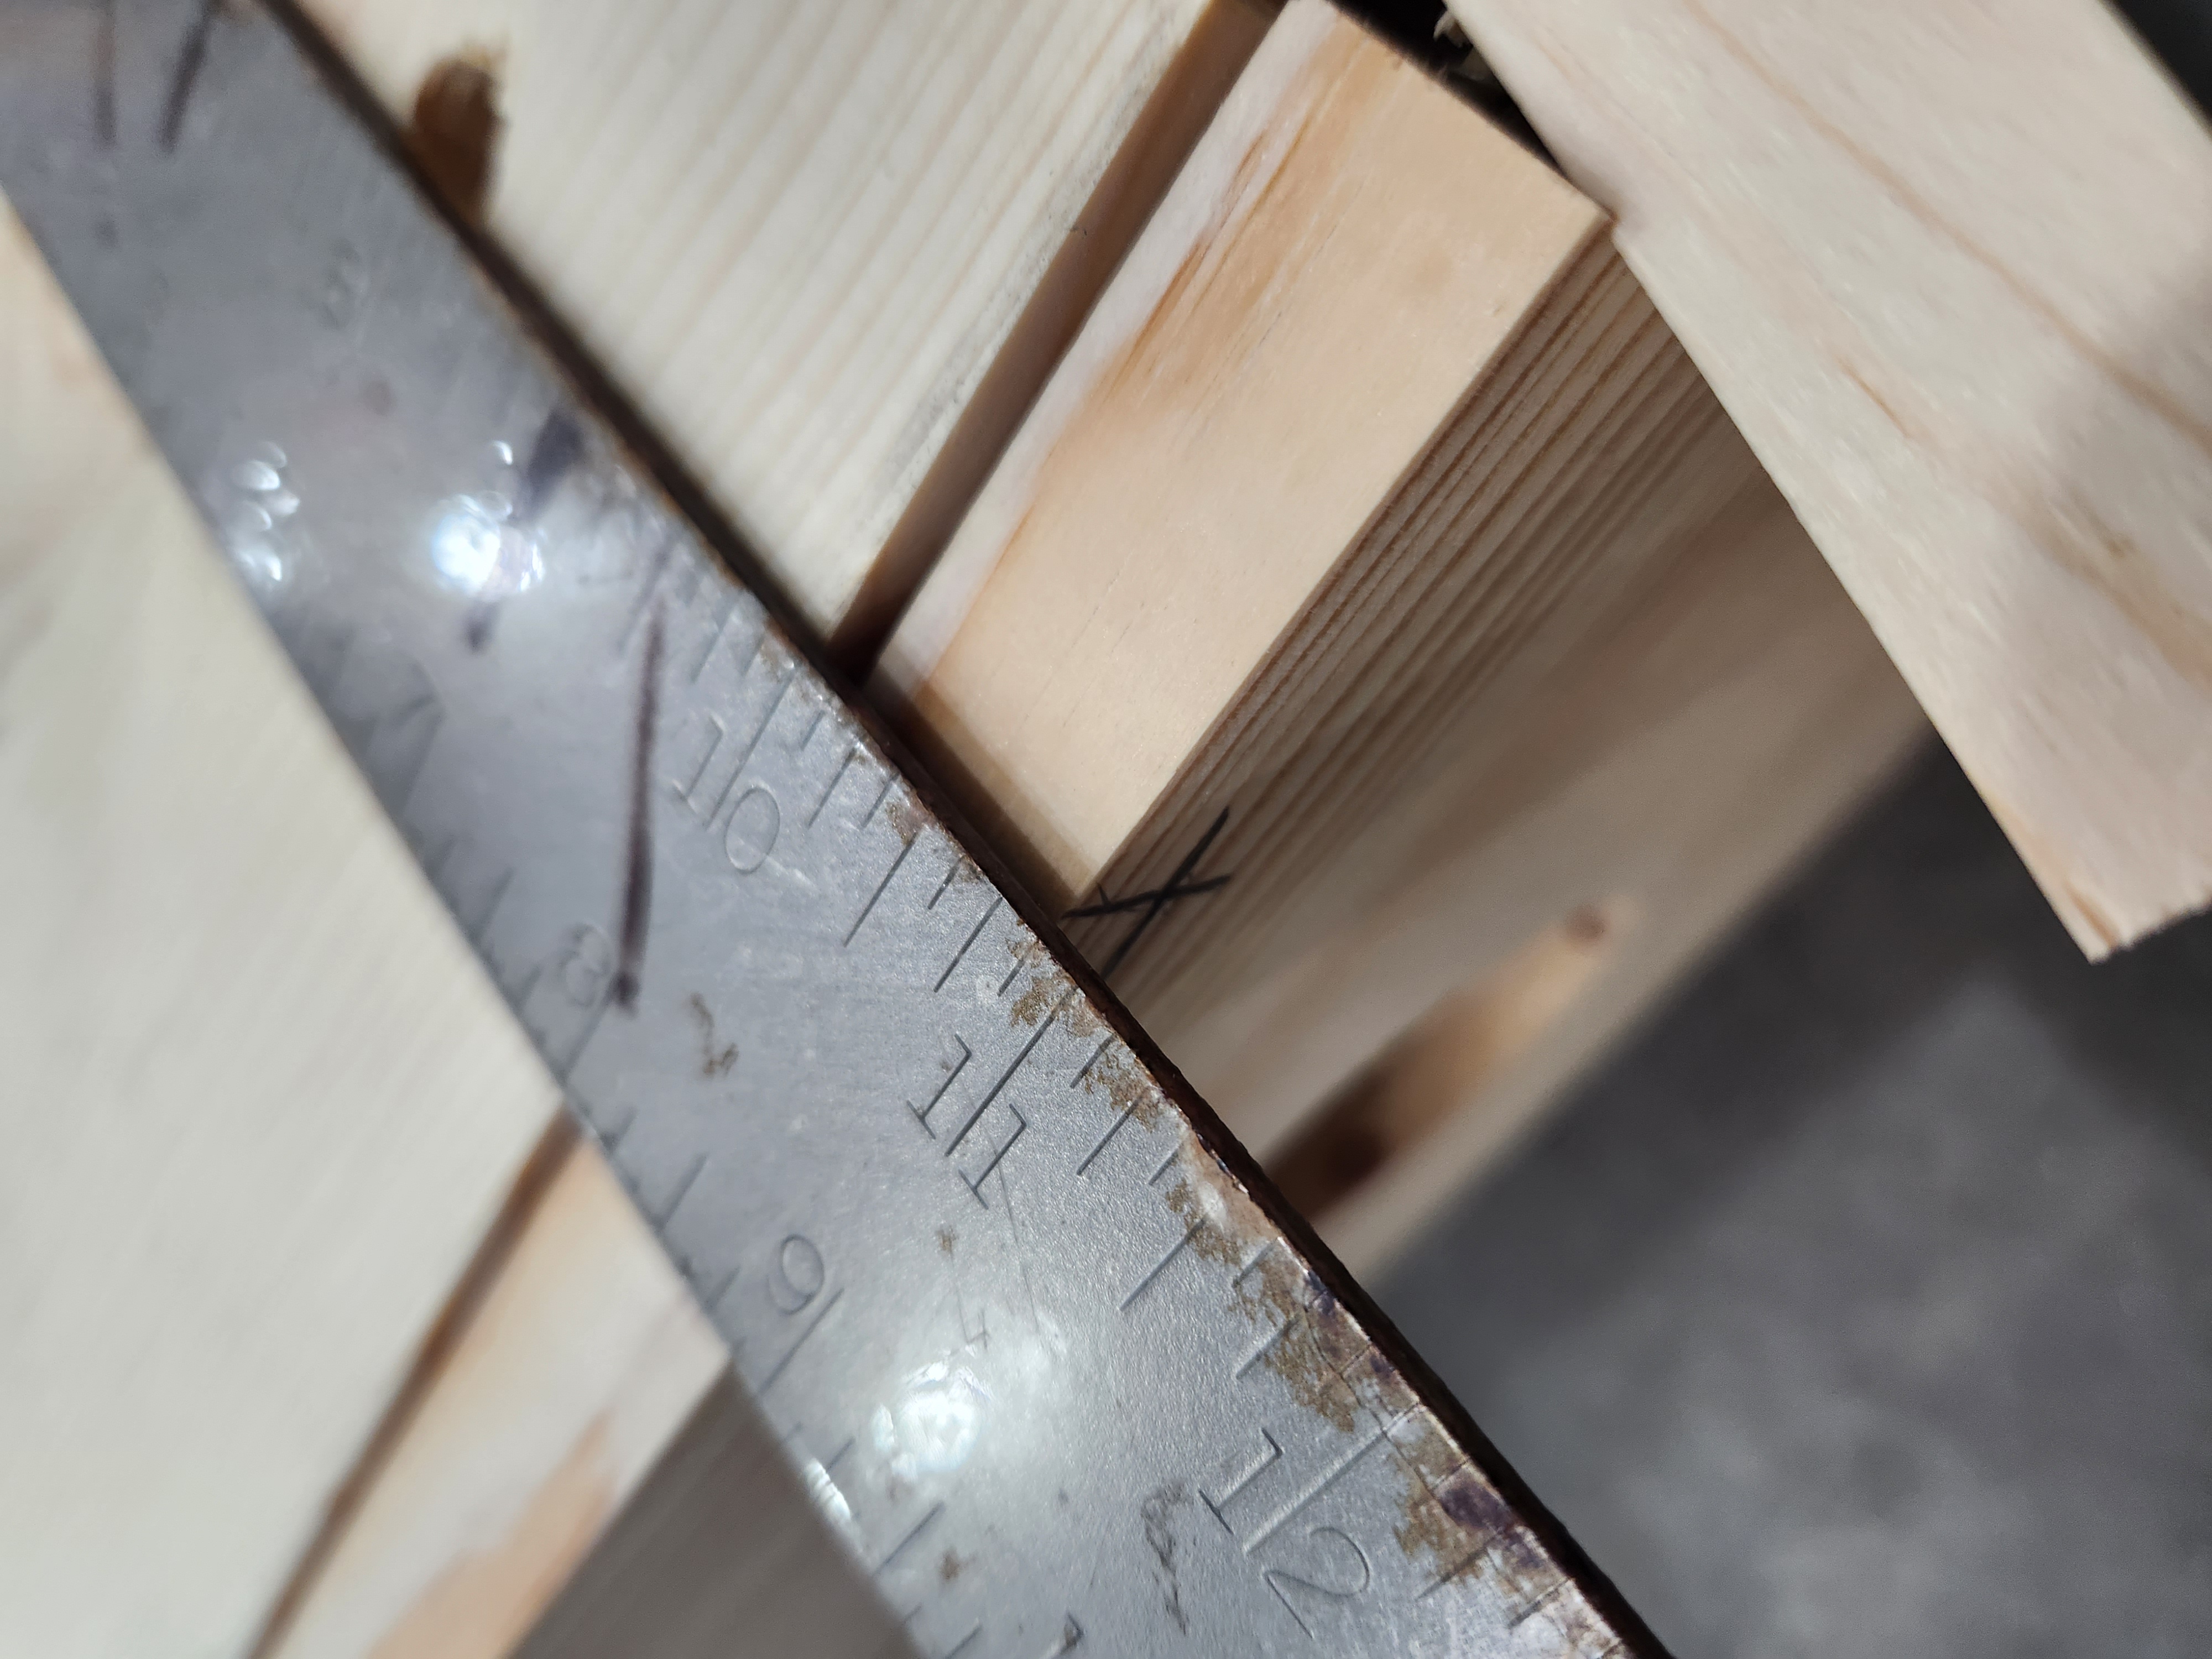
Locate a spacer block that measures 7 ¾ inches, and place it inside the box aligned with the large hole on the Front (F). This will be the temporary support while attaching the Hinged side (L).
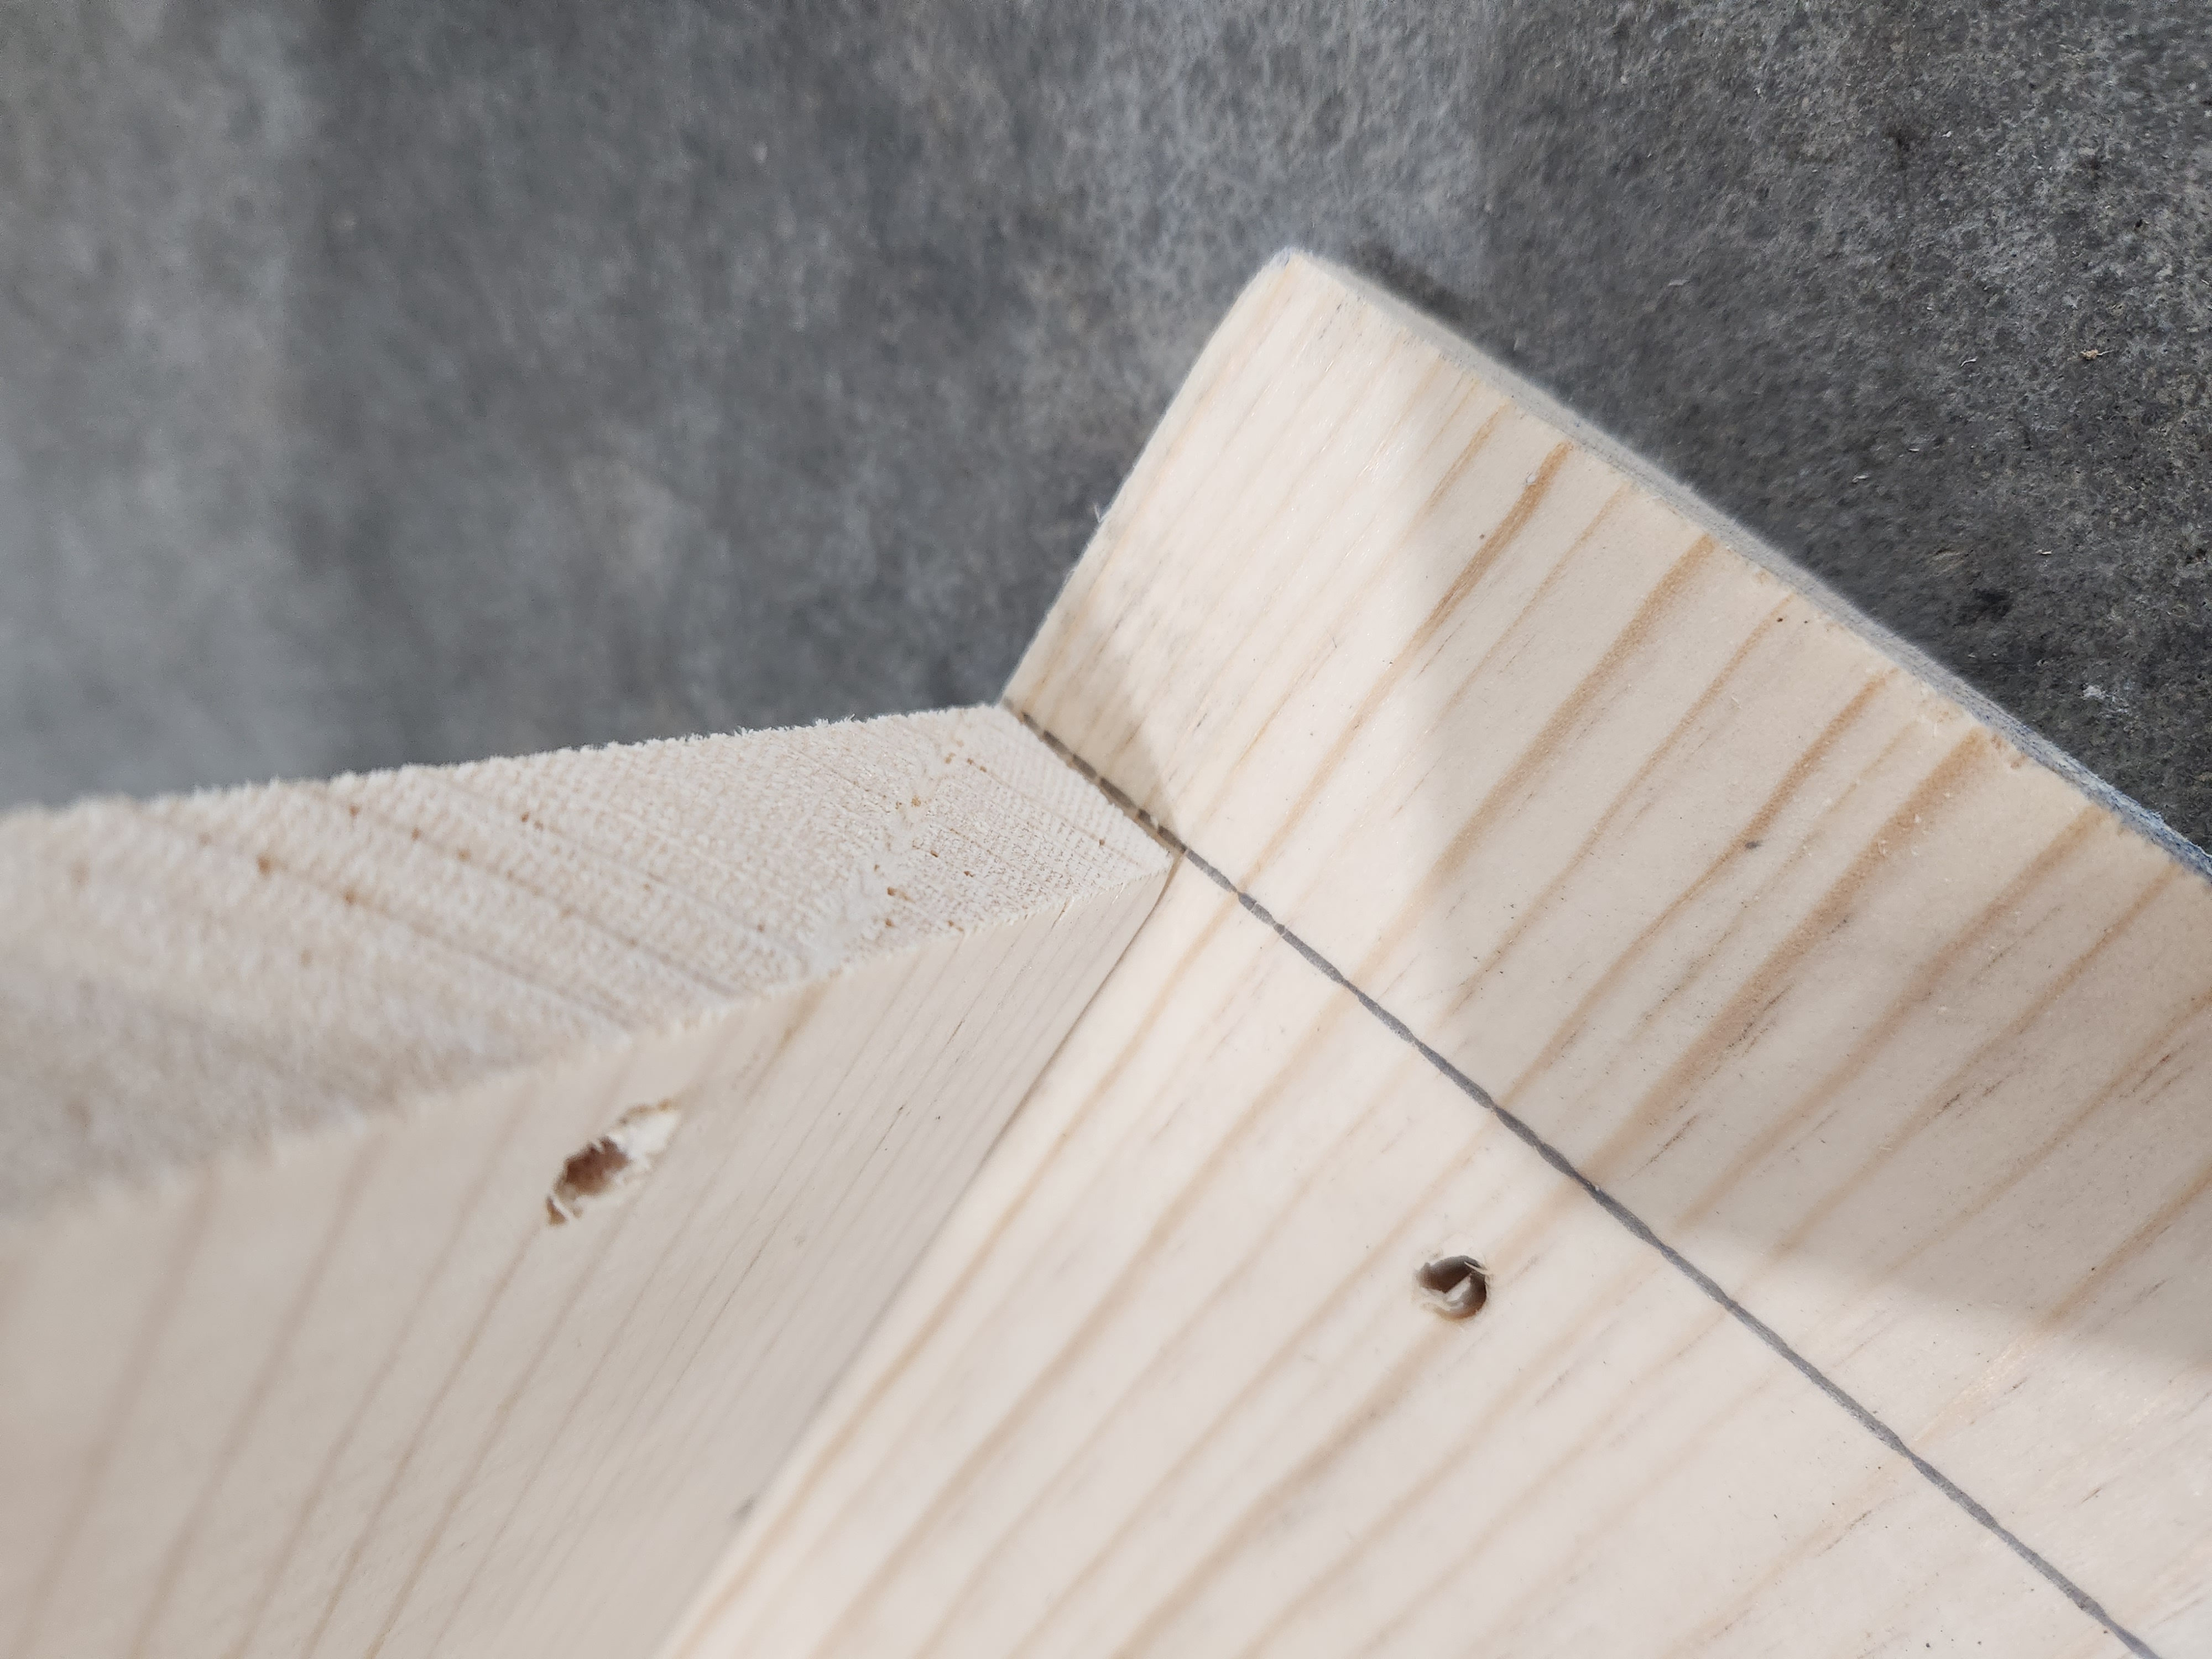
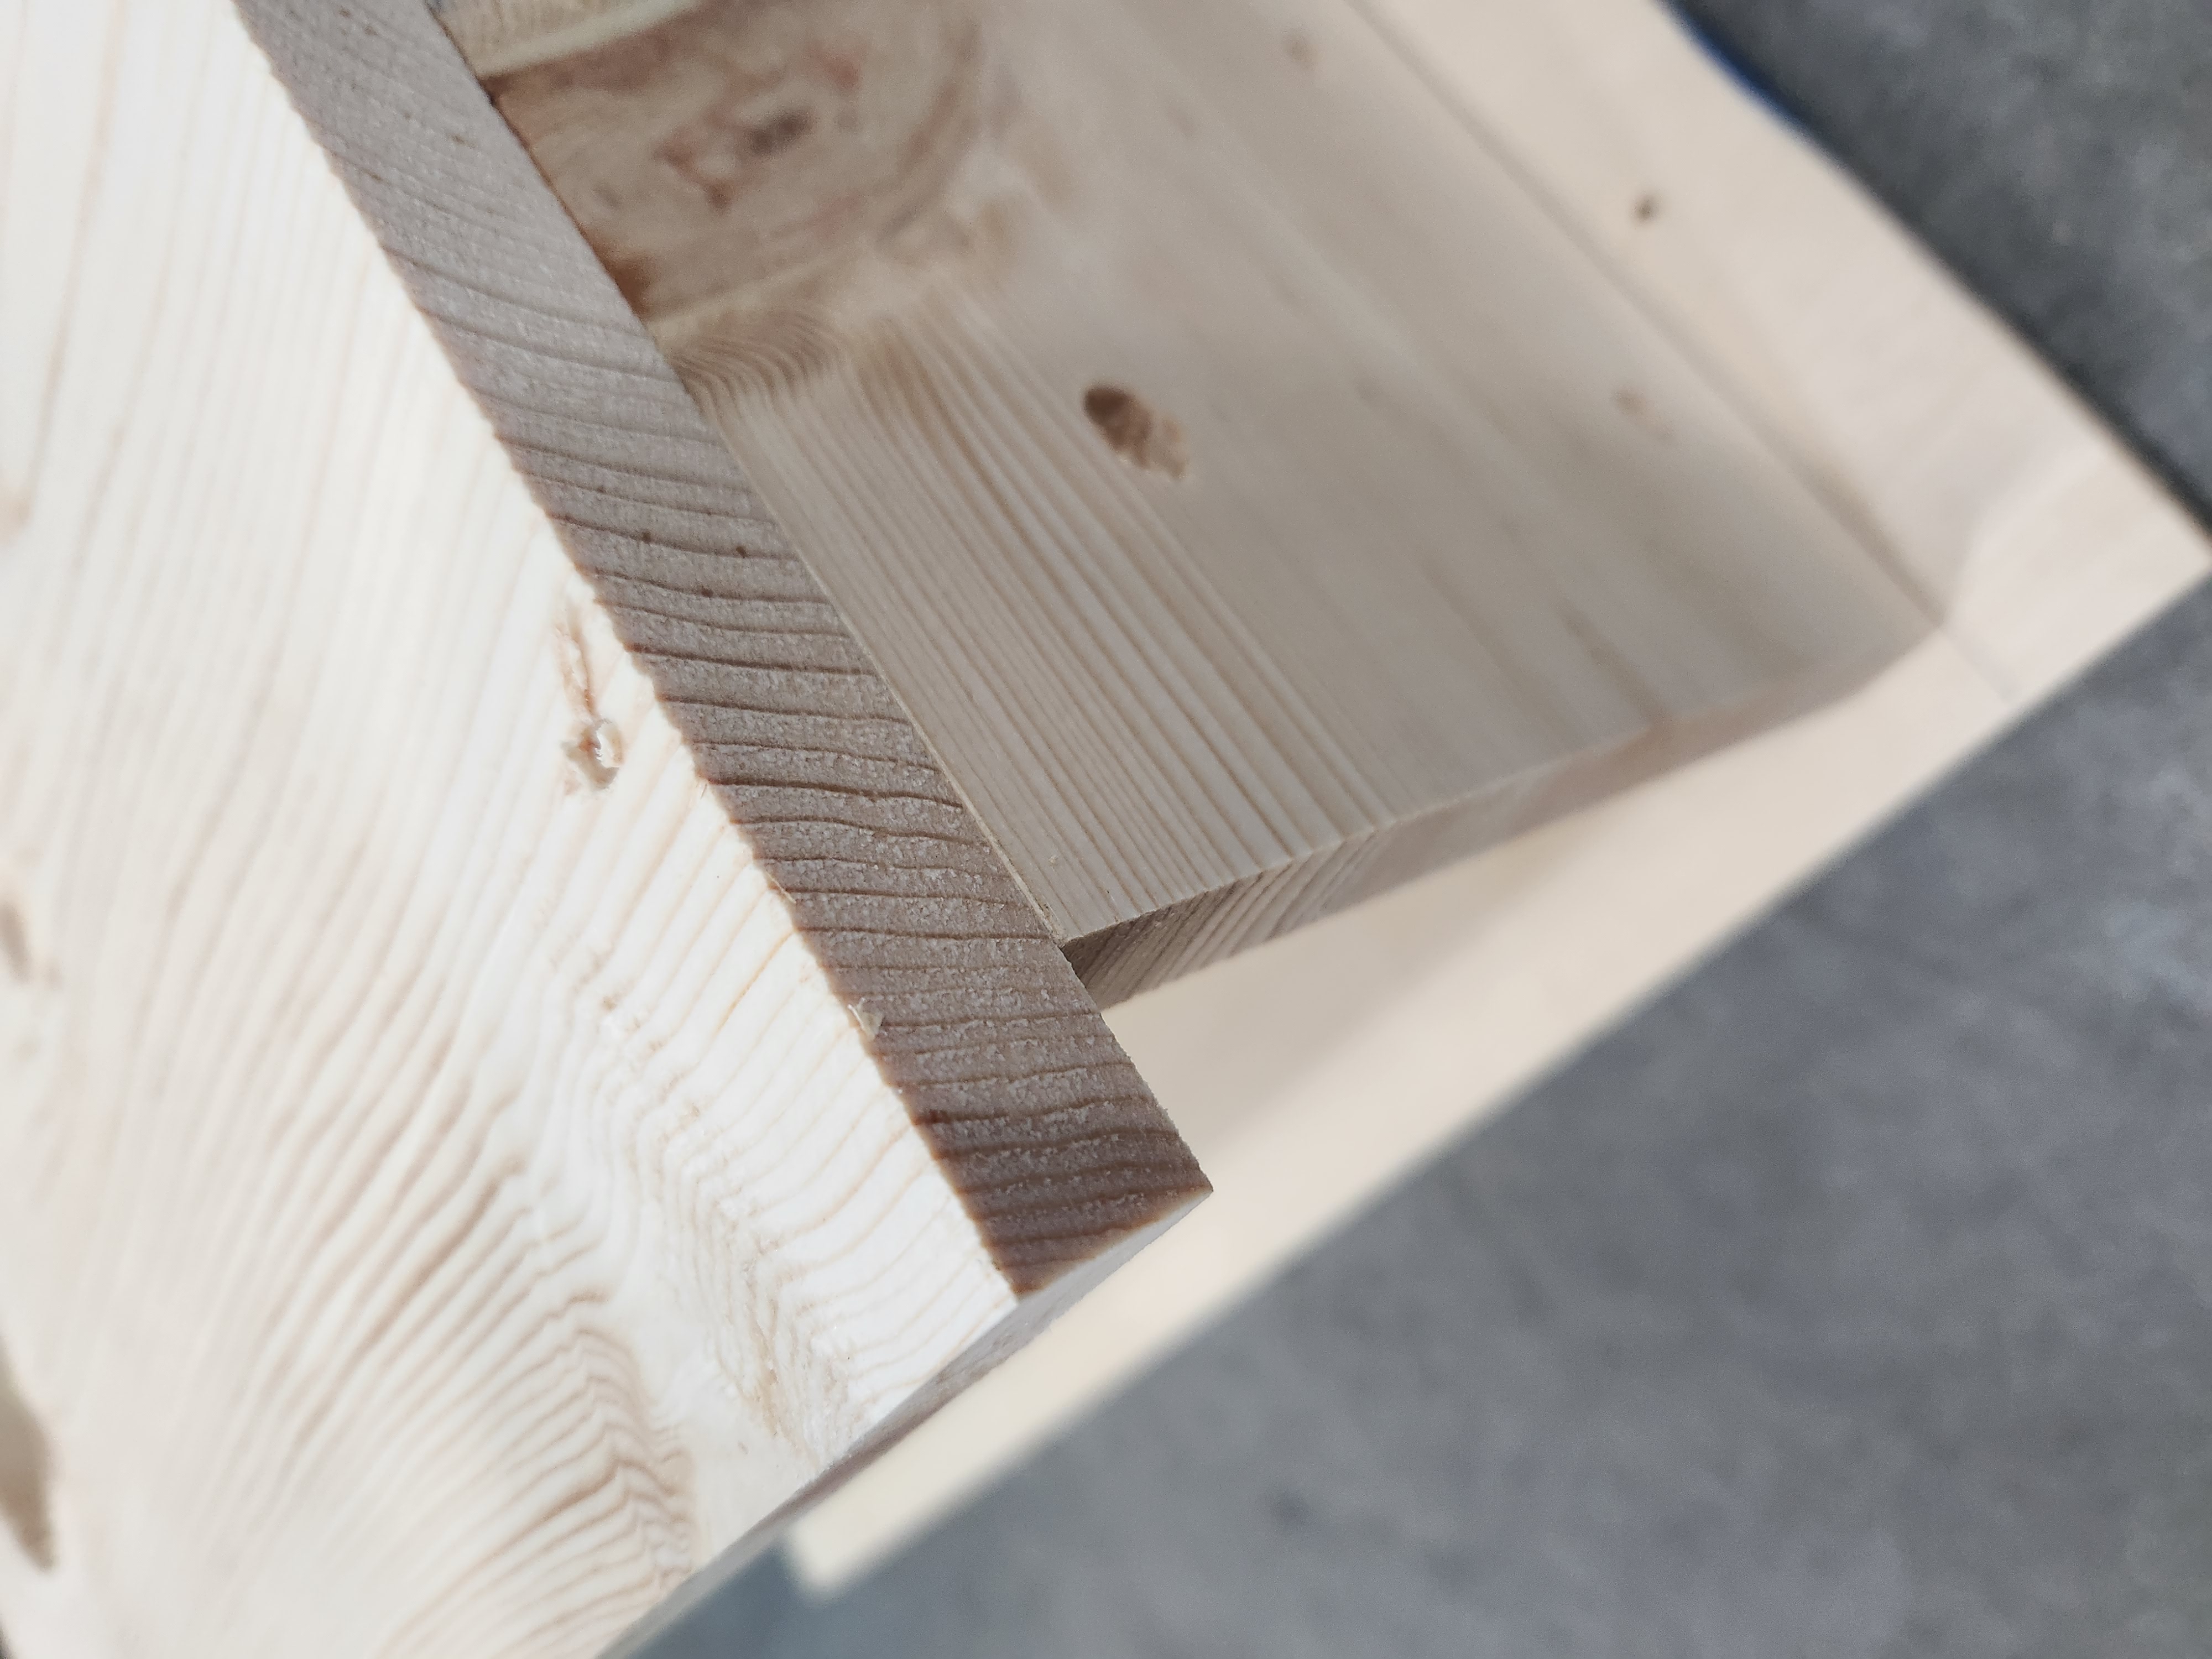
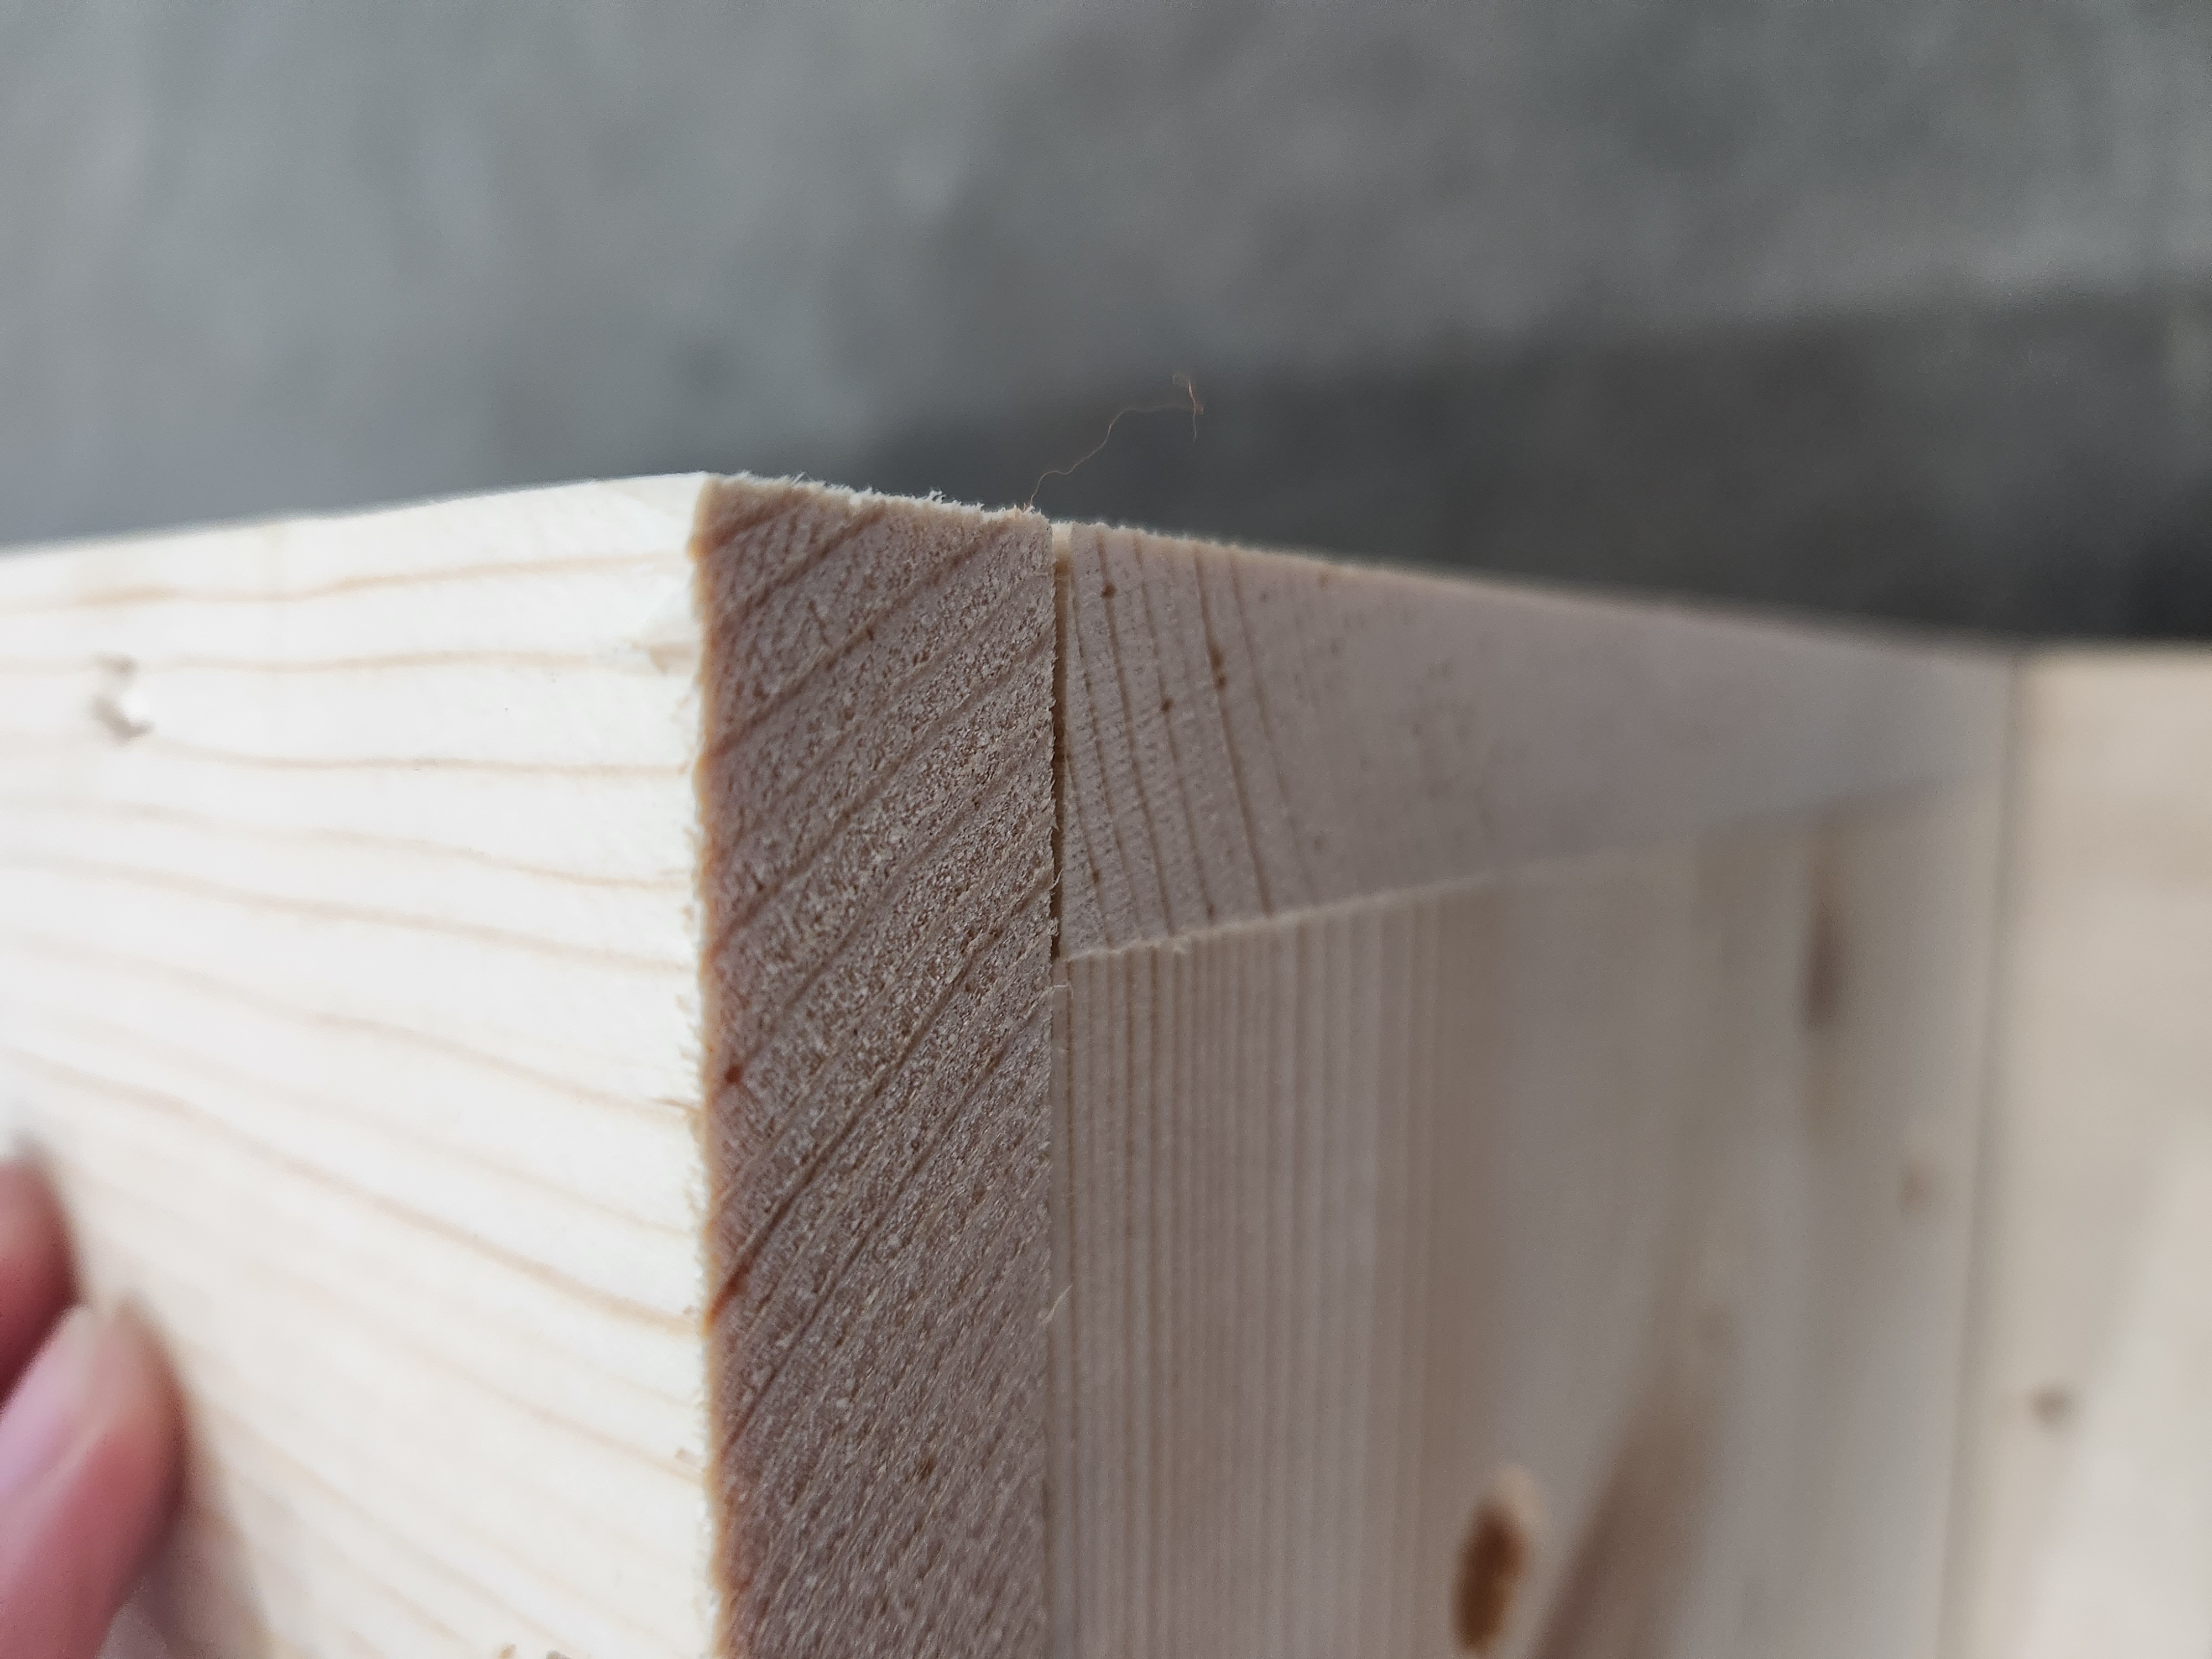
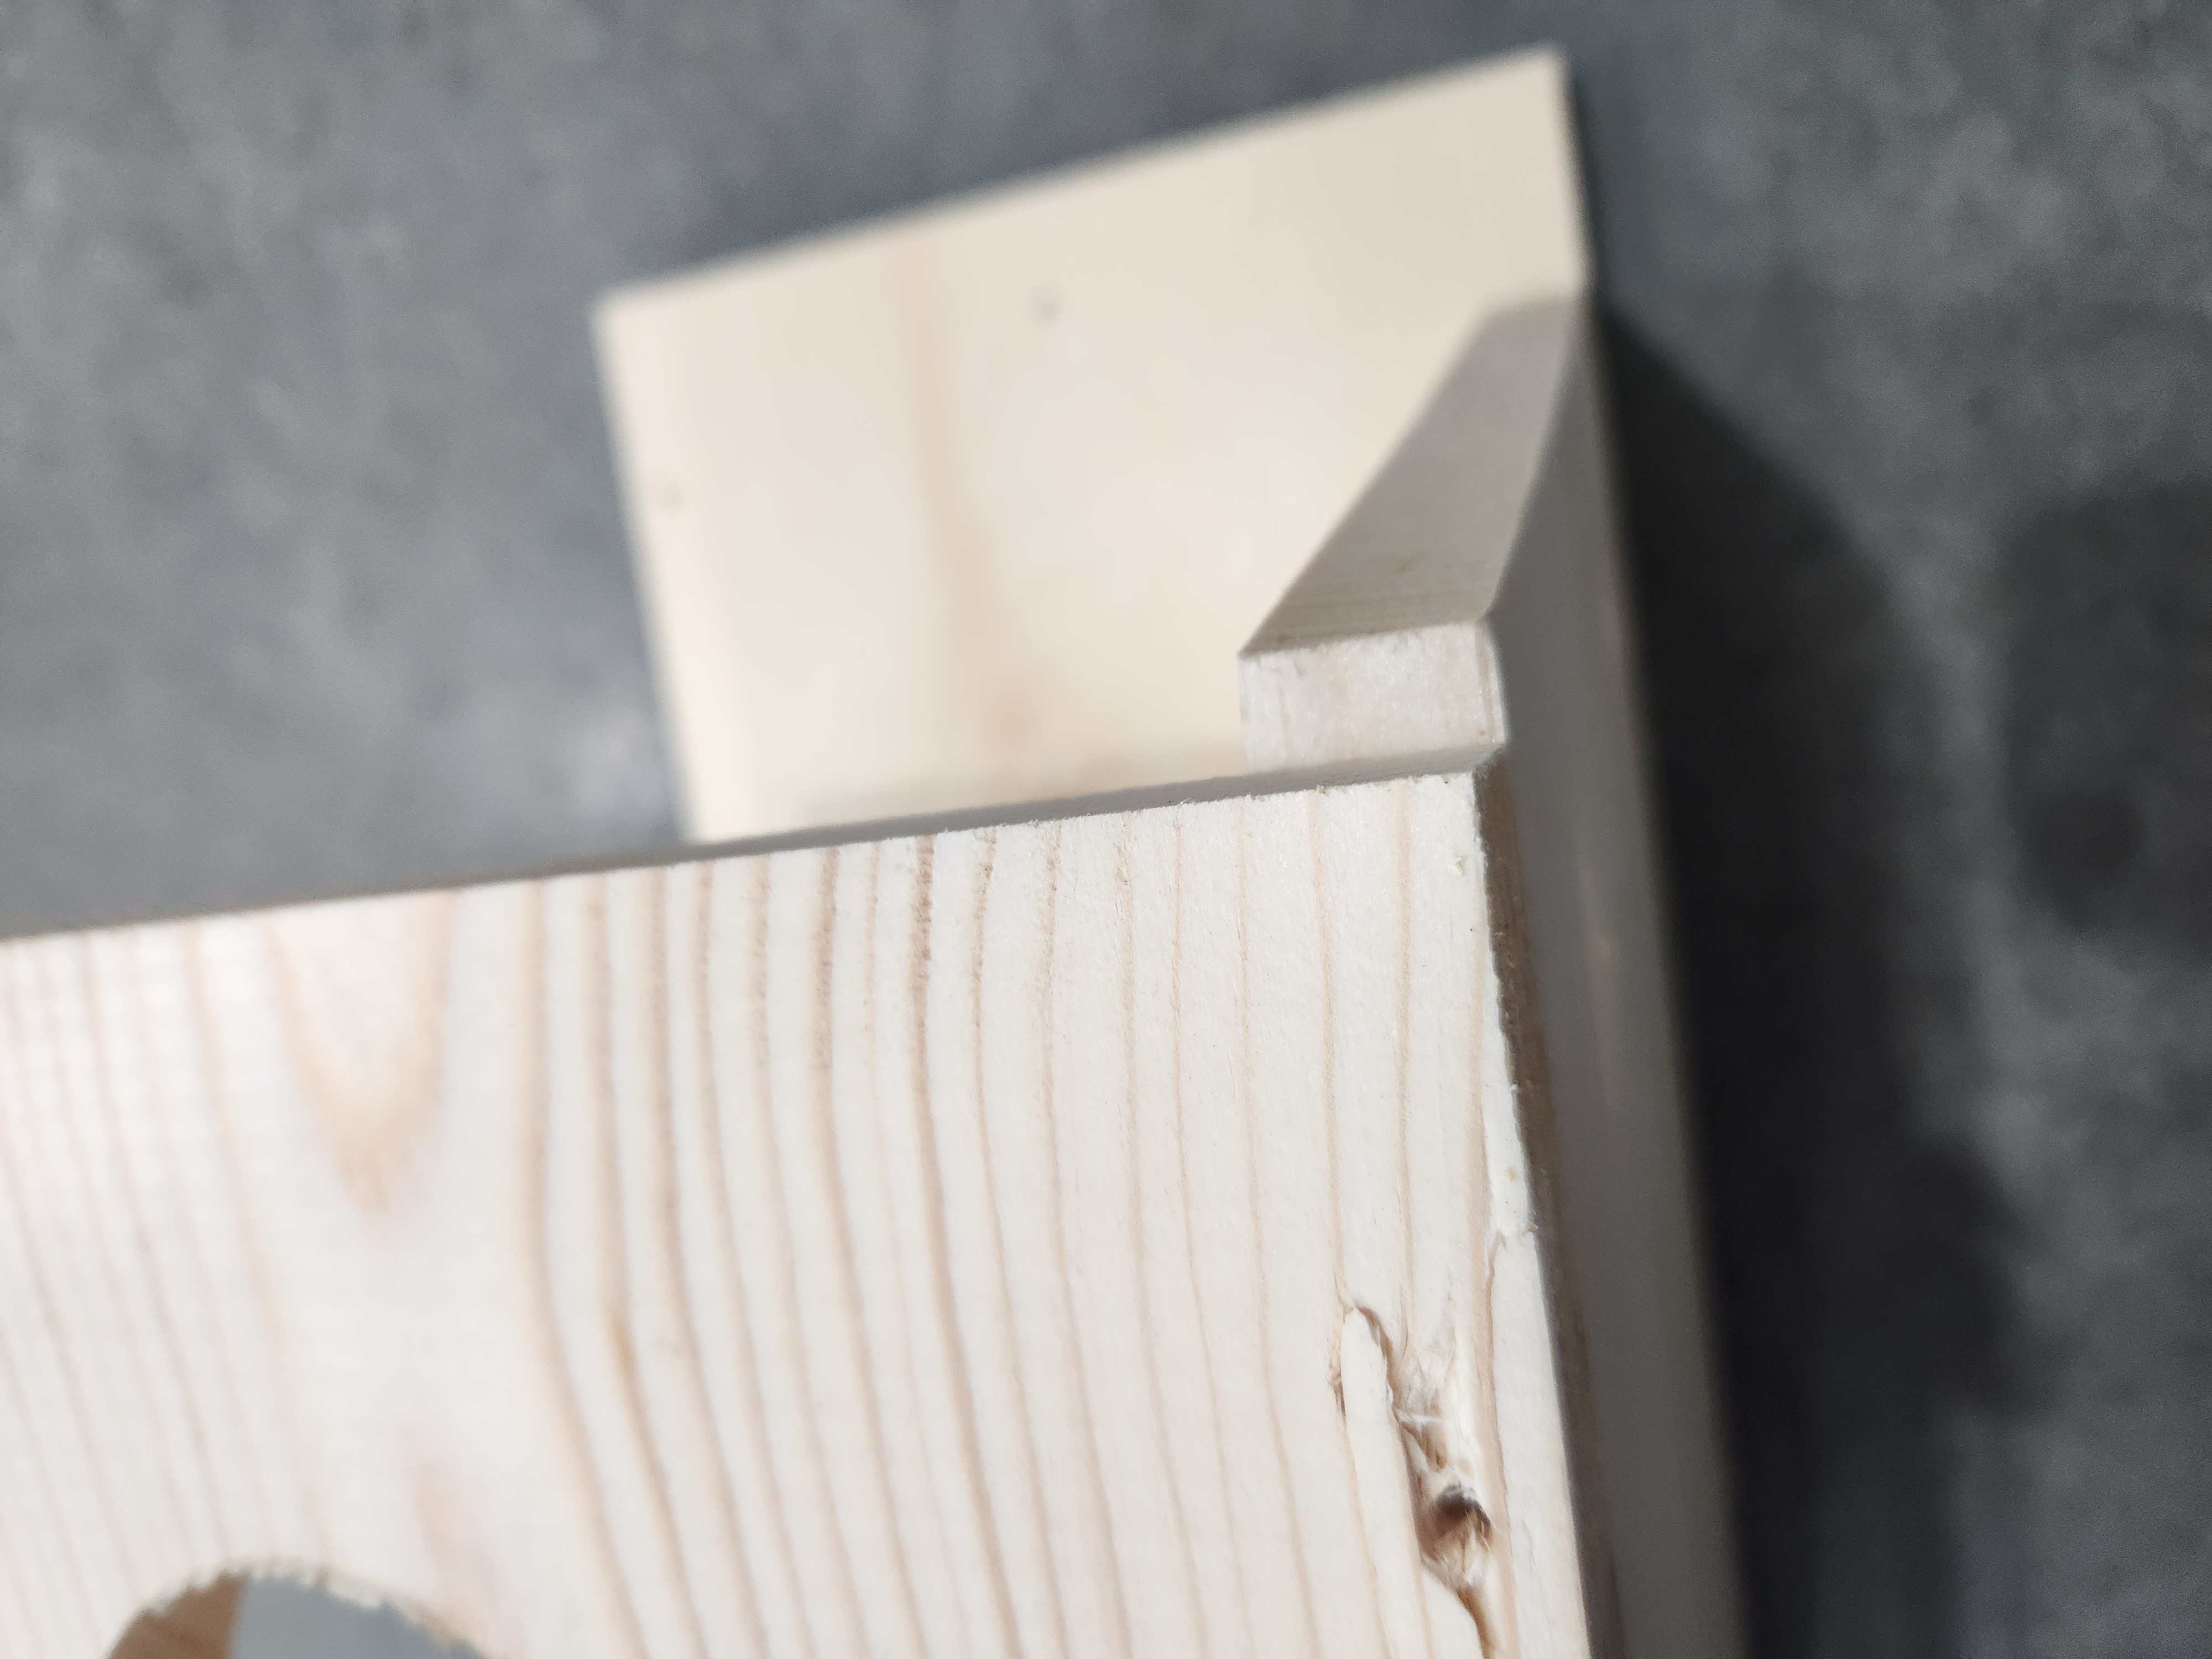
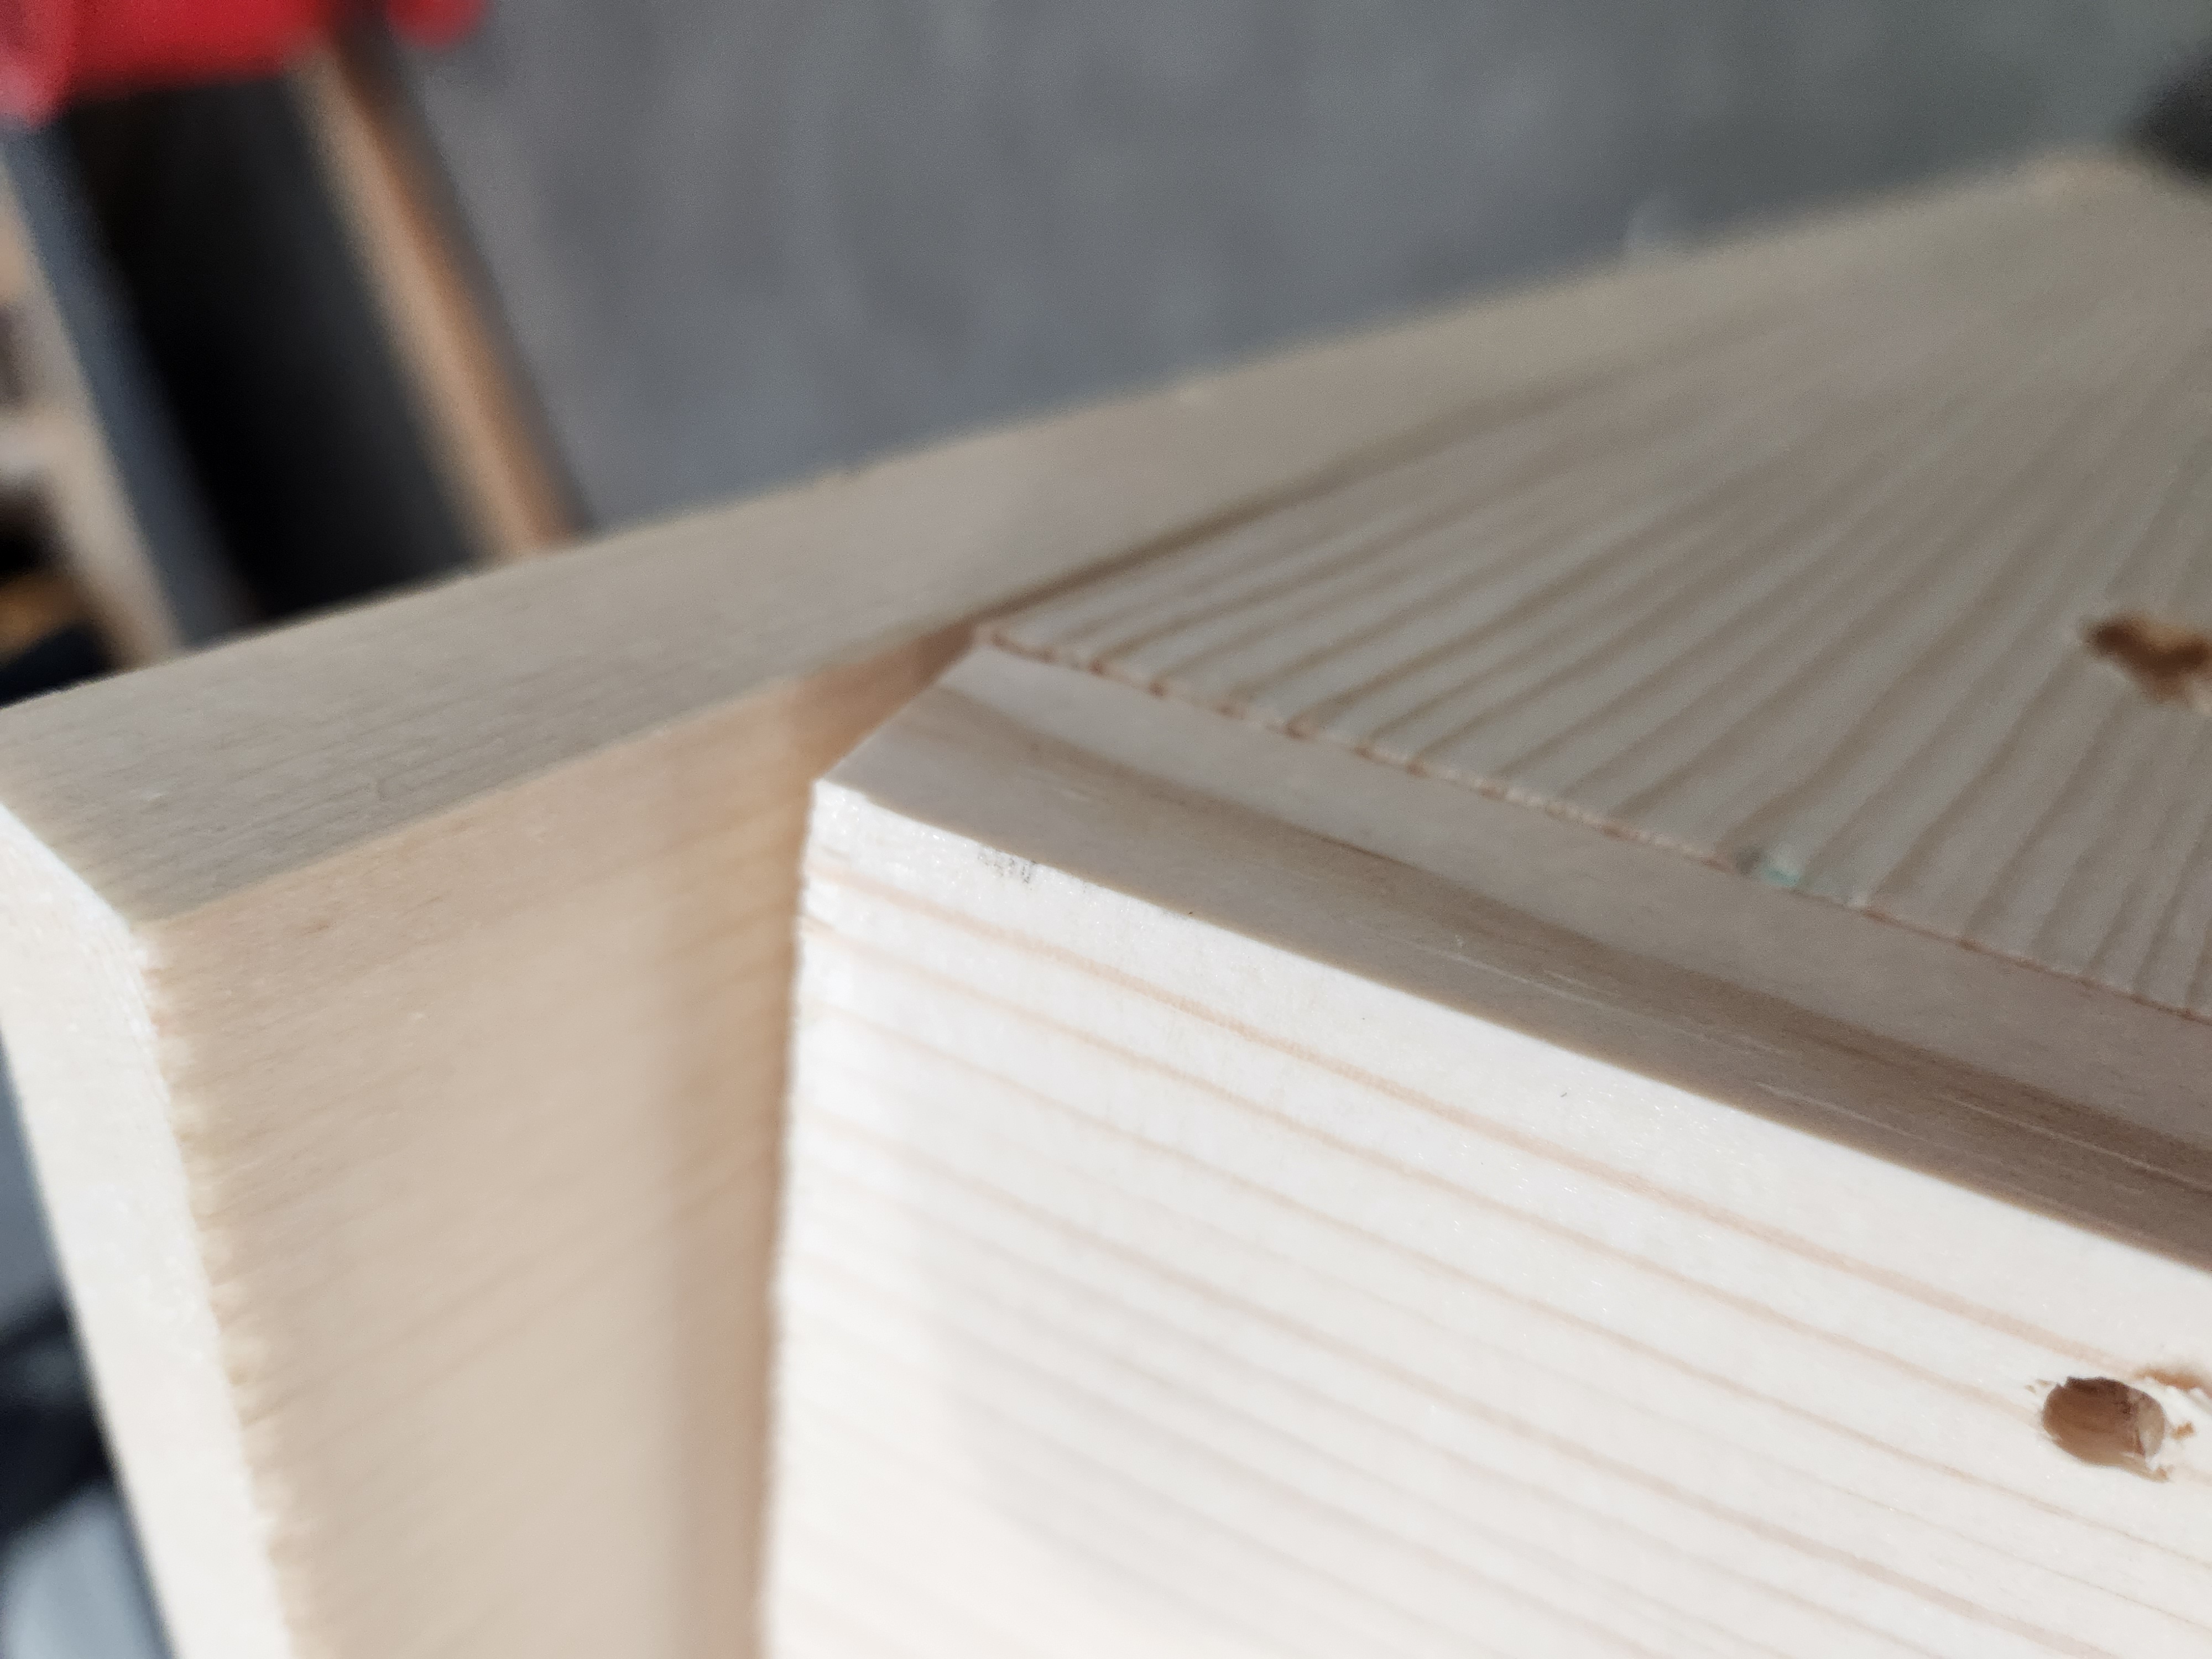
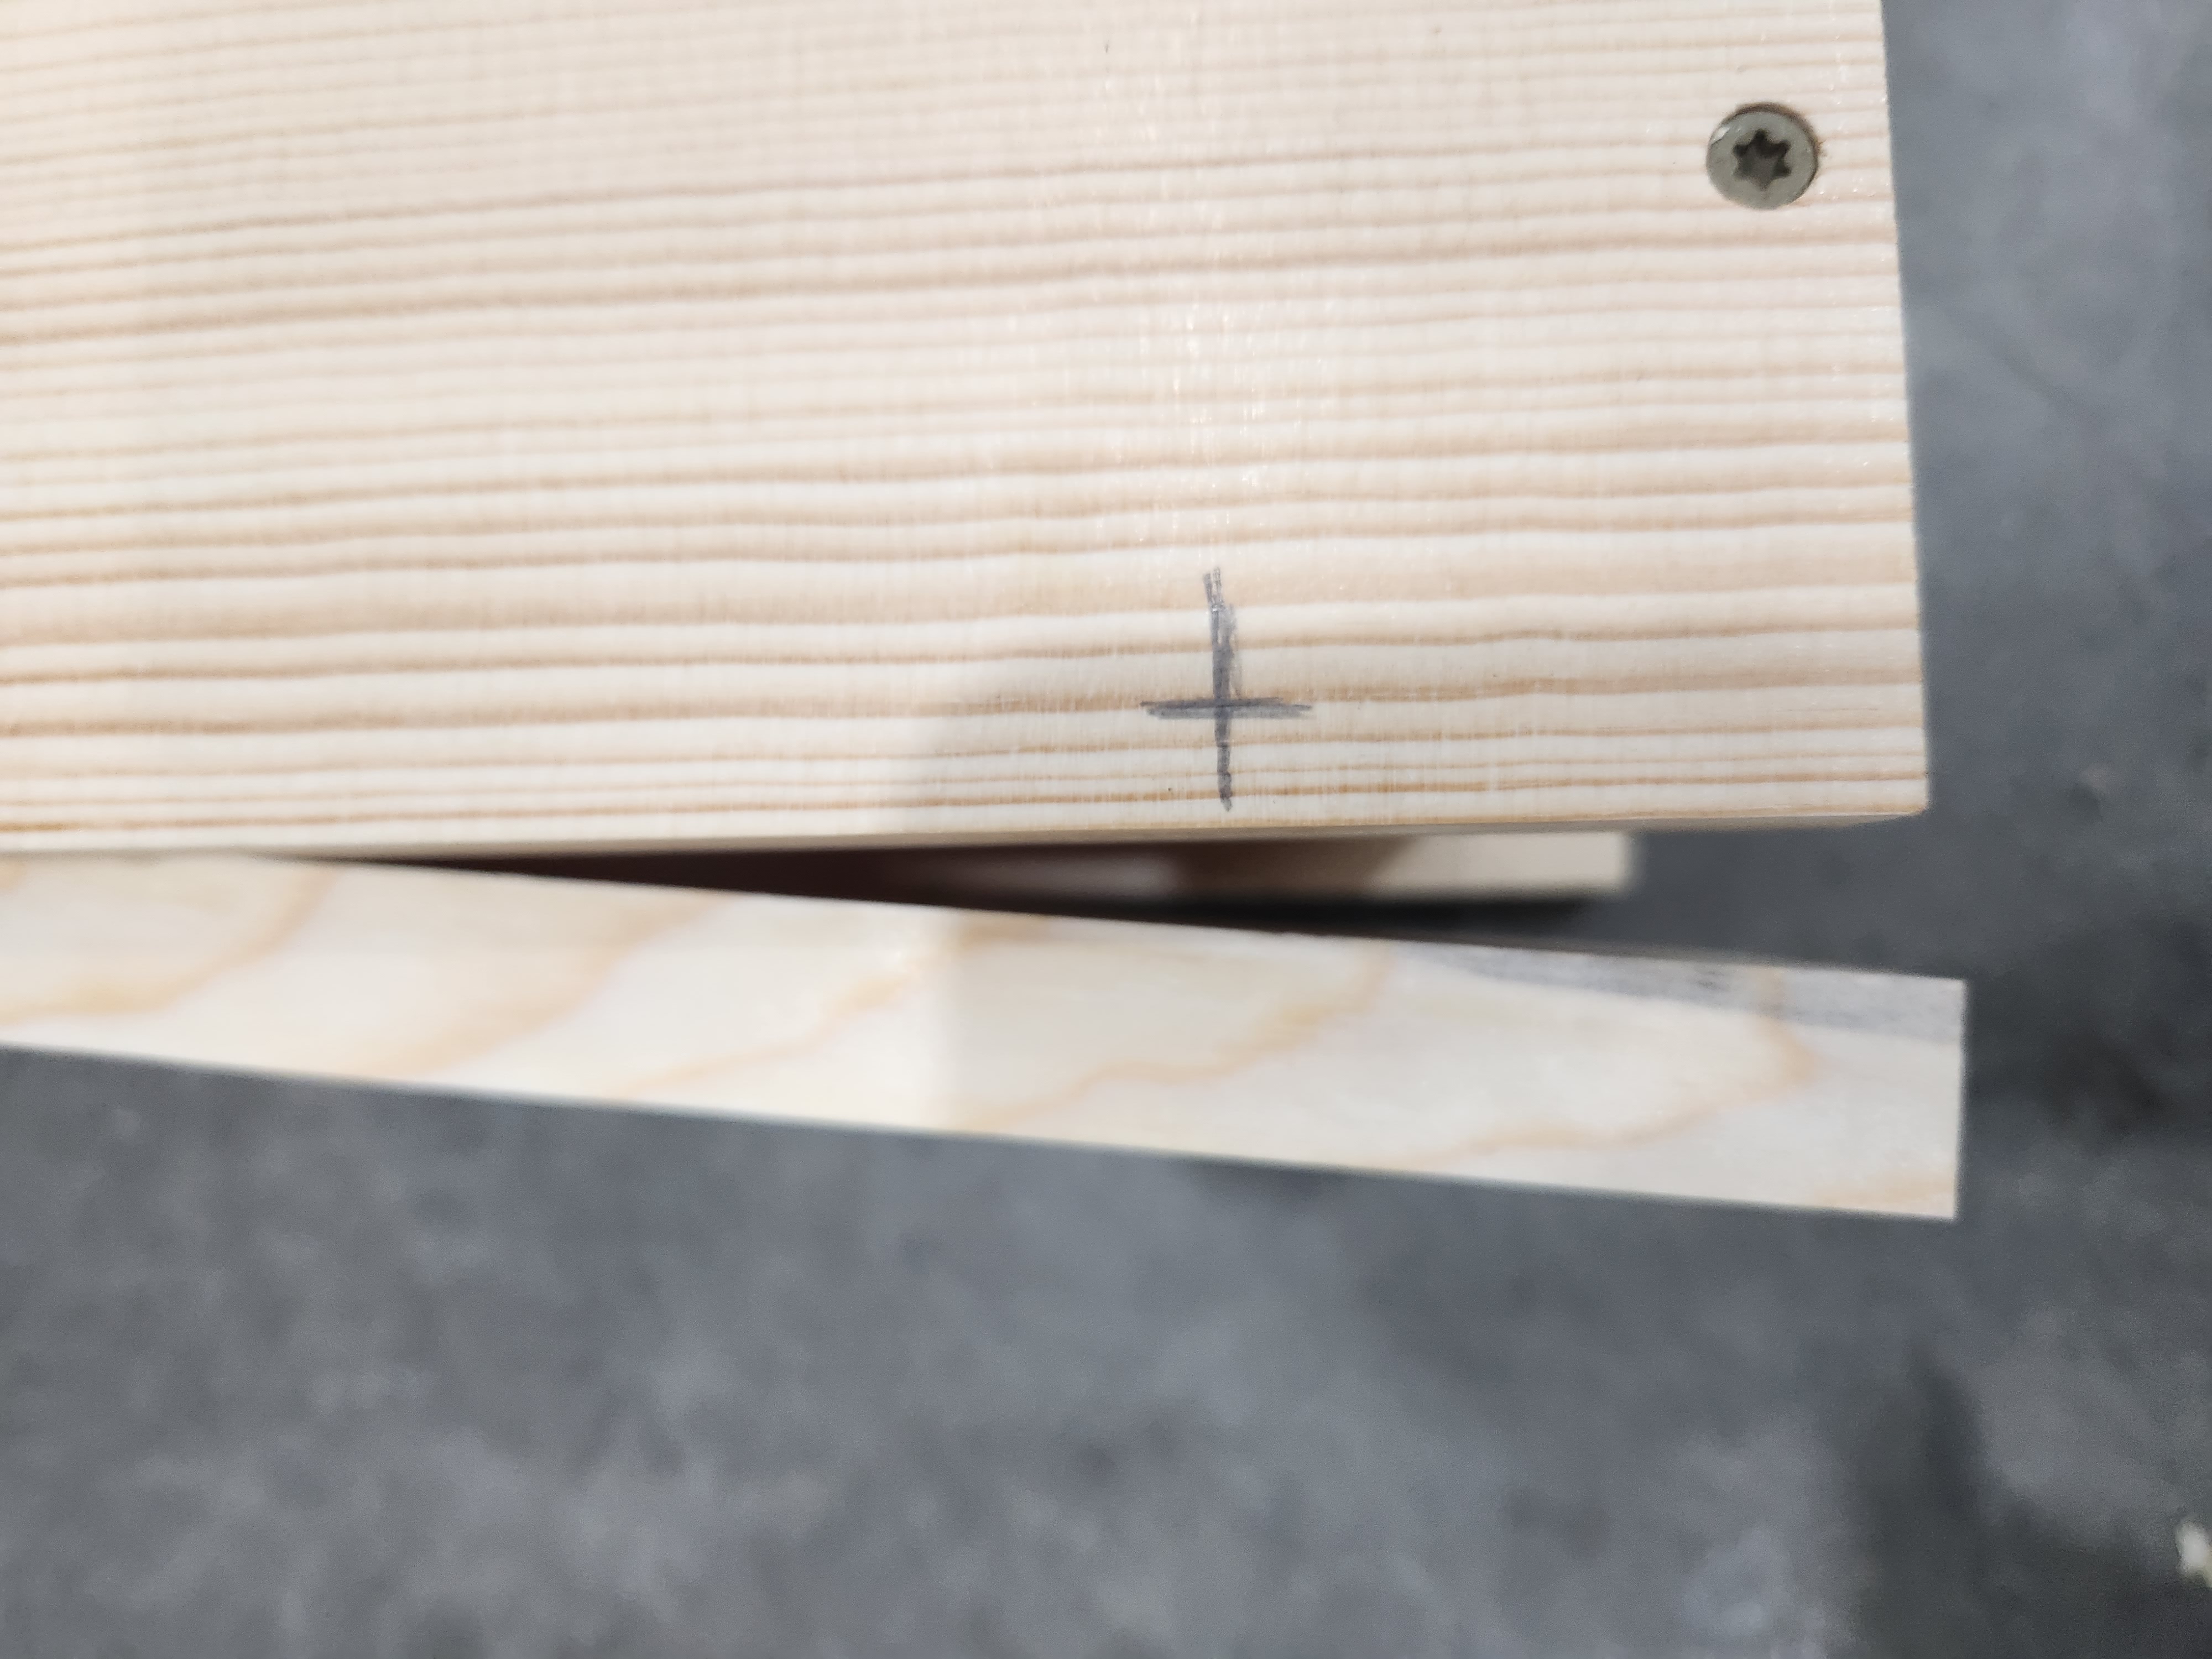
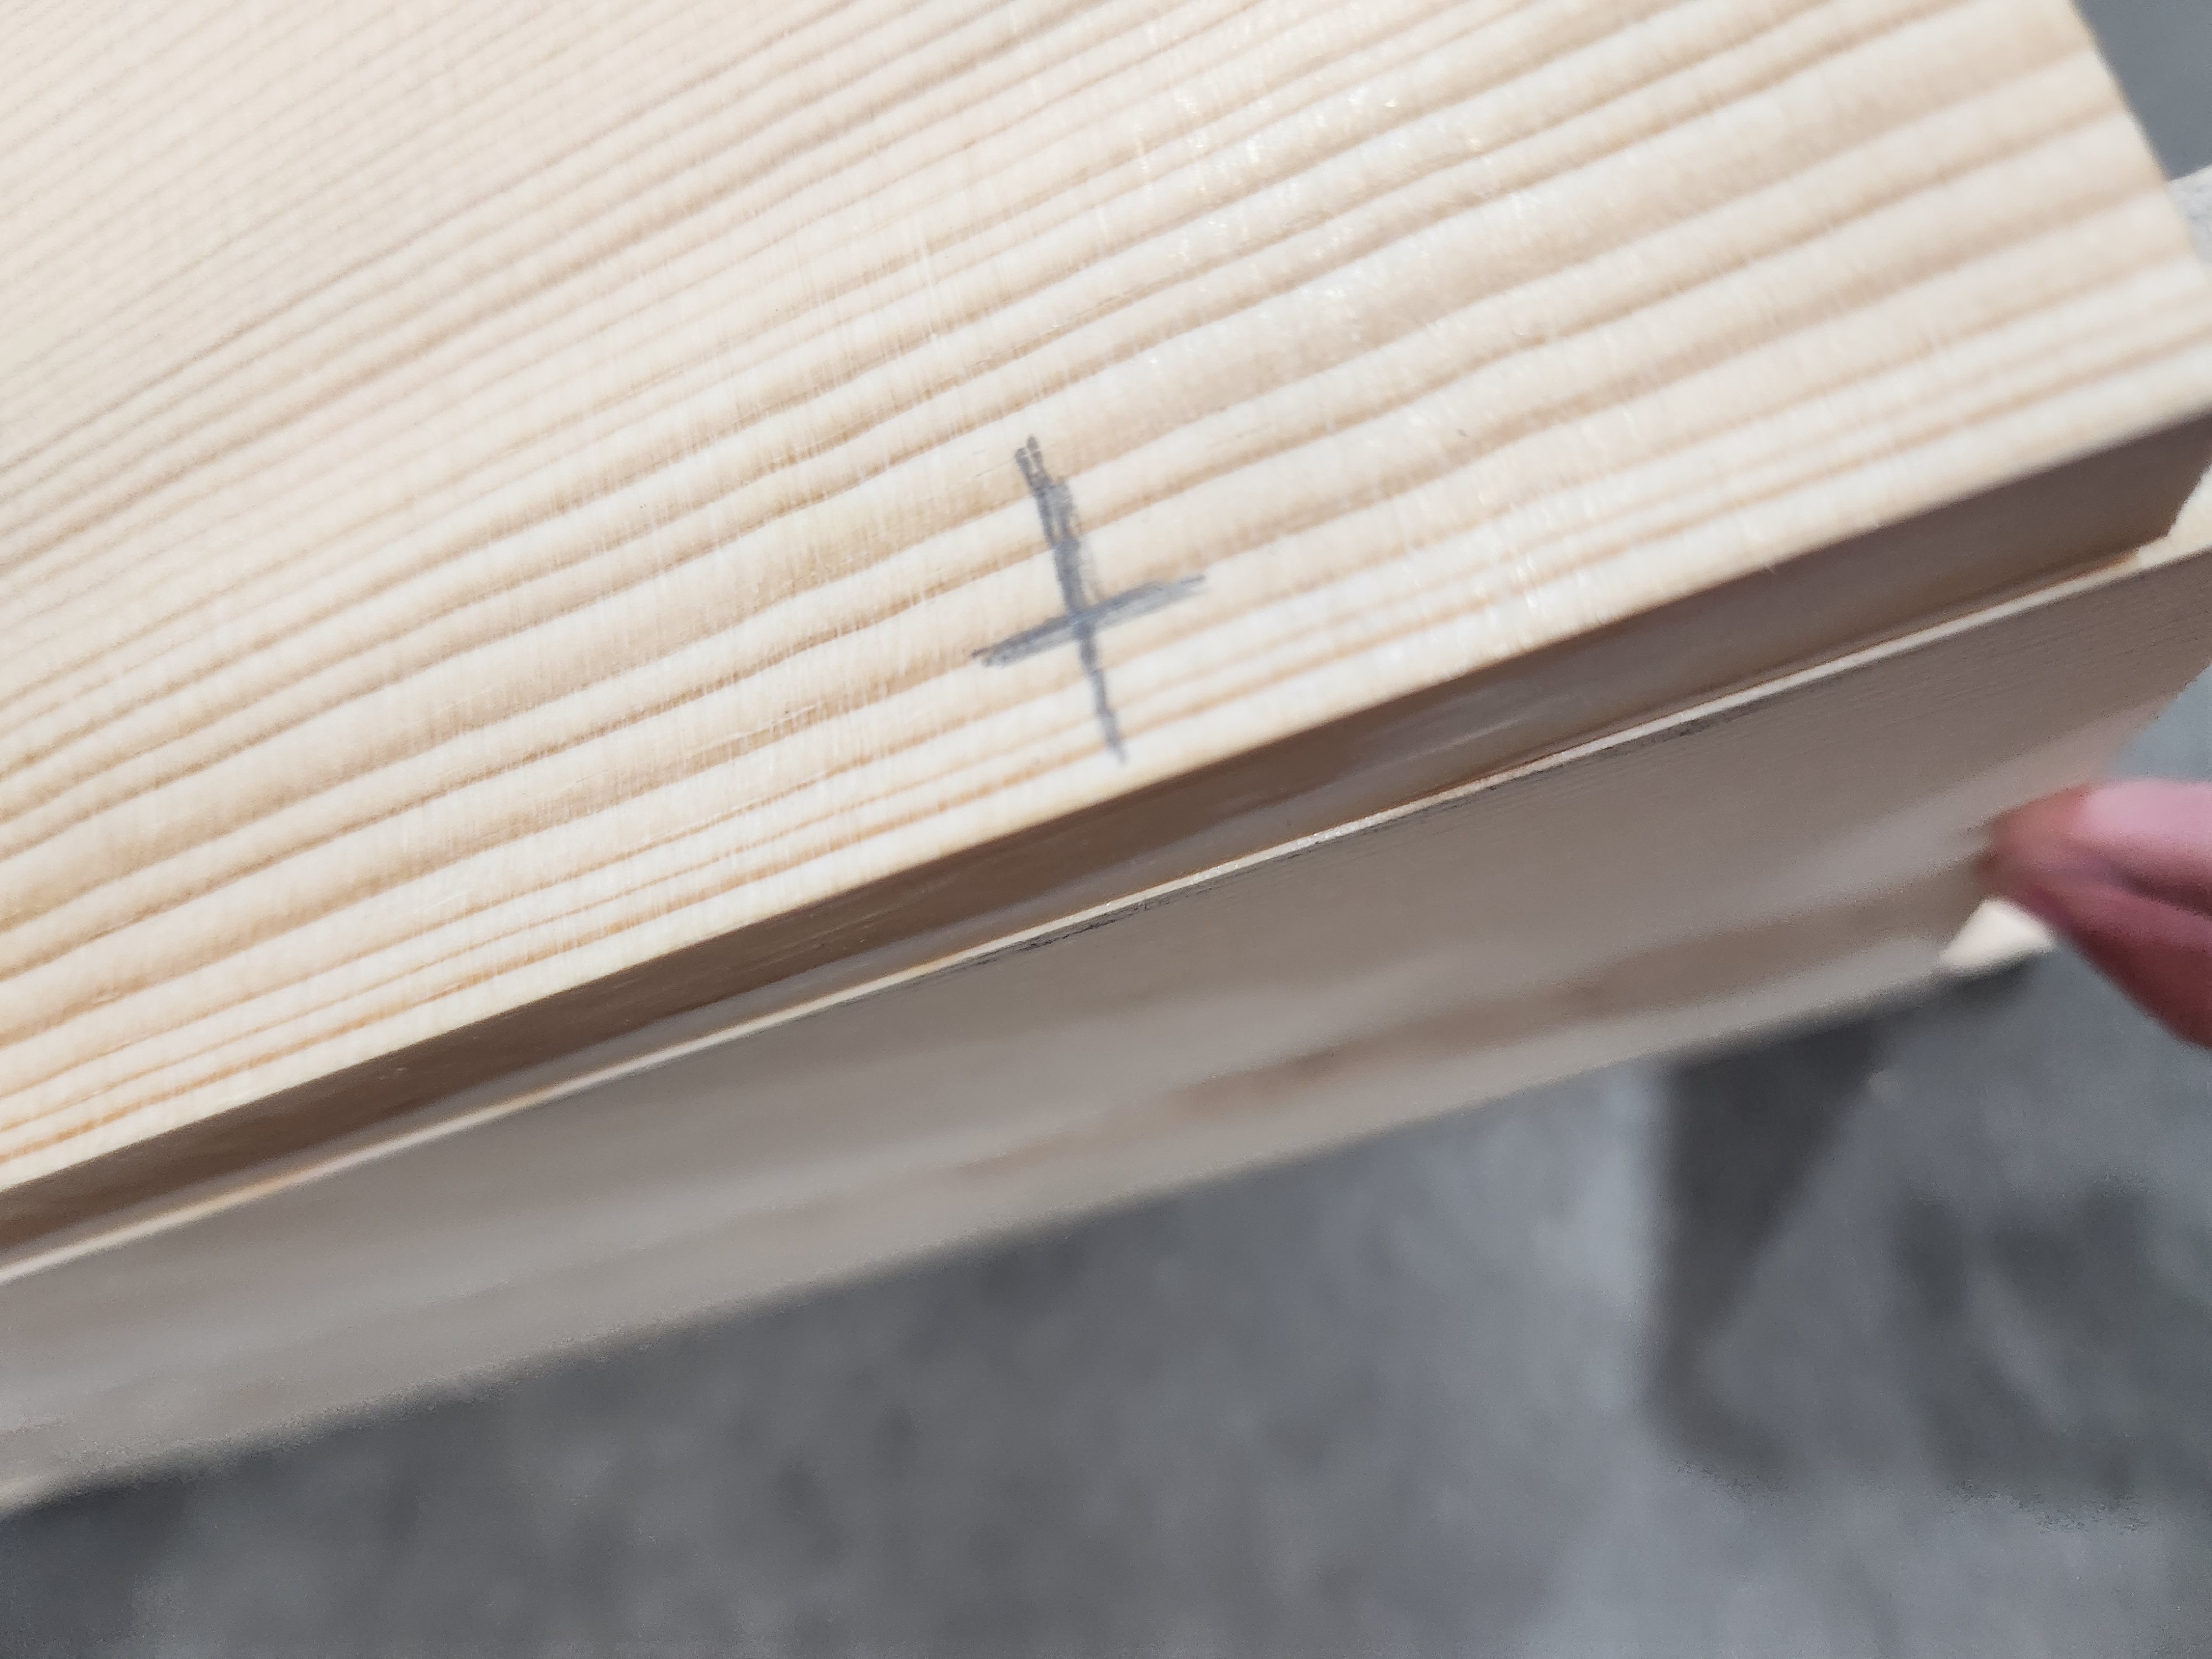
Maintain a ¼ inch gap between the Top (T) and the Hinged side (L), and drill 2 holes straight across from each other.
Use pictures to help align the holes straight across.
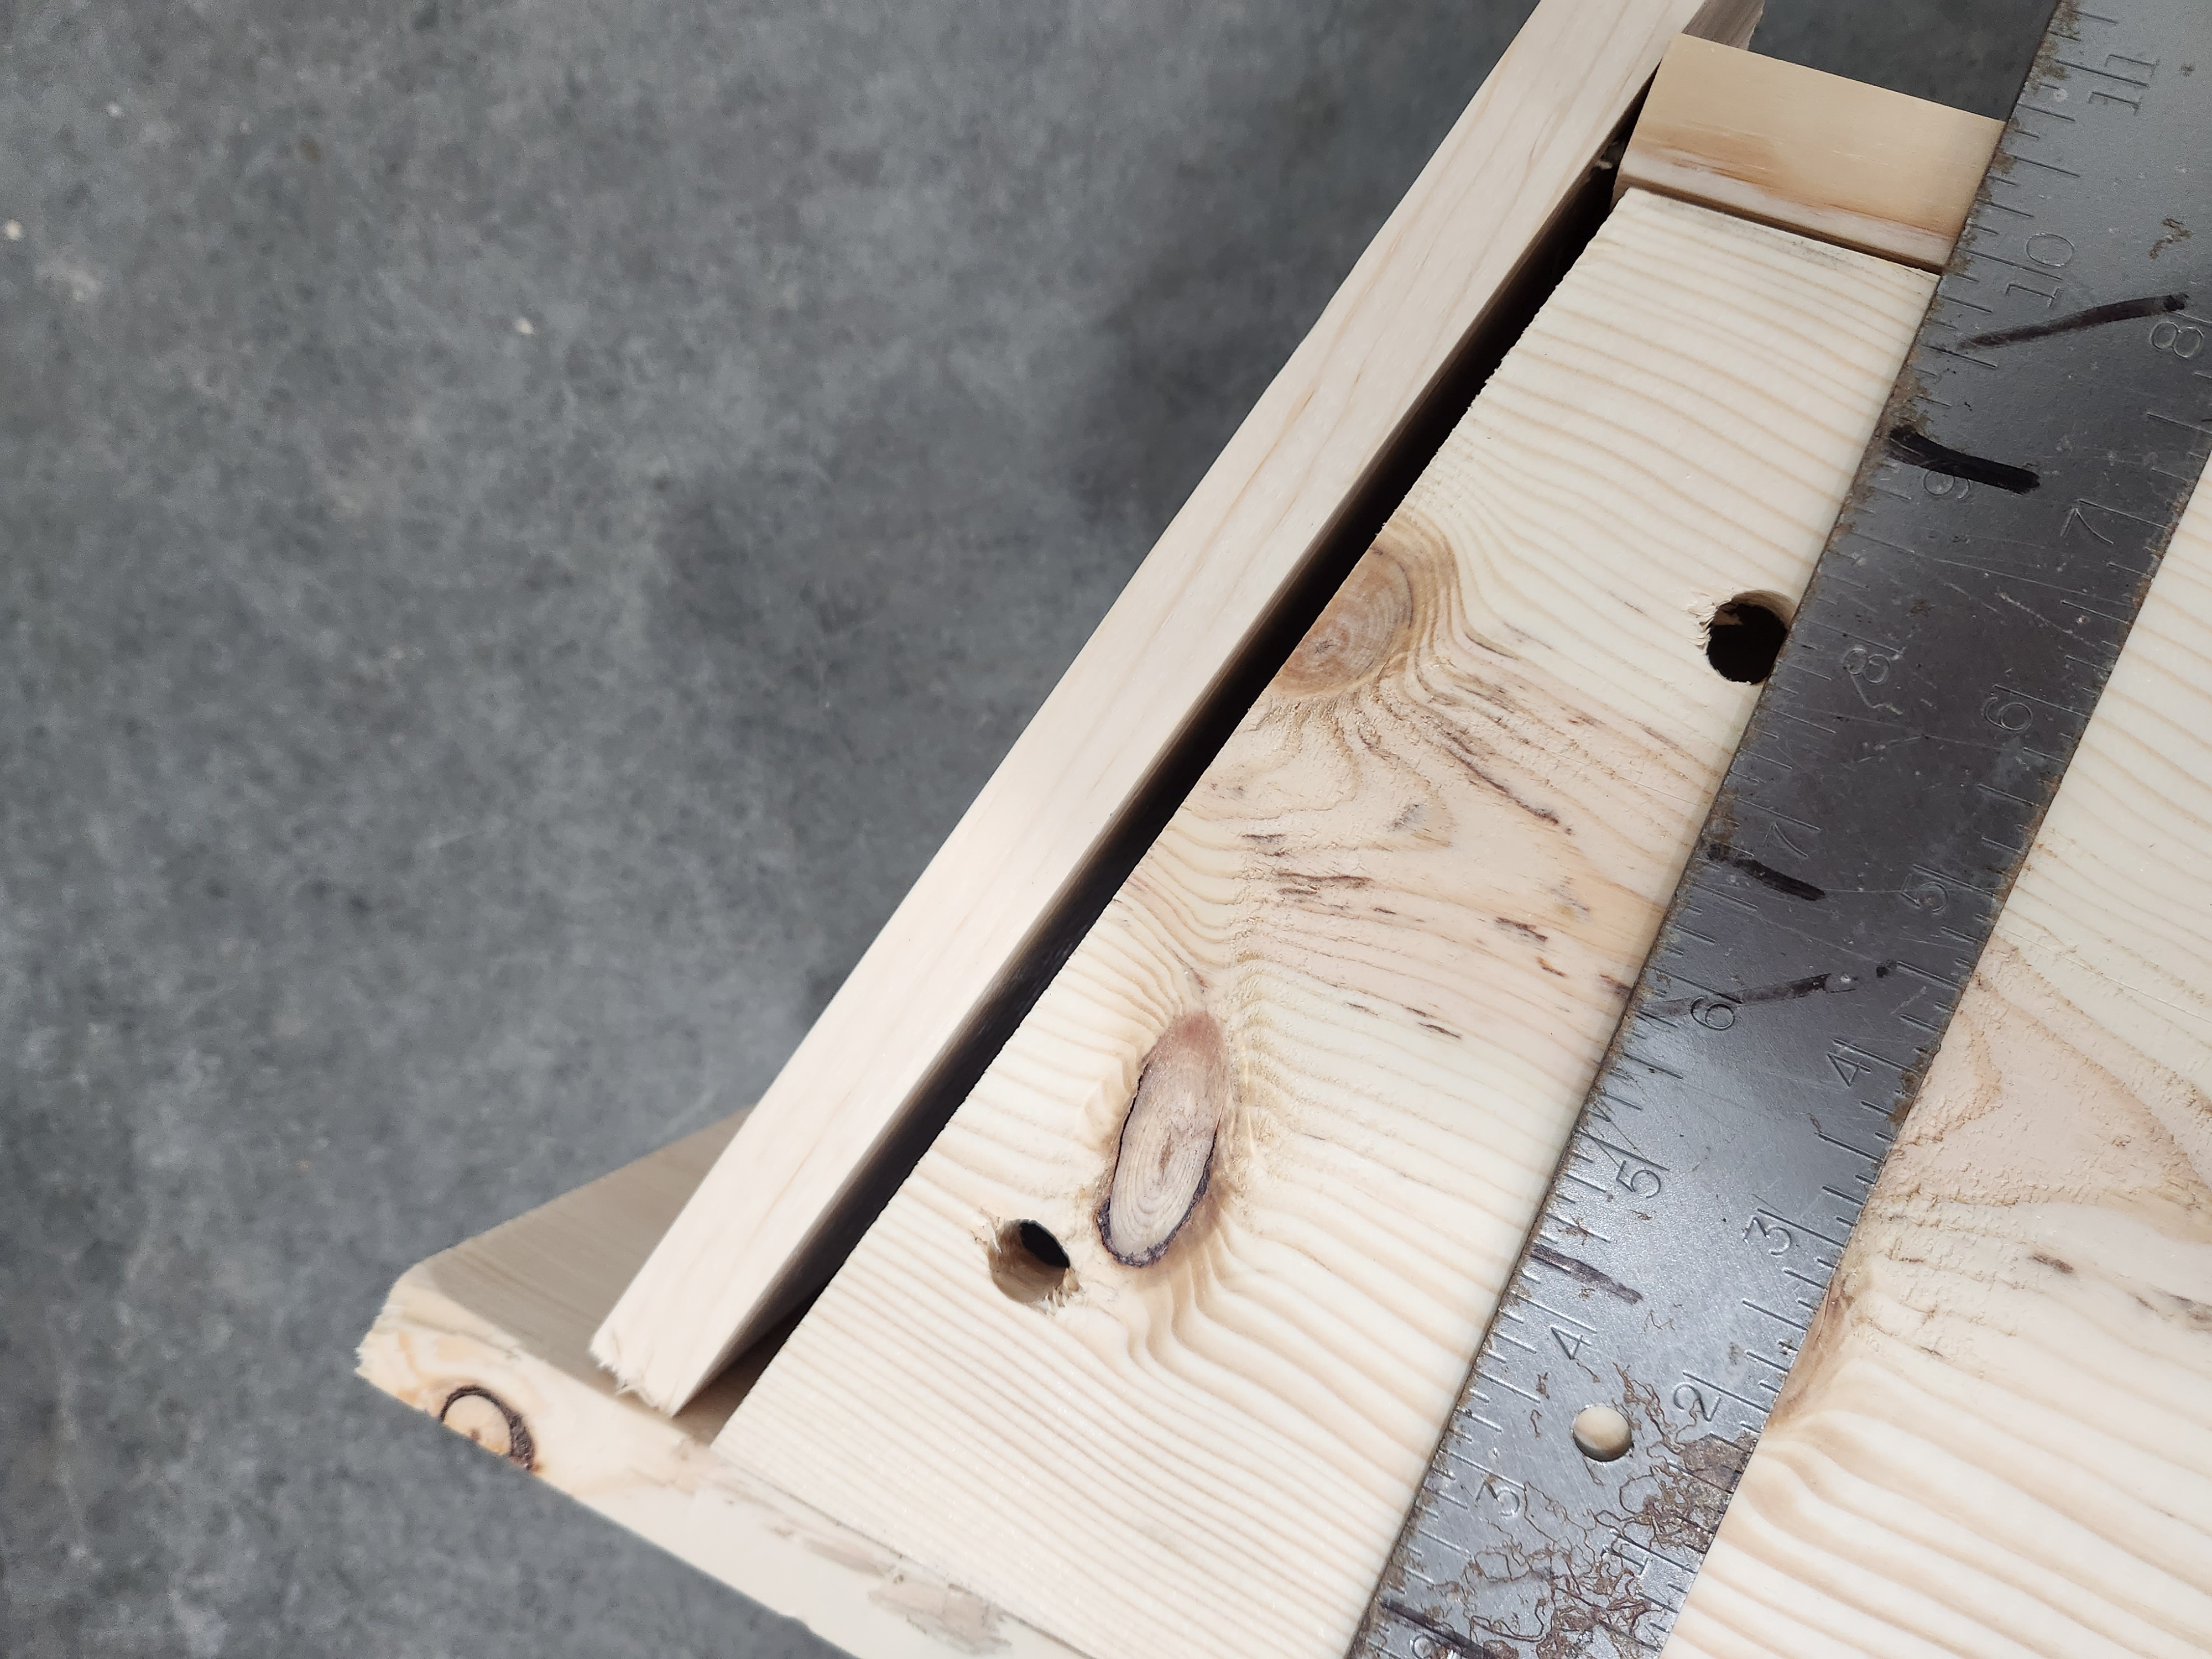

When drilling the holes, only drill through the Front (F) and Back (B), not too far into the Hinged side (L).
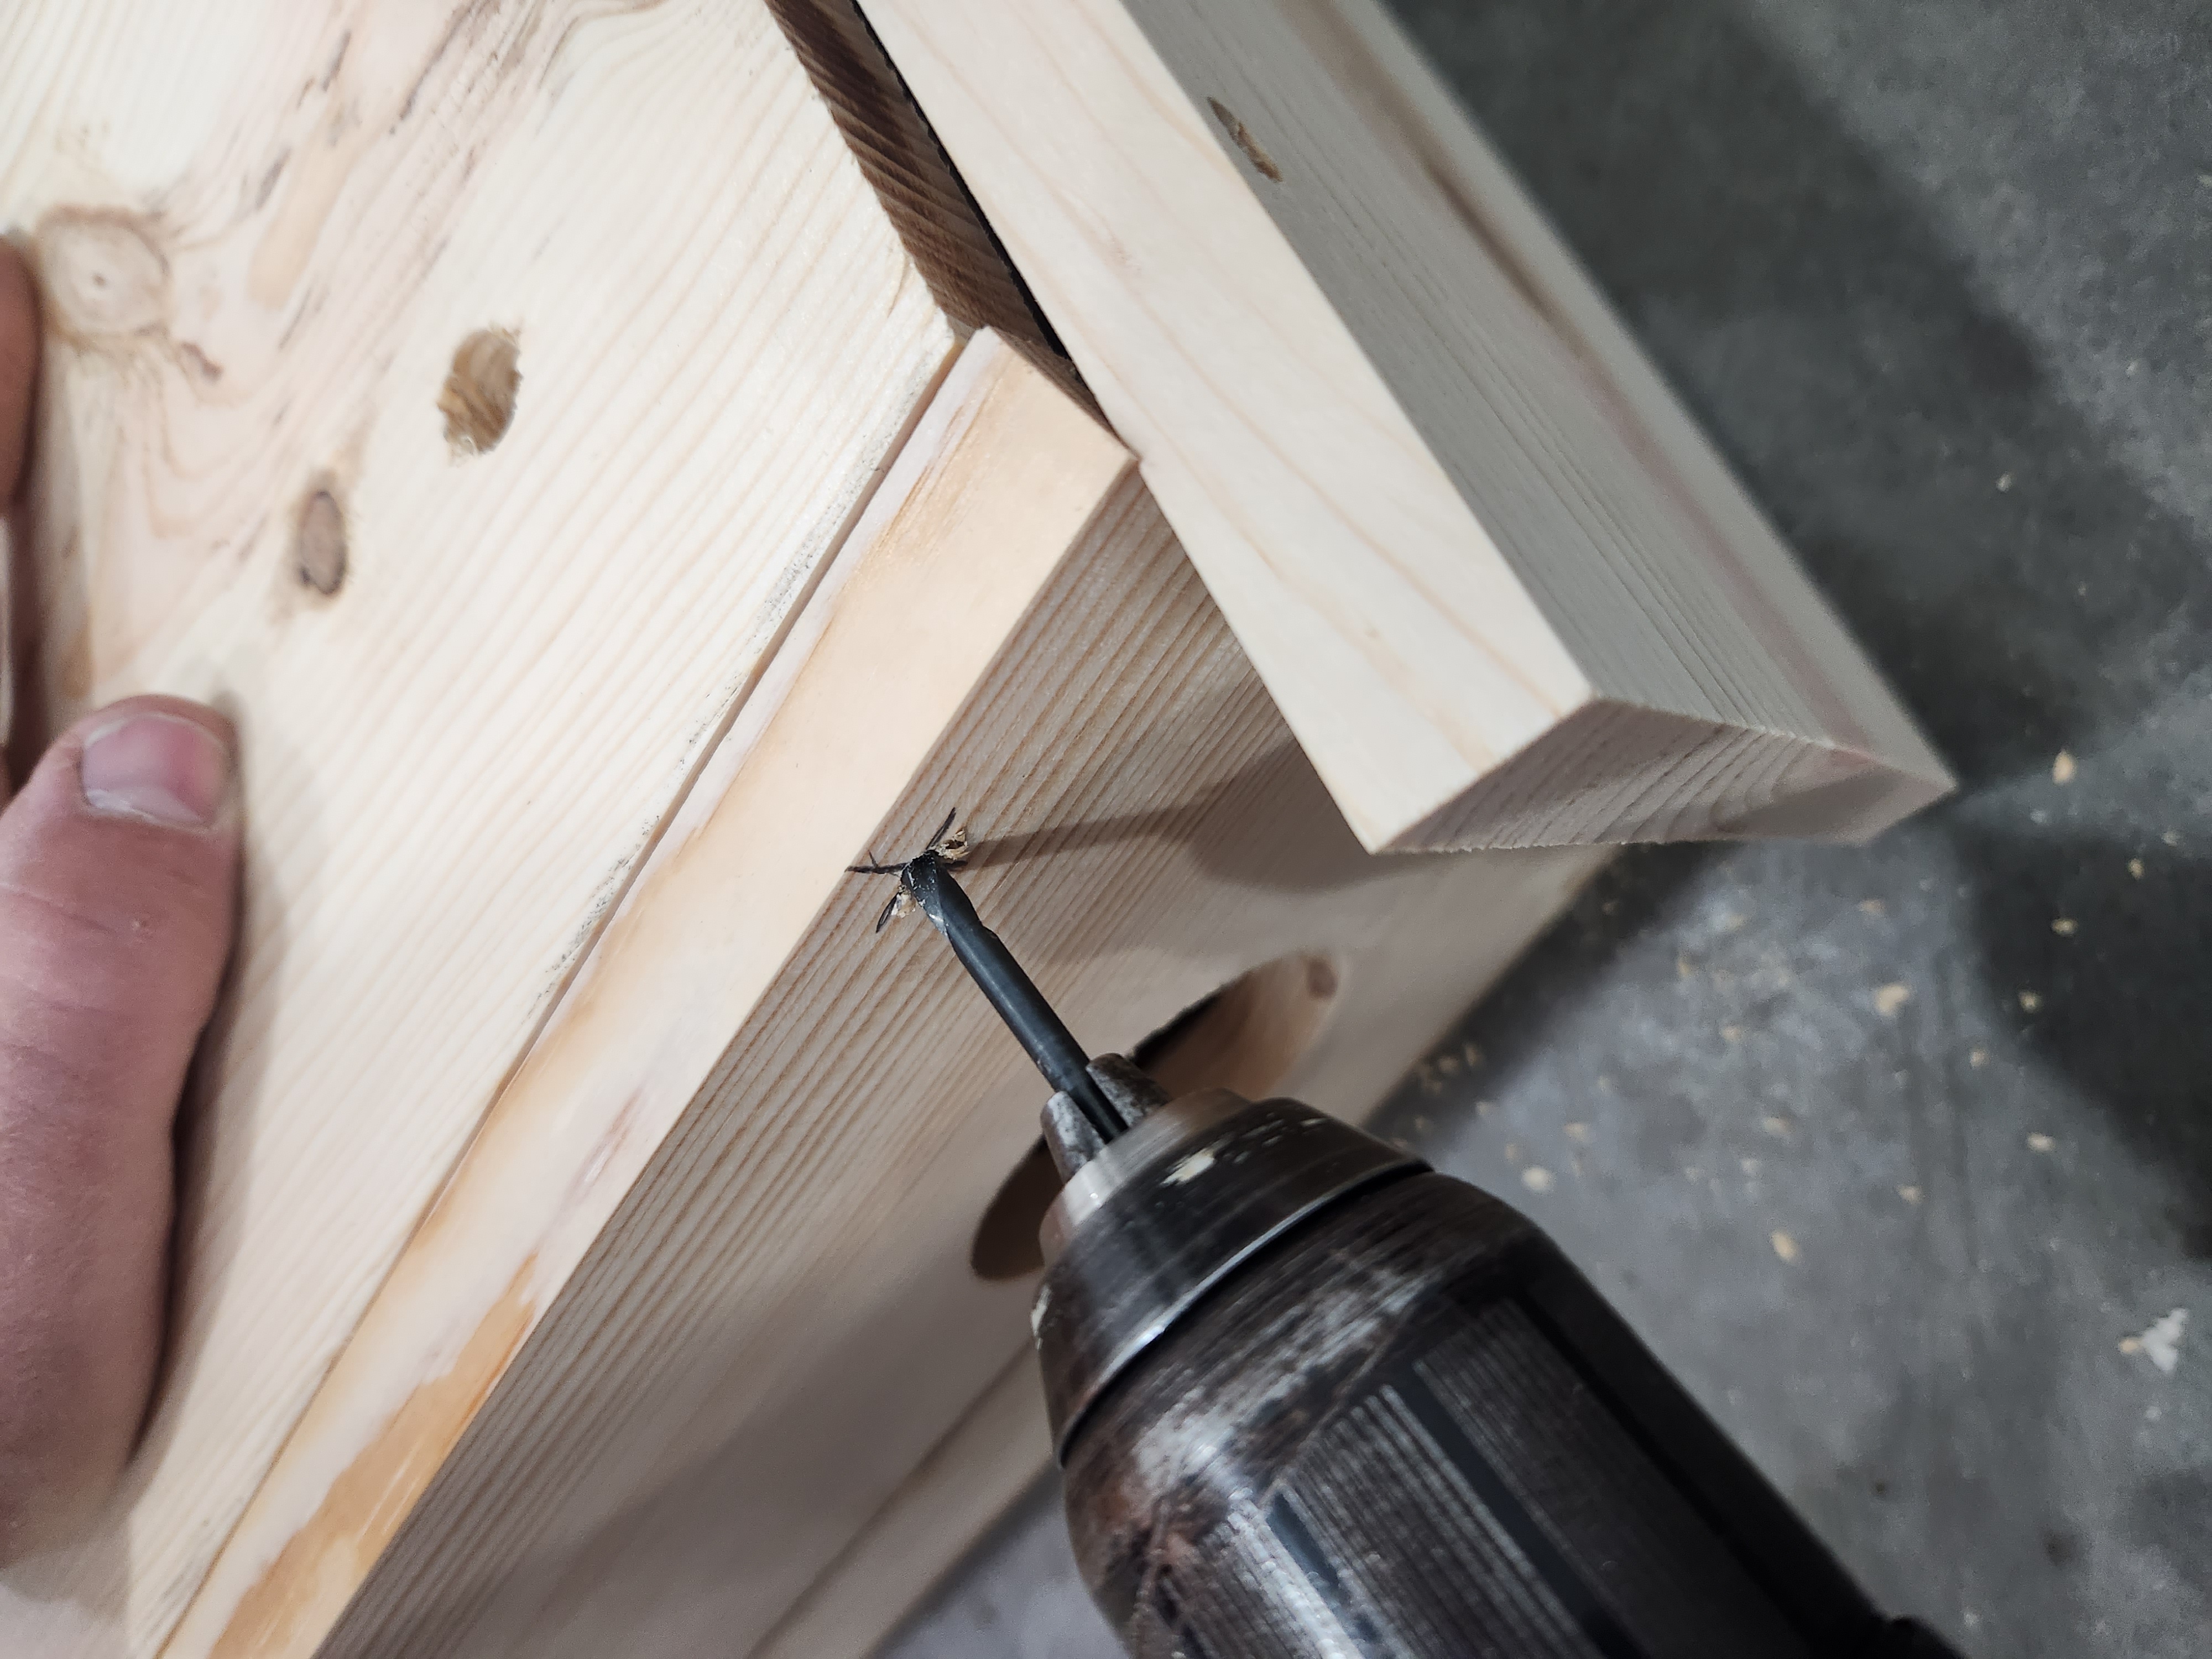
If you need help with this step look at the photos or talk to Skyler or Greg.
Attach using 2 screws. Screws should be snug, but not tight, to allow for proper door operation. You can now remove the support block.
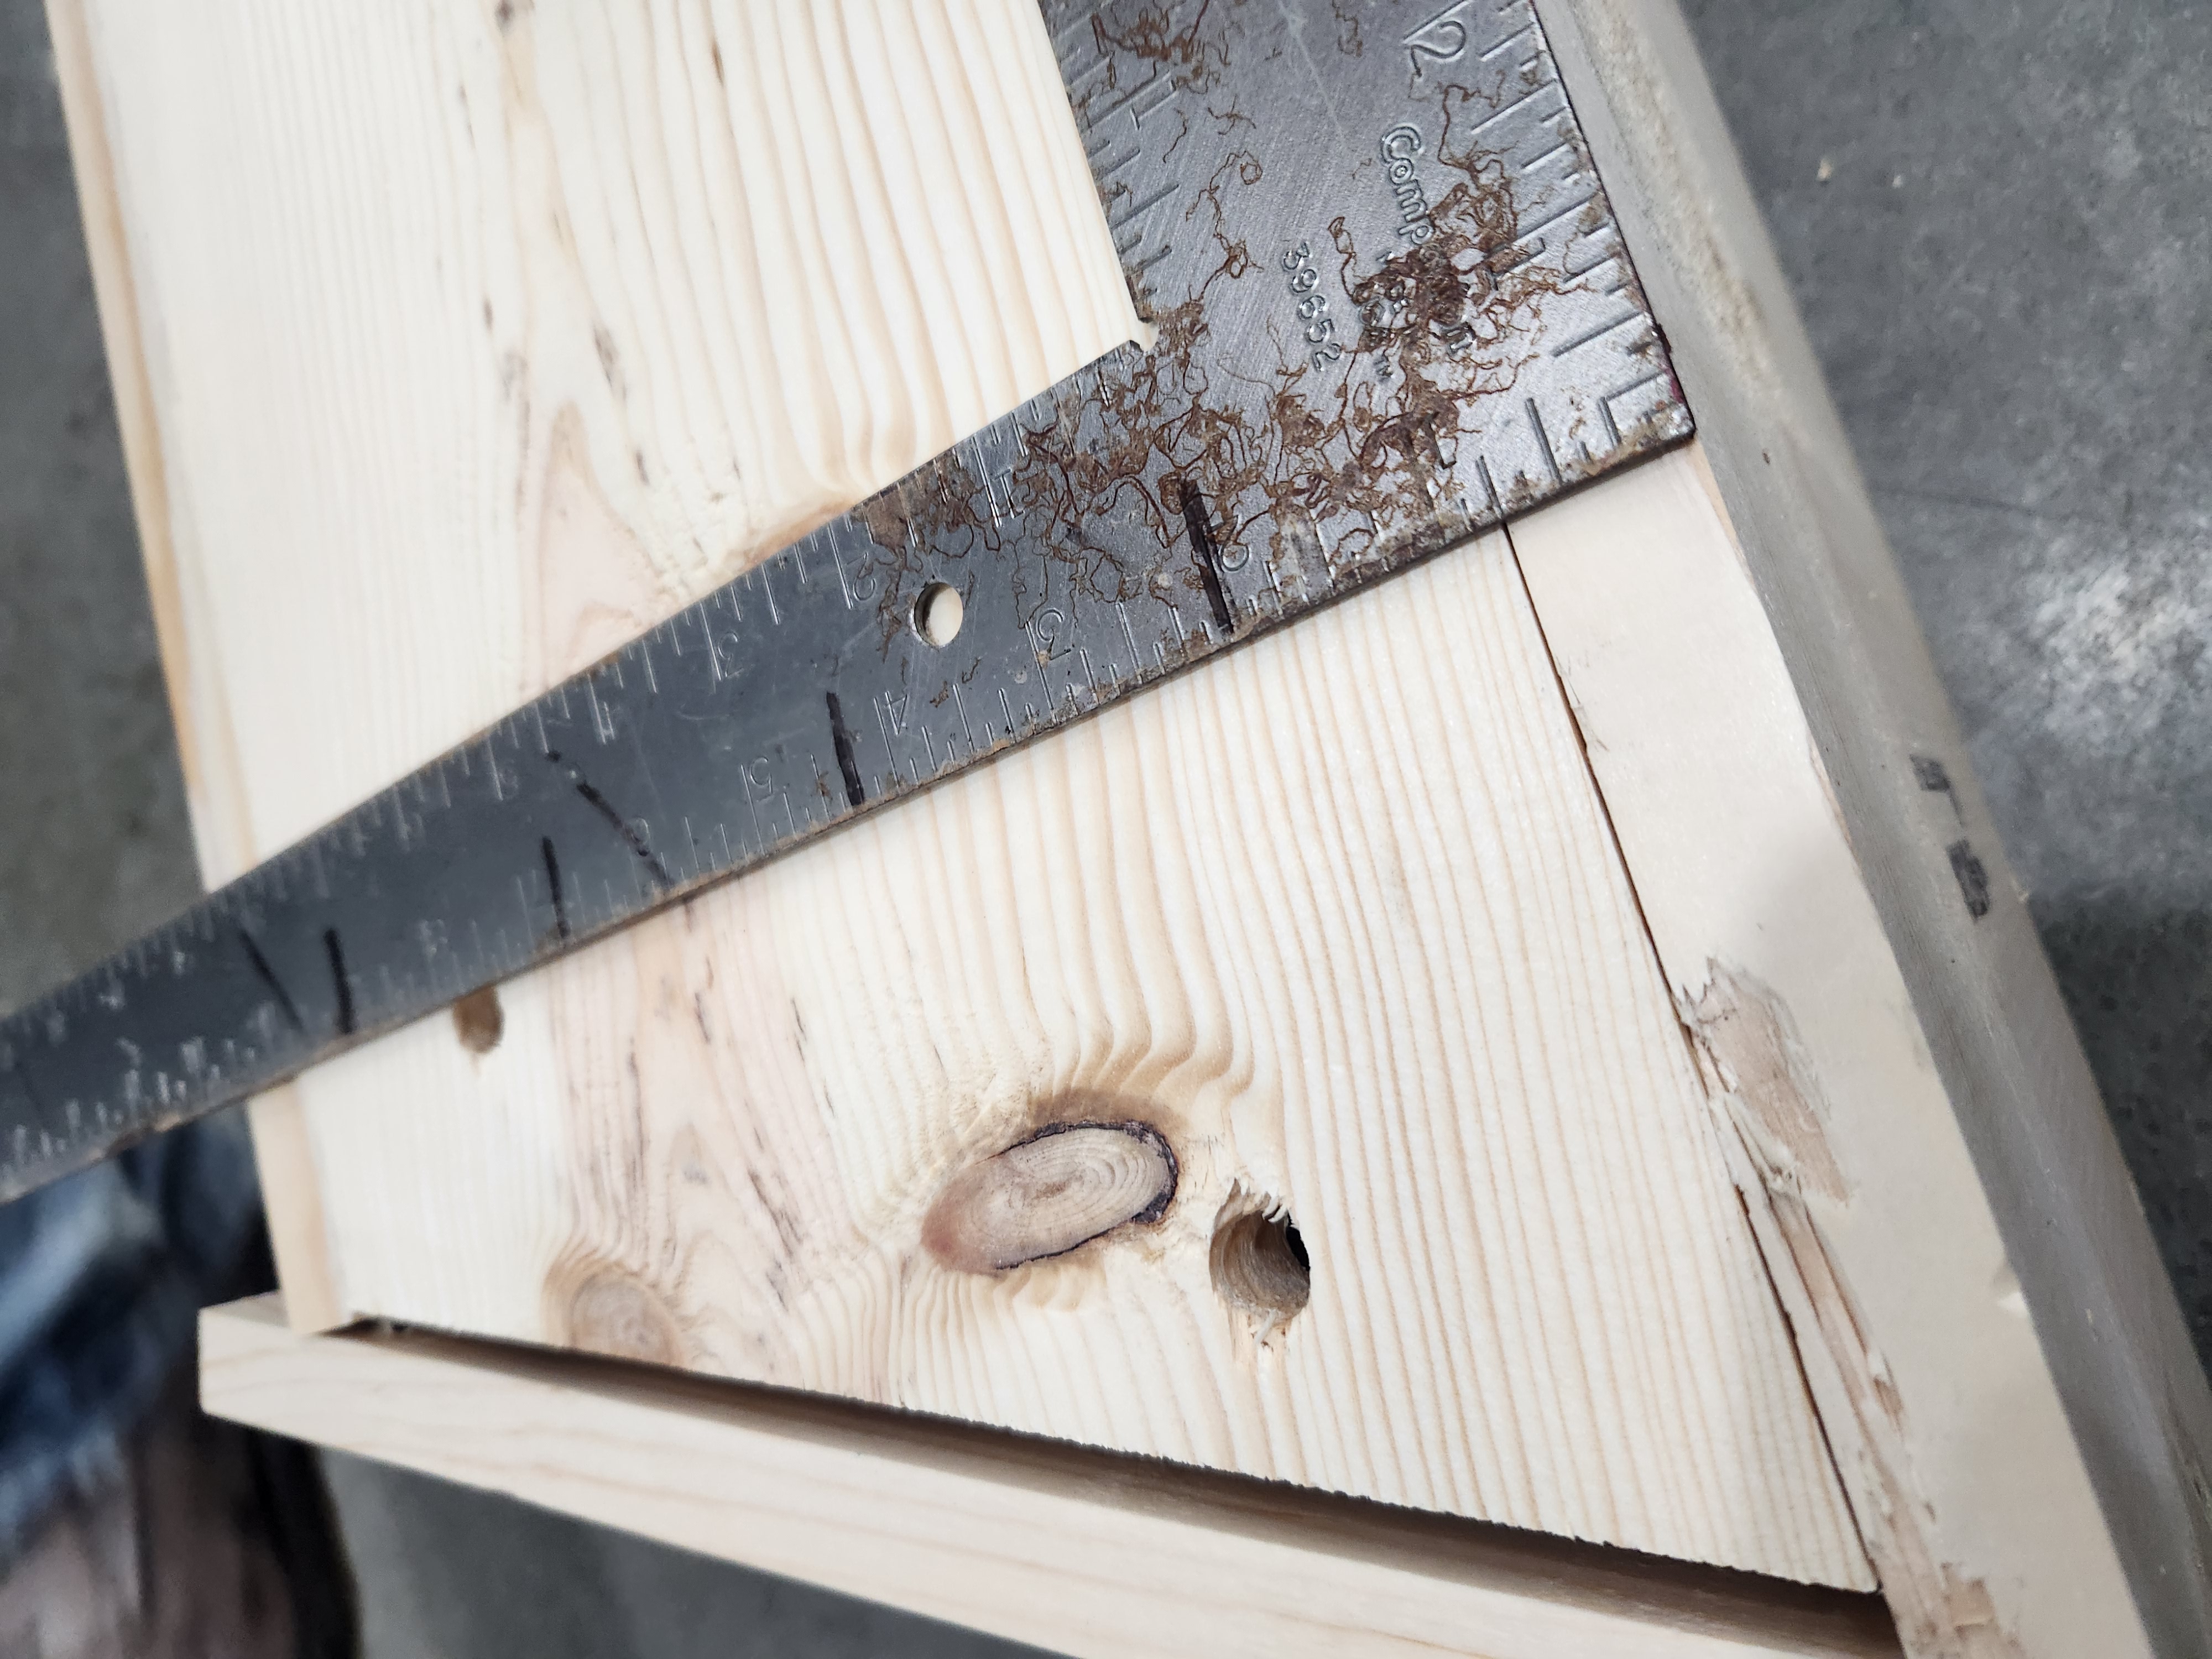
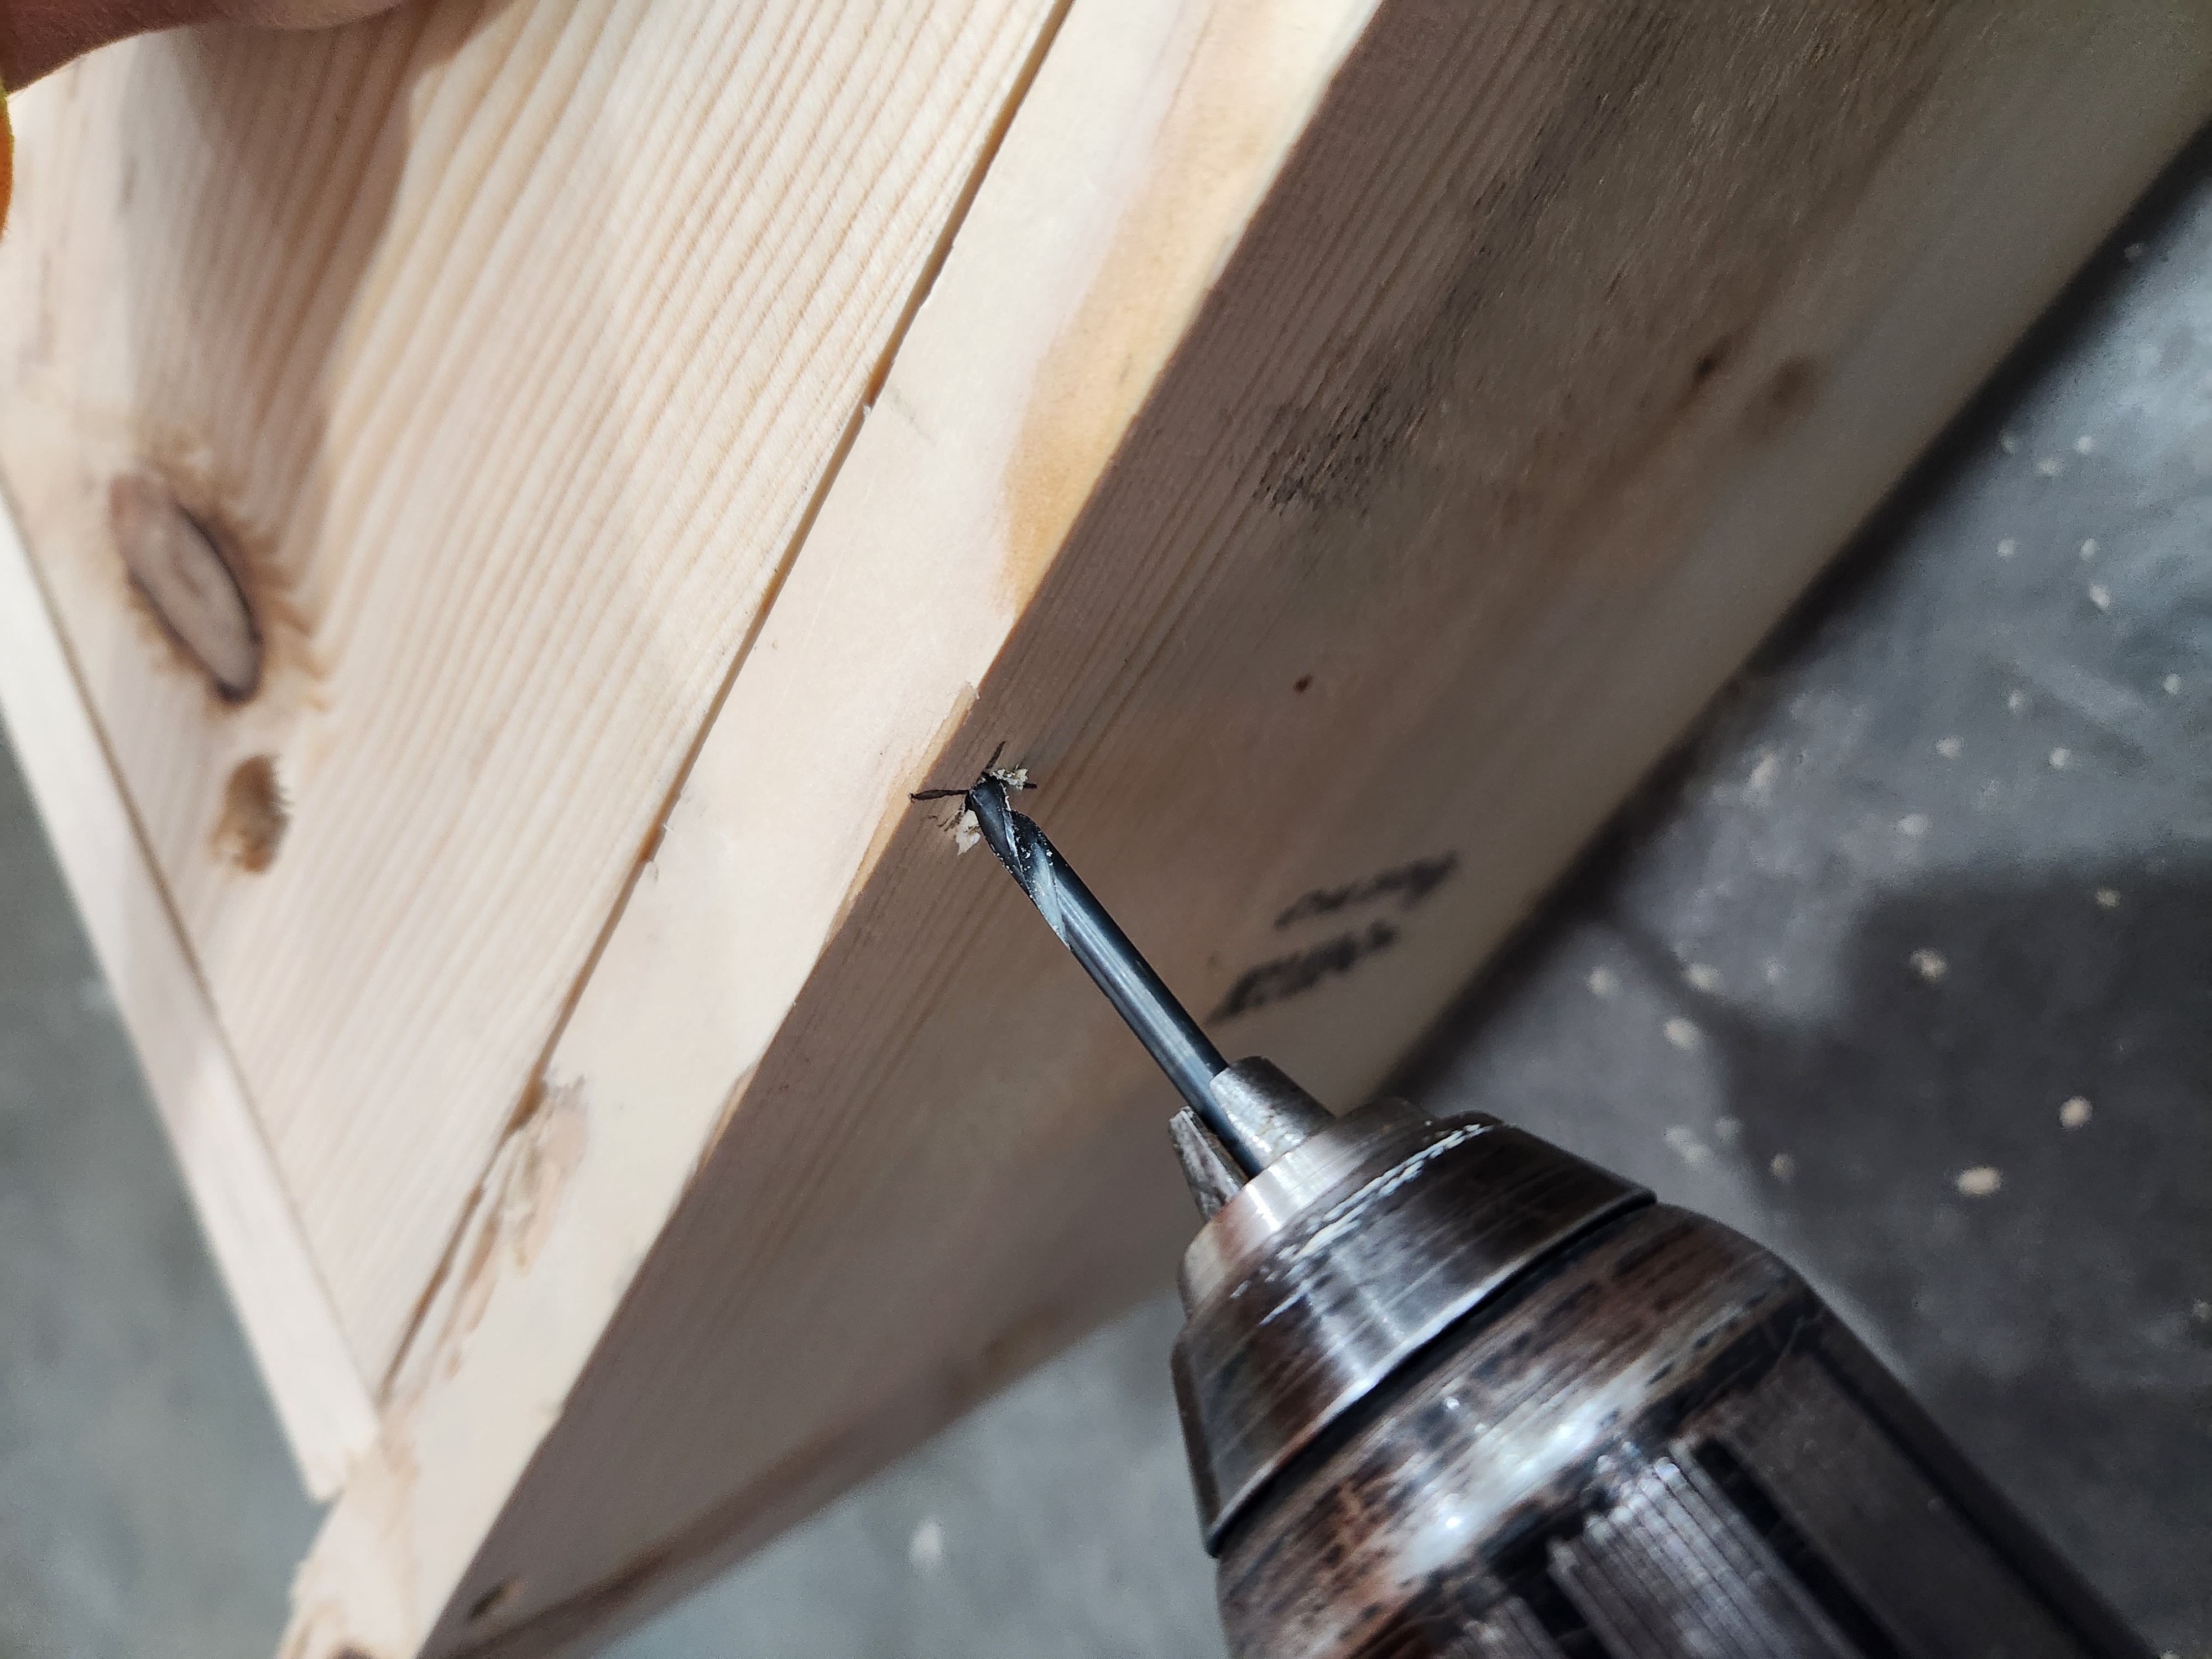
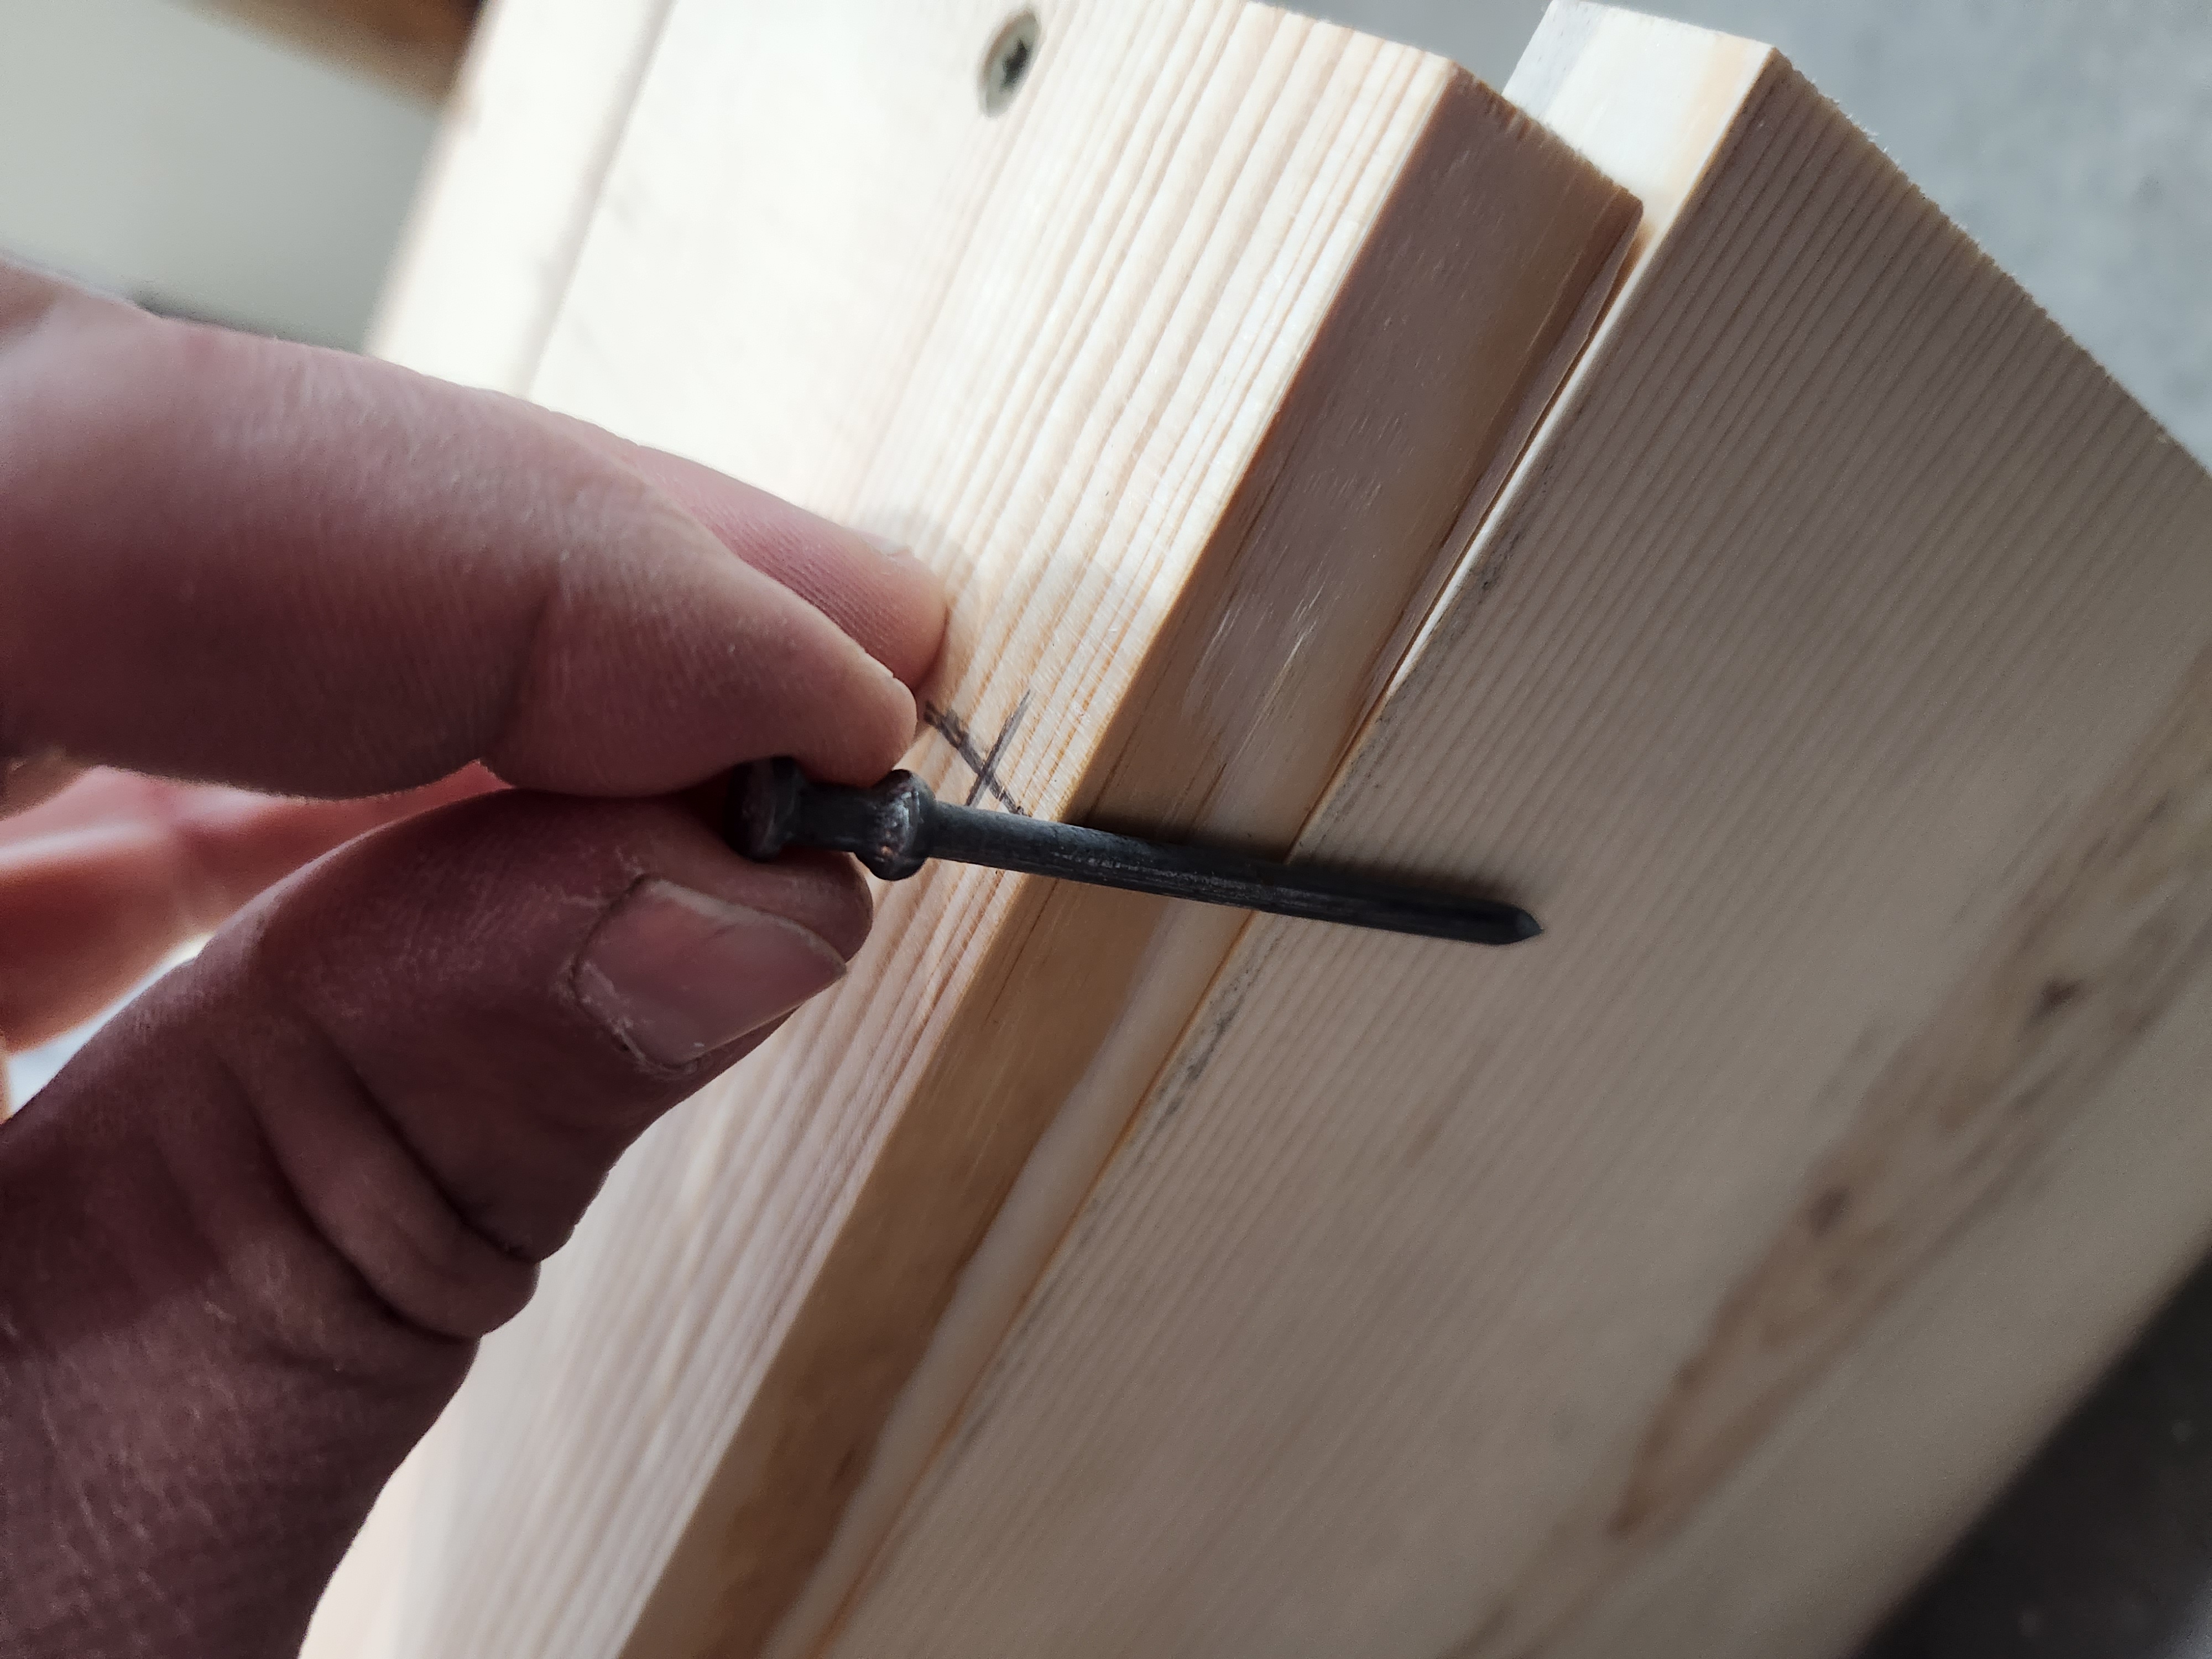
For the final step, a lock has to be installed to keep the Hinged side (L) from coming open. Drill a hole through the Front (F), 2 inches up from the bottom of the Front (F) and ⅜ inch in. Drill into the piece as far as your drill bit will allow.

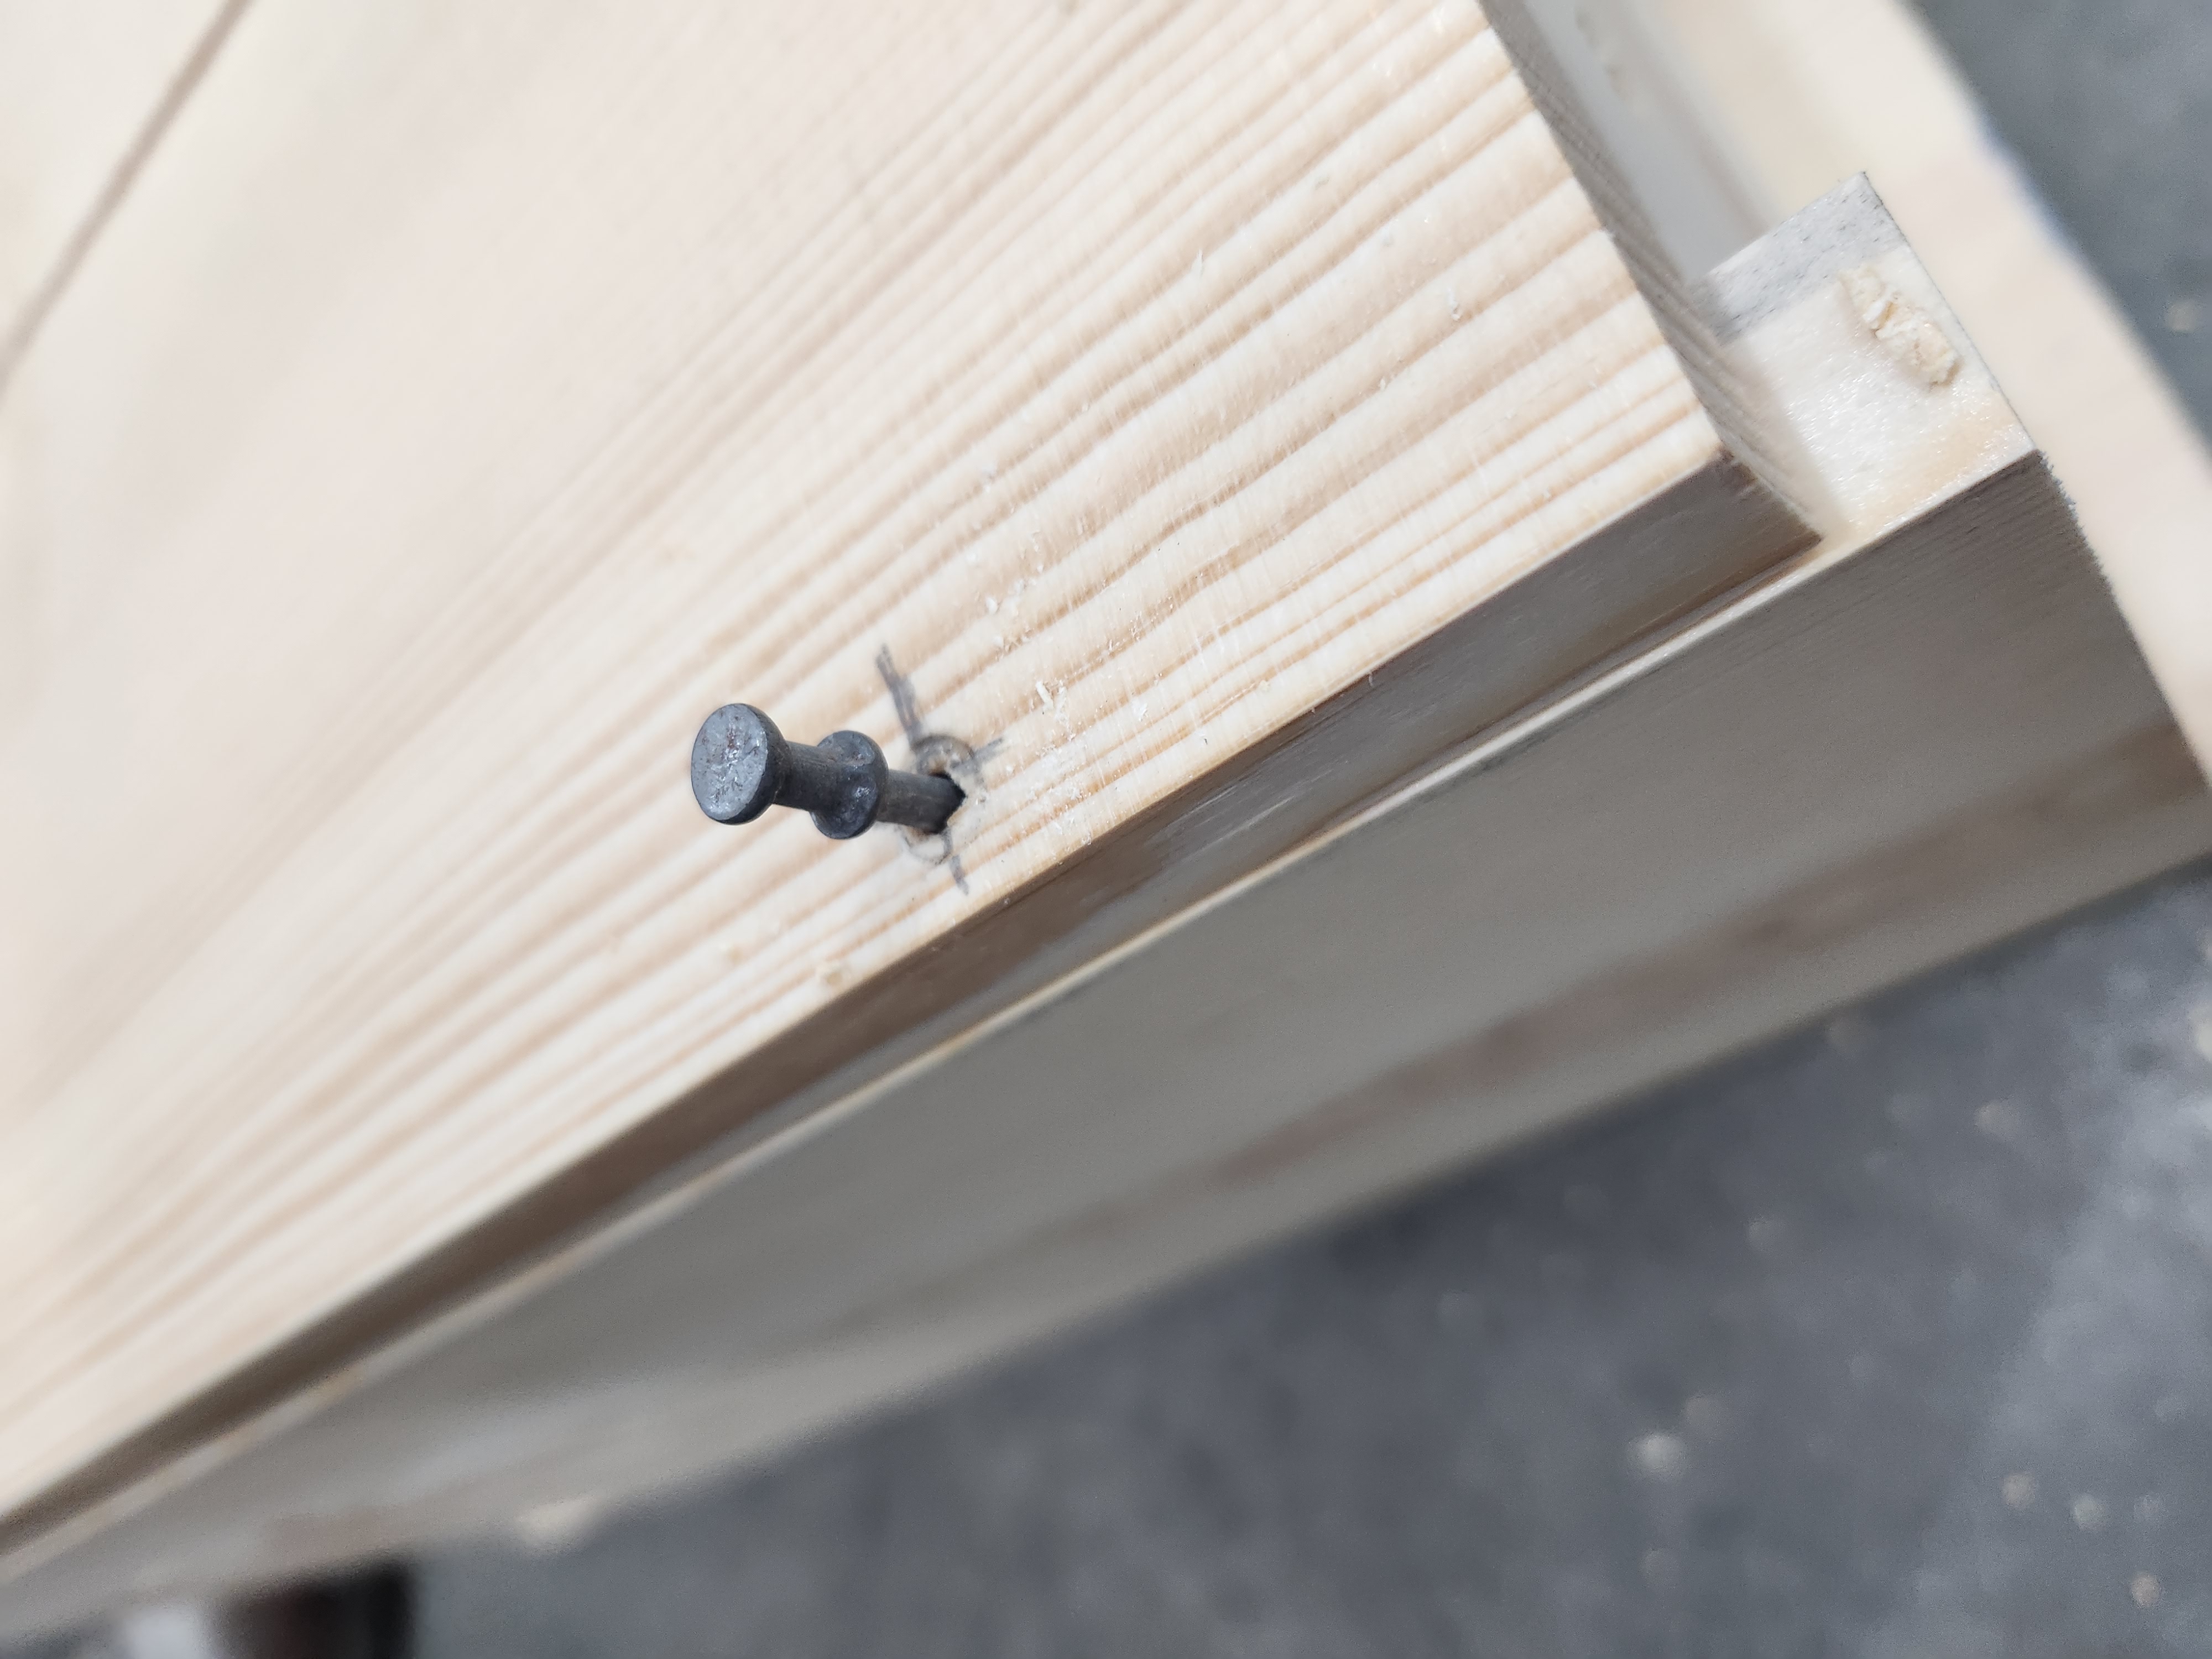
Once the hole is drilled, install the lock. The lock should be snug, but not tight, to allow for proper door operation.
How to Install the Owl House
Placement
For optimal placement of your owl house, select a tranquil spot, ideally positioning it on a tree 10-20 feet above the ground.
Ensure the entry faces away from prevailing winds and potential hazards. Aim for a south-facing orientation towards a forested area, in proximity to a dependable water source, to minimize human disturbance.
Maintenance
Fill the base of the nest box with a layer of wood chips, approximately 2–3 inches thick, avoiding sawdust to prevent risk to the young owls. Post-breeding season, it's crucial to empty and thoroughly cleanse the box.
Bringing Your Owl House to the Fair
After you are done building, we recomend you put some unique decorations on it. You can paint it, add some stickers, or even add some fake grass to the top. Be creative and have fun with it.
When registering your owl house at the fair, it will fit into Department 16, Class A-3, #2 - Bird House.